

First impressions matter, especially when you're asking someone to pay you. Paythread ships with six professionally designed invoice templates so your invoices look polished without any design work on your part.
The Six Templates
Each template has its own personality. Here's a quick rundown:
- Classic — Clean and traditional. A safe choice for corporate clients and agencies that expect a standard invoice format.
- Modern — Minimalist with generous whitespace. Great for tech and creative professionals who want something clean but contemporary.
- Elegant — Refined typography with subtle accent lines. Works well for consultants, writers, and anyone who wants a touch of sophistication.
- Bold — Strong colors and prominent totals. Ideal if you want your invoice to stand out in a busy inbox.
- Fresh — Light, airy, and approachable. A good fit for newer freelancers or casual client relationships.
- Sunset — Warm tones with a distinctive header. Perfect for creative professionals who want their brand personality to come through.
Choosing a Template
When you create a new invoice, you'll see a template selector in the invoice builder. Click through the options to preview how your line items, totals, and payment details will appear in each style.
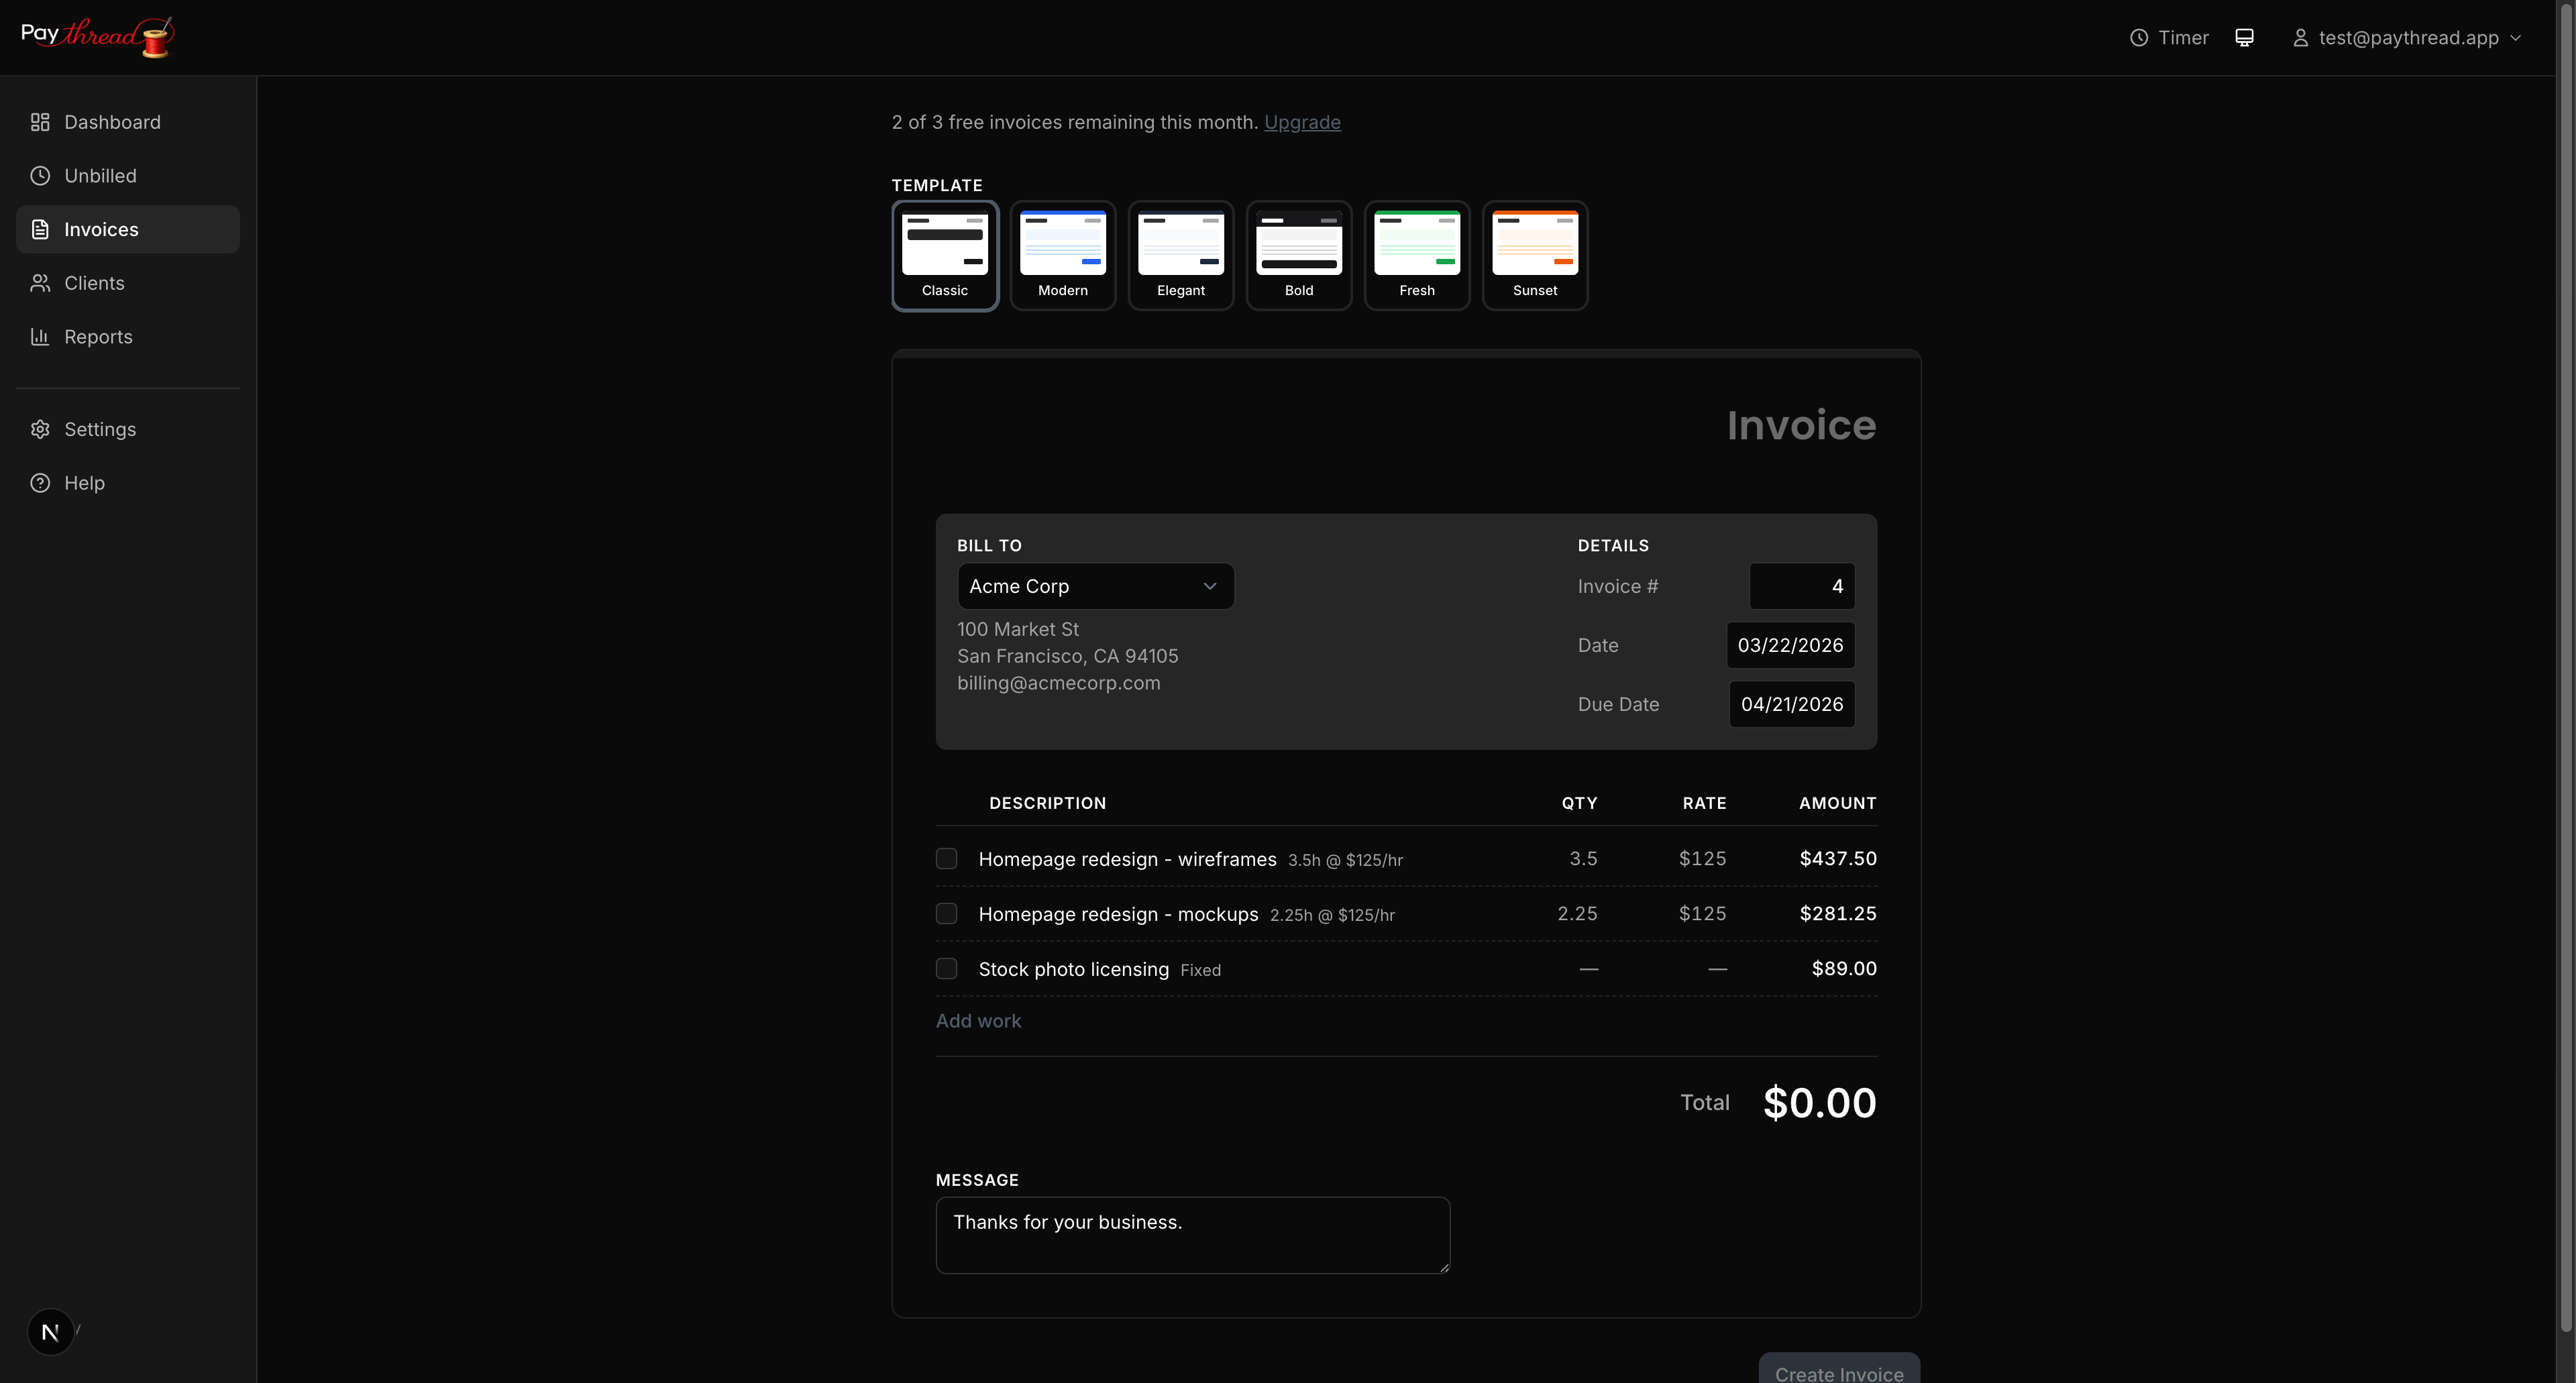
You can change templates at any time before sending. Your line items, notes, and payment information stay the same regardless of which template you pick. Once you find a template you like, Paythread remembers your choice and uses it as the default for future invoices.
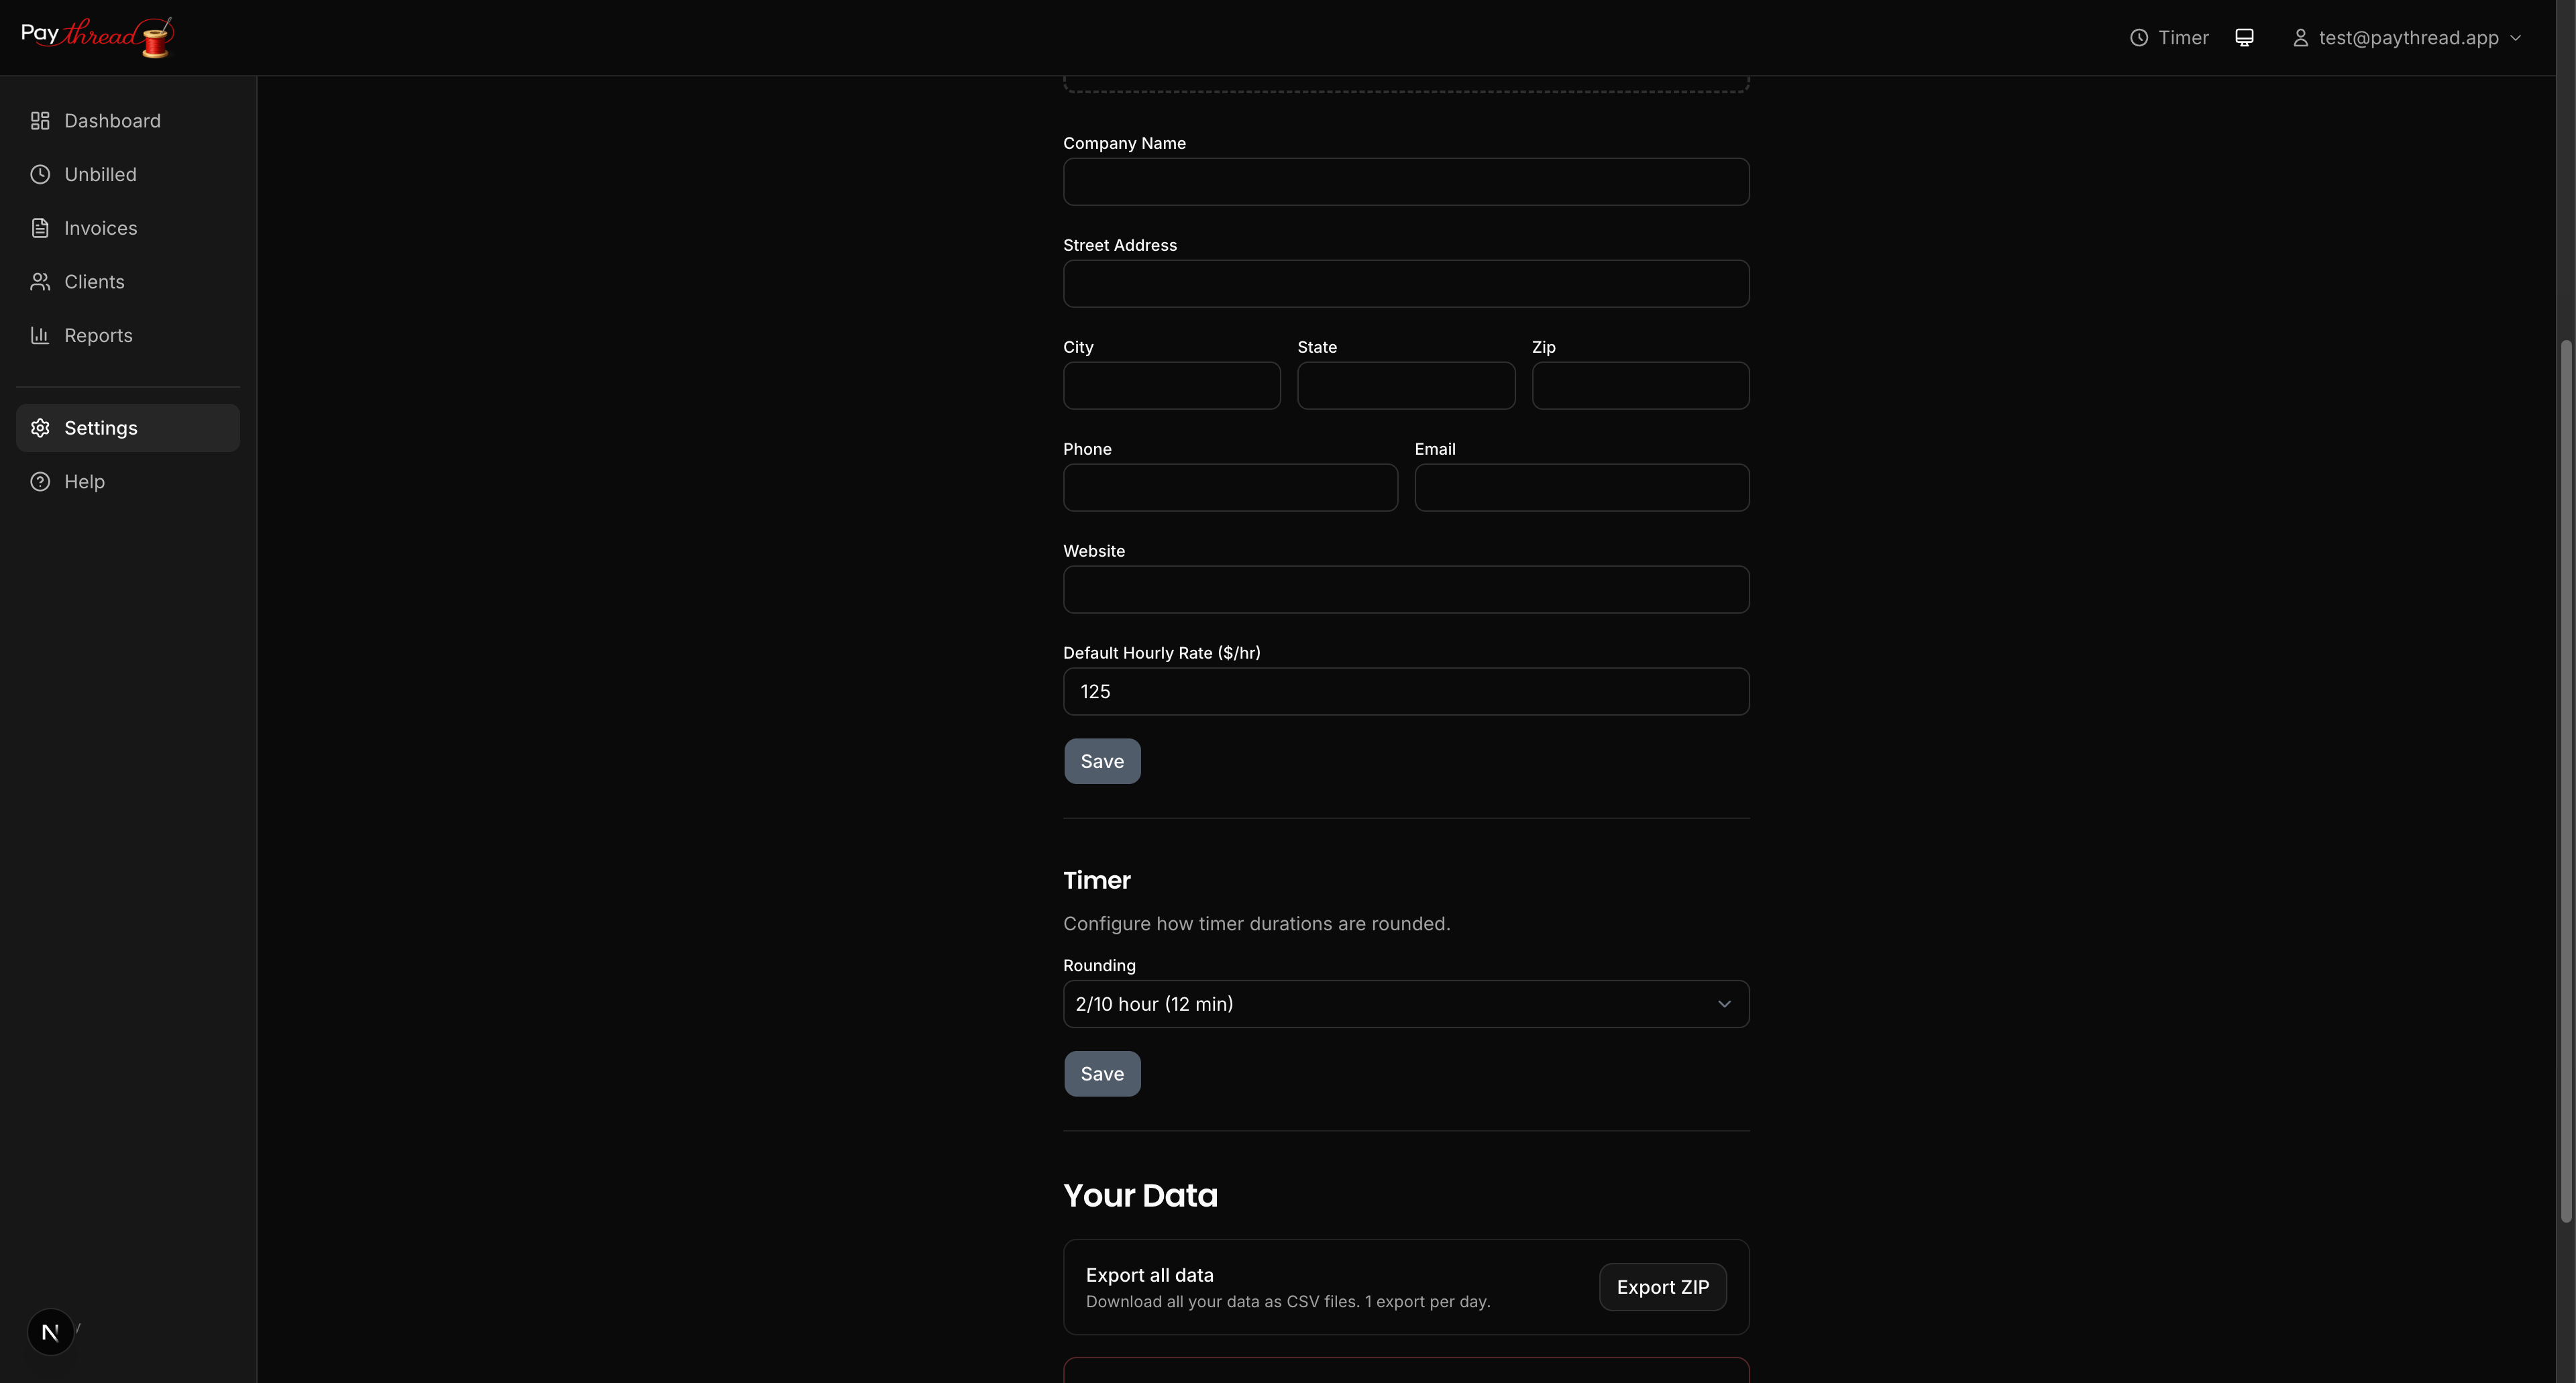
Adding Your Logo and Business Info
Every template supports your logo and business details. Head to your account settings to upload a logo and fill in your business name, address, and contact information. These details automatically populate on every invoice you create.
Your logo appears in the header area of the invoice. For best results, use a PNG or SVG file with a transparent background. Paythread will resize it to fit the template layout, but starting with an image that's at least 400px wide ensures it looks sharp.
Due Dates and Payment Terms
Set a due date when building your invoice to keep payment expectations clear. You can pick a specific date or use common intervals like "Net 15" or "Net 30." The due date appears prominently on the invoice so your client knows exactly when payment is expected.
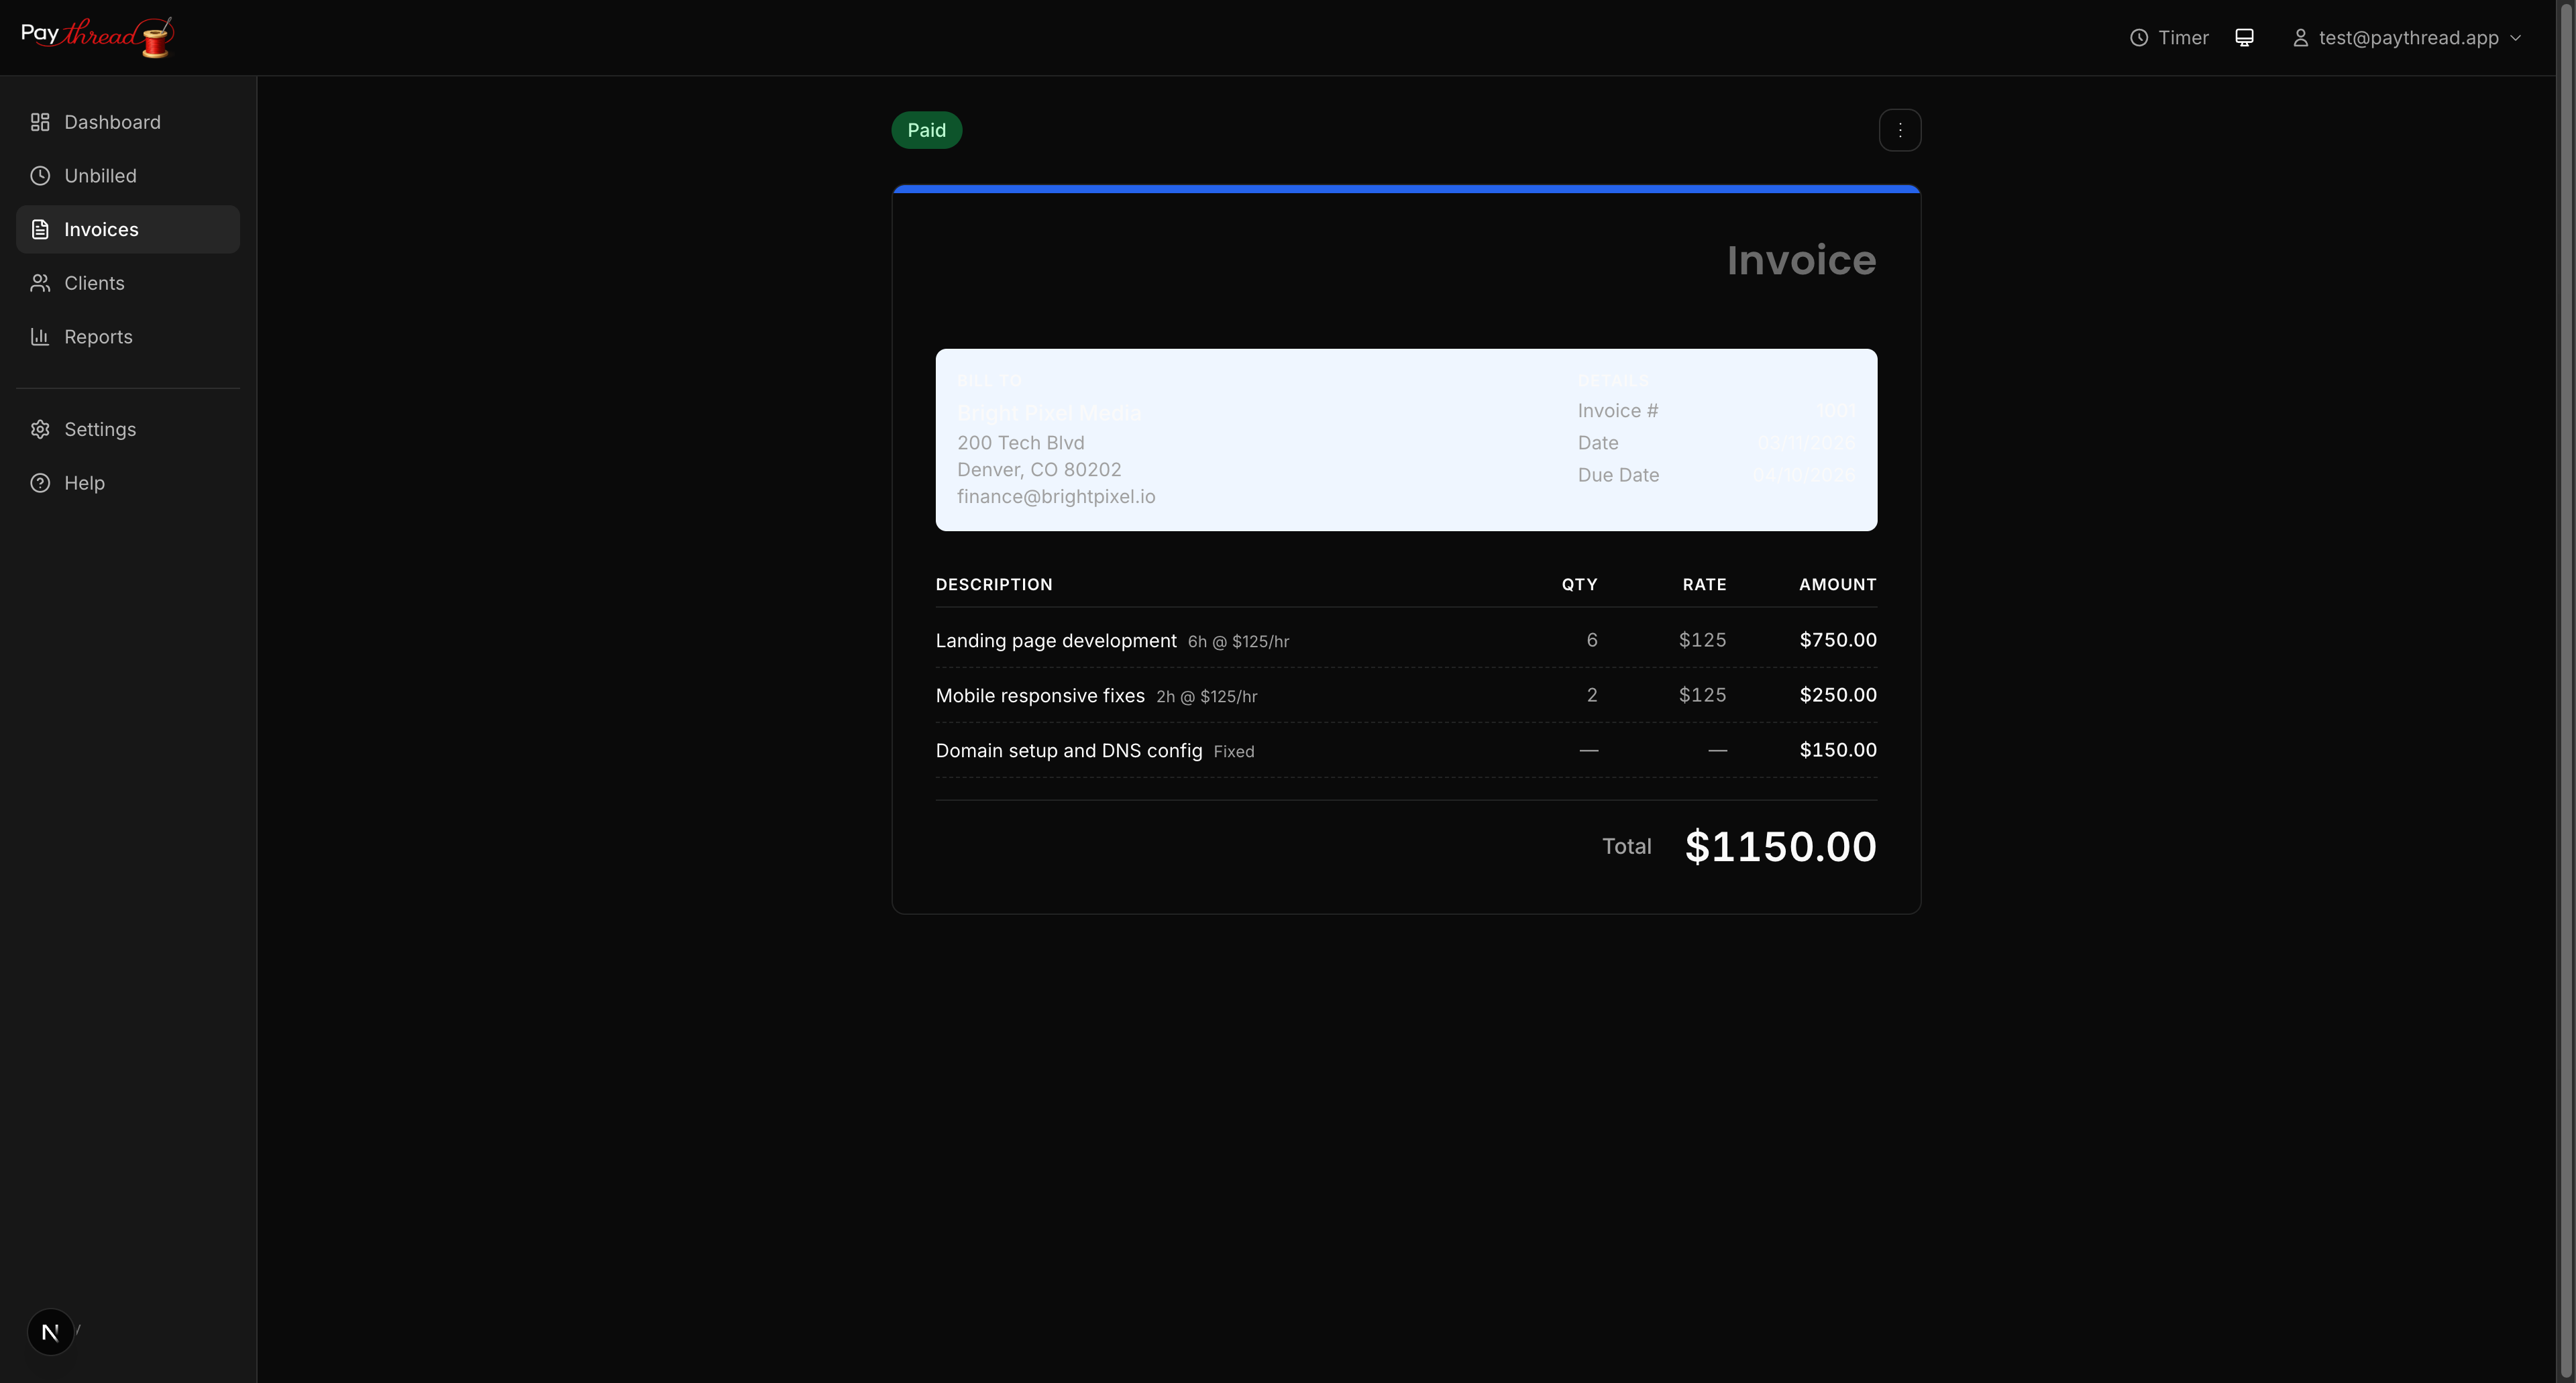
Notes and Additional Details
The notes field at the bottom of the invoice is a flexible space for anything else your client needs to know. Common uses include:
- Thank-you messages
- Late payment policies
- Project references or PO numbers
- Instructions for next steps
Keep notes brief and relevant. Your client is here to review charges and pay, so save the lengthy project updates for email.

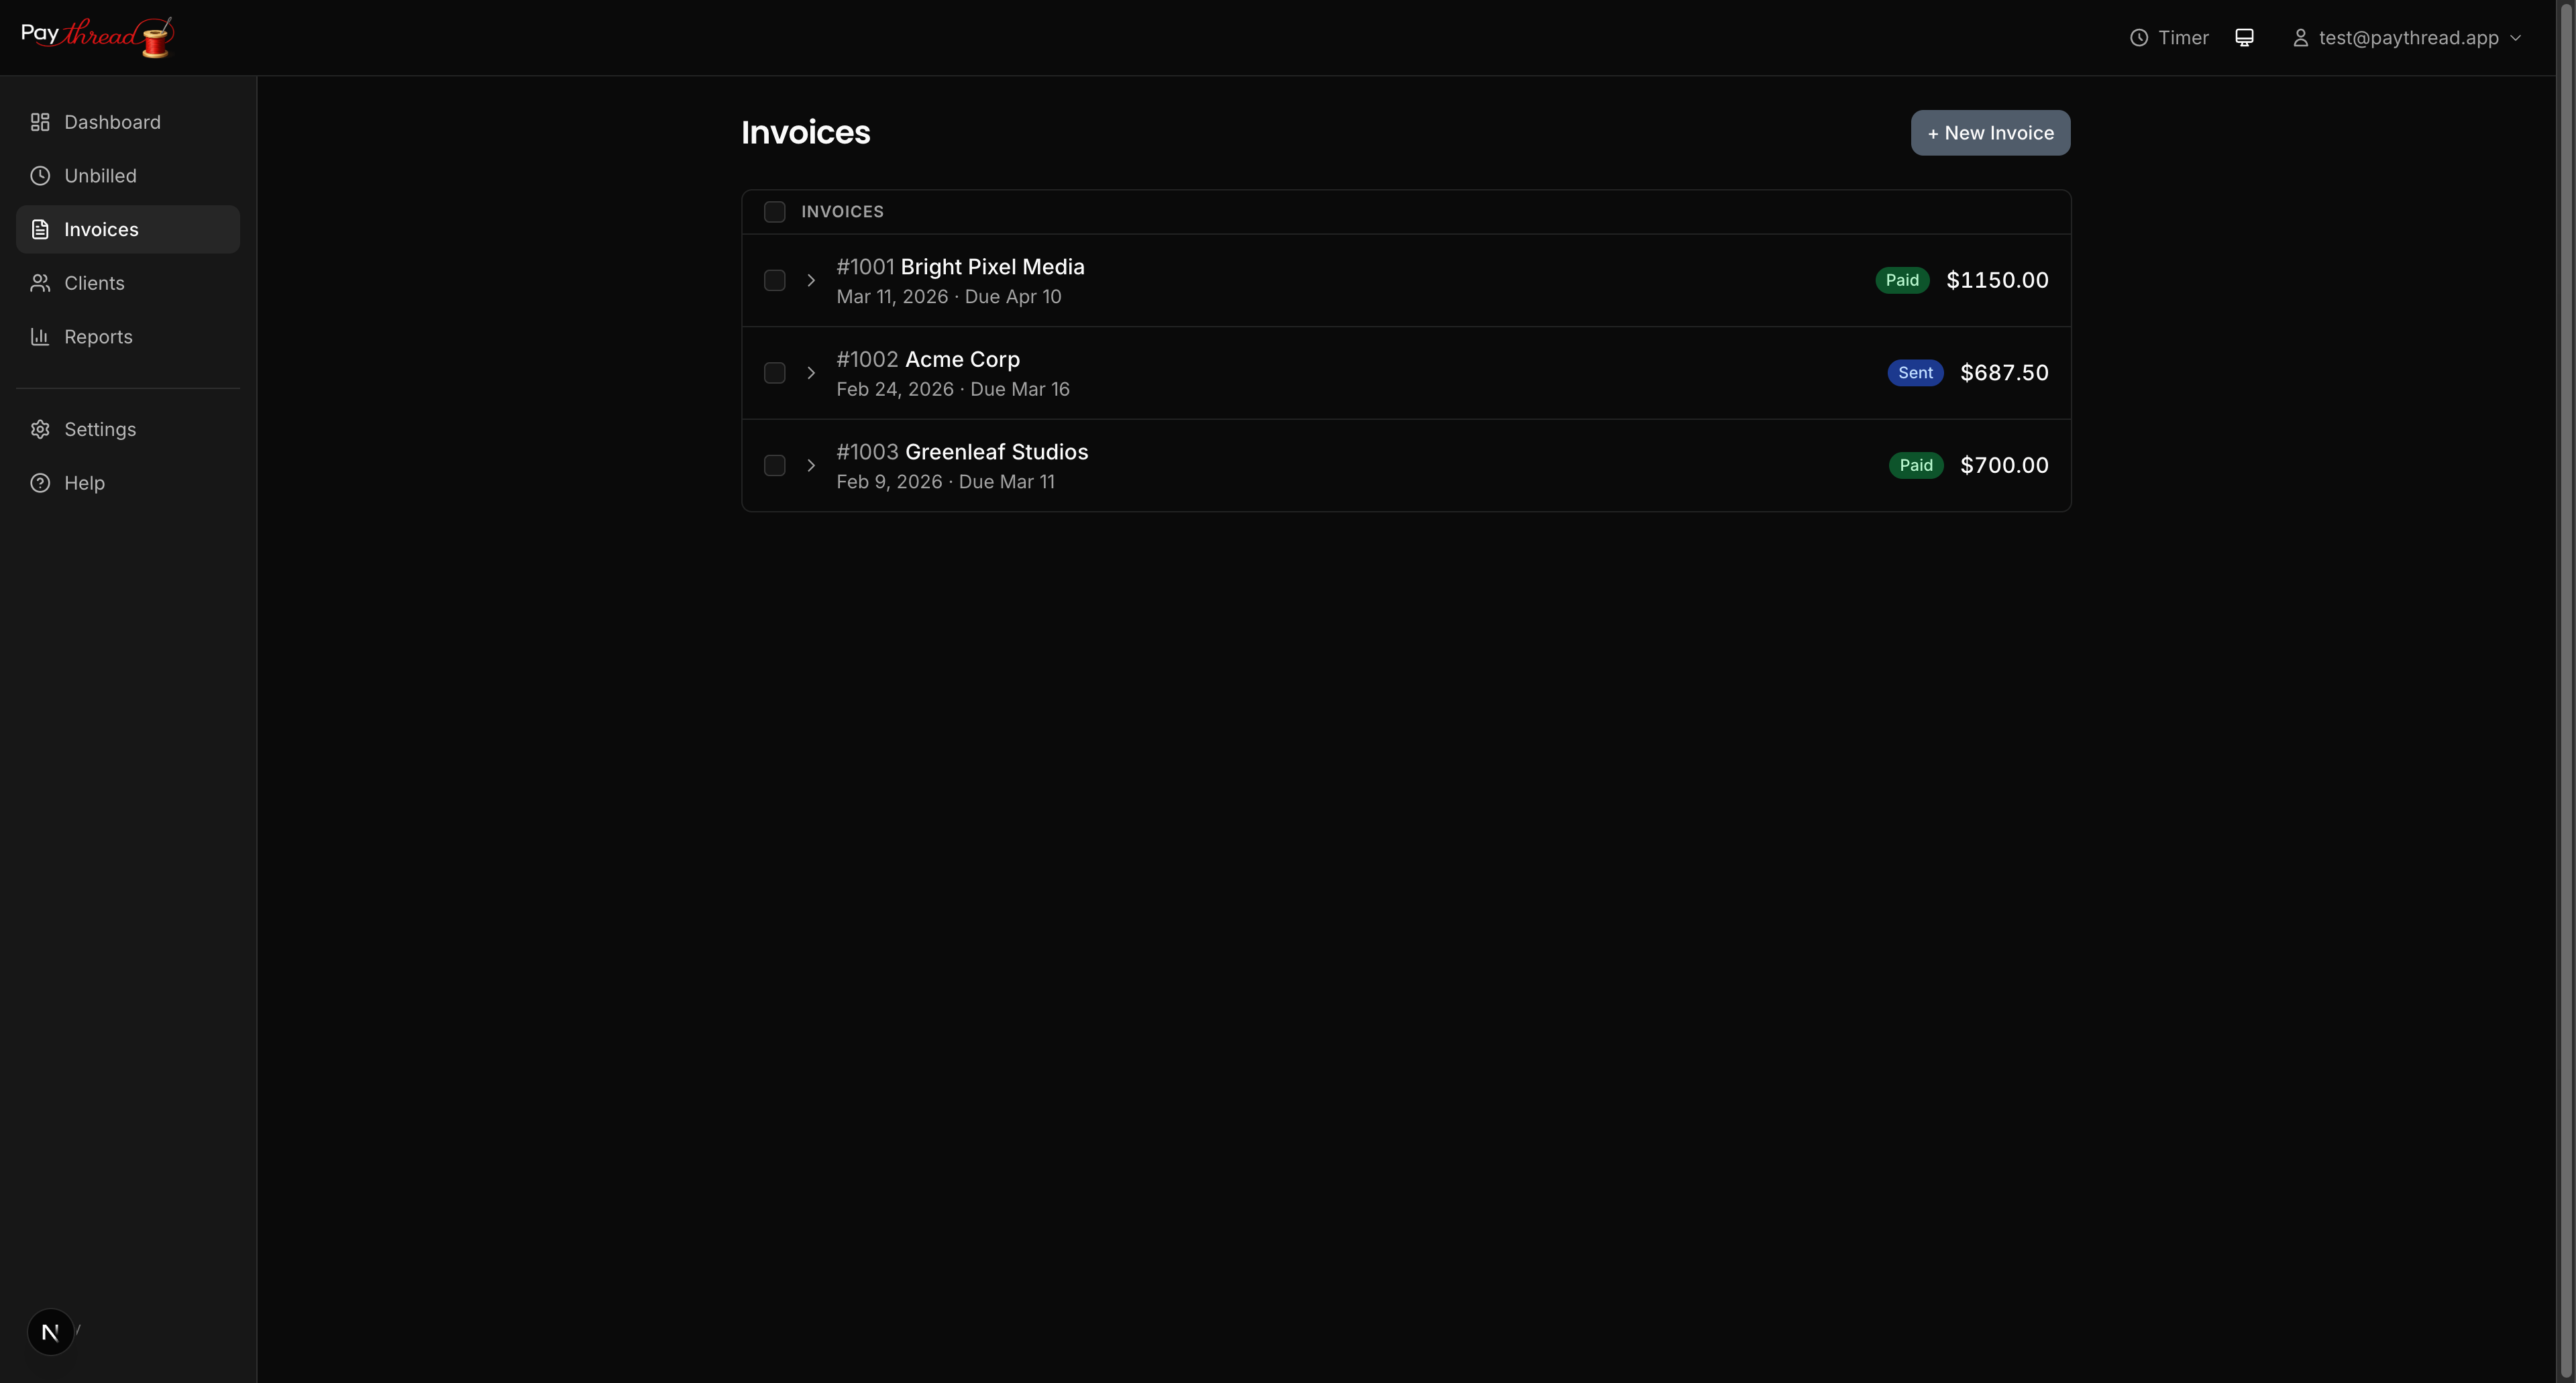
Tips for Professional Invoices
A few small details make a big difference:
- Be consistent. Stick with one template across all invoices for a given client. It builds recognition and trust.
- Use clear descriptions. Line item descriptions should tell your client exactly what they're paying for without being overly verbose.
- Double-check the math. Paythread handles calculations automatically, but always review the total before sending.
What's Next?
Now that your invoices look great, make sure your clients can actually pay you. Learn how to set up payment options in Managing Payment Methods. Or if you're ready to see the full picture, check out From Timer to Paid: The Complete Payment Flow.