
The Big Picture
Paythread follows a straightforward flow: track your work, review it in the Unbilled queue, then bundle it into an invoice. This guide takes you through each step so you can send your first invoice in about five minutes.
Step 1: Log Some Billable Work
Before you can invoice, you need at least one work item. Paythread gives you three ways to create them:
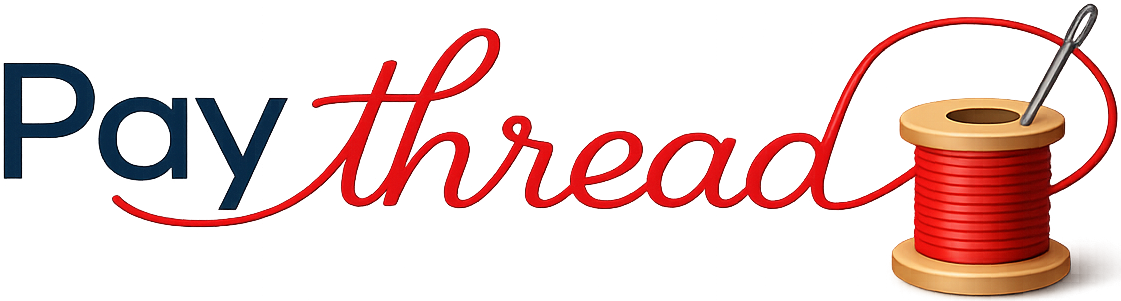
- Timer — Click the timer icon in the header, hit Start, and pause when you're done. The time is automatically calculated and priced at your hourly rate.
- Fixed rate — Add a one-off line item with a flat dollar amount. Great for project milestones, deliverables, or expenses.
- Multiplier — Set a quantity and a per-unit rate. Useful for things like "5 blog posts at $200 each" or "3 revisions at $75 each."
For this walkthrough, try adding a fixed rate item. Go to the Unbilled queue, click Add work, choose your client, give it a description like "Website design consultation," set a dollar amount, pick a date (defaults to today — you can backdate if needed), and save.
Step 2: Review Your Unbilled Queue
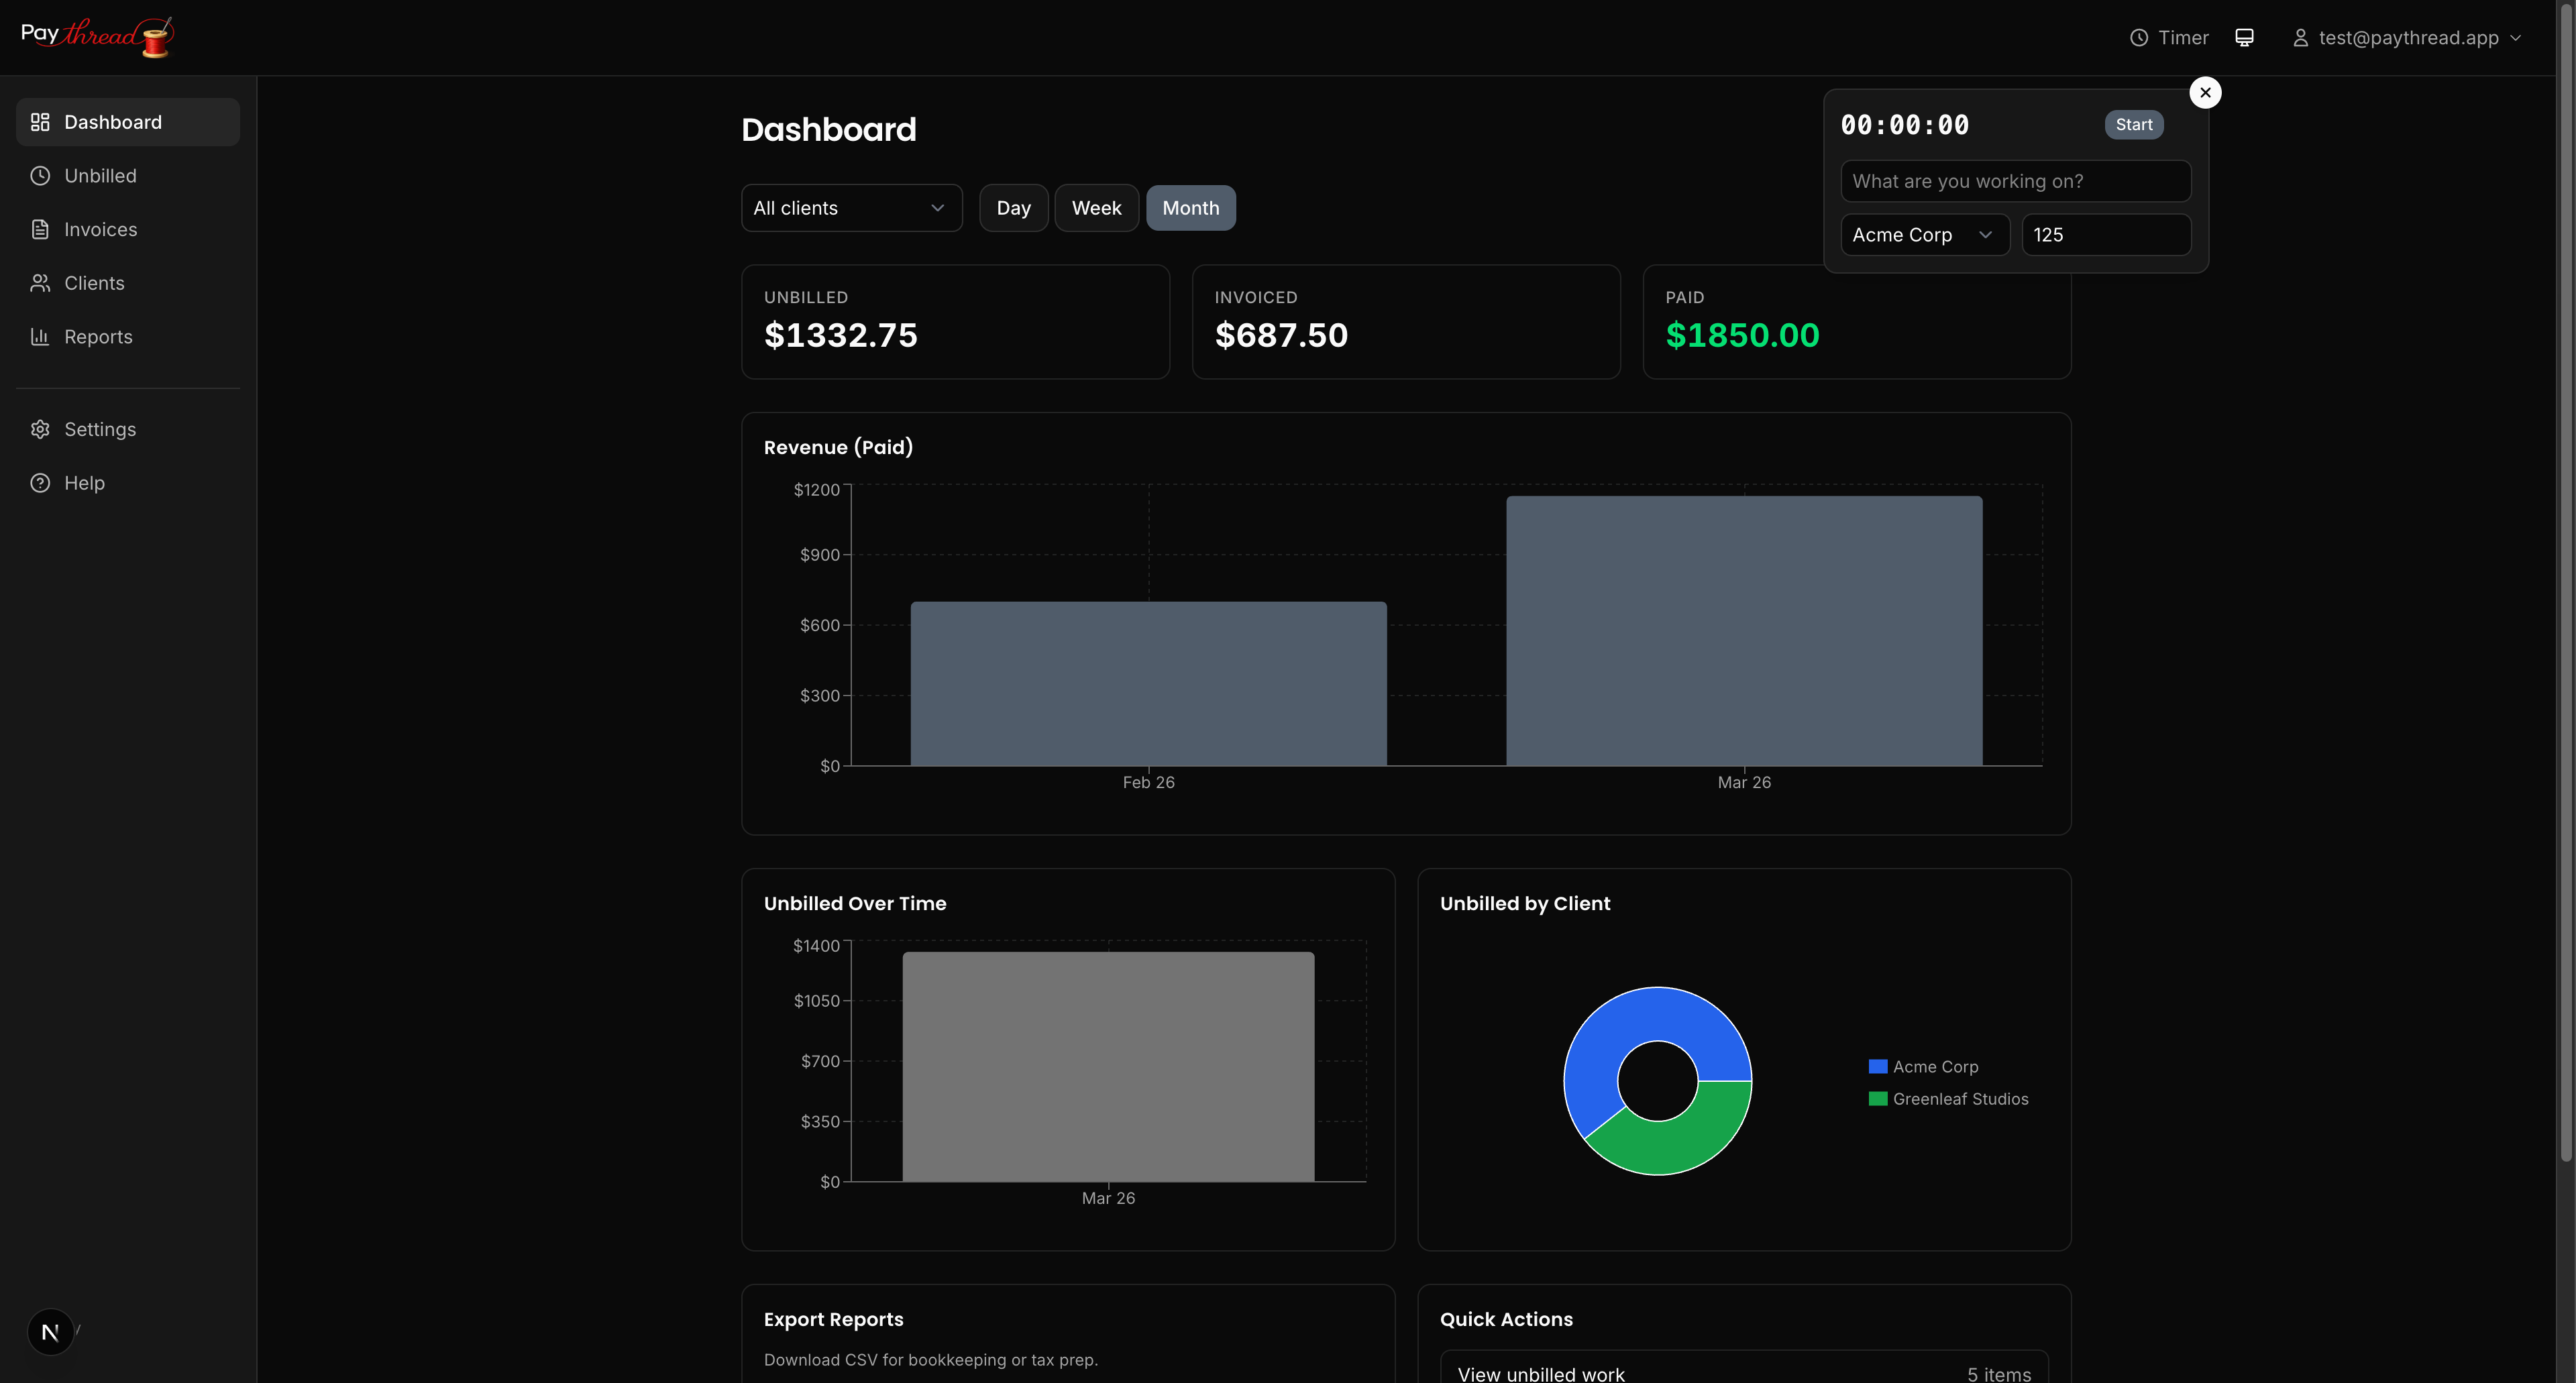
All work items — whether from the timer, fixed entries, or multiplier entries — flow into the Unbilled Queue. Think of it as your staging area before invoicing.
Here you can:
- Edit descriptions or amounts inline if something needs adjusting
- Filter by client to focus on one relationship at a time
- Select specific items to include on an invoice
Take a look at your items and make sure the descriptions are clear. Remember, your client will see these line items on the final invoice, so "misc work" is less helpful than "Homepage redesign — responsive layout updates."
Step 3: Create the Invoice
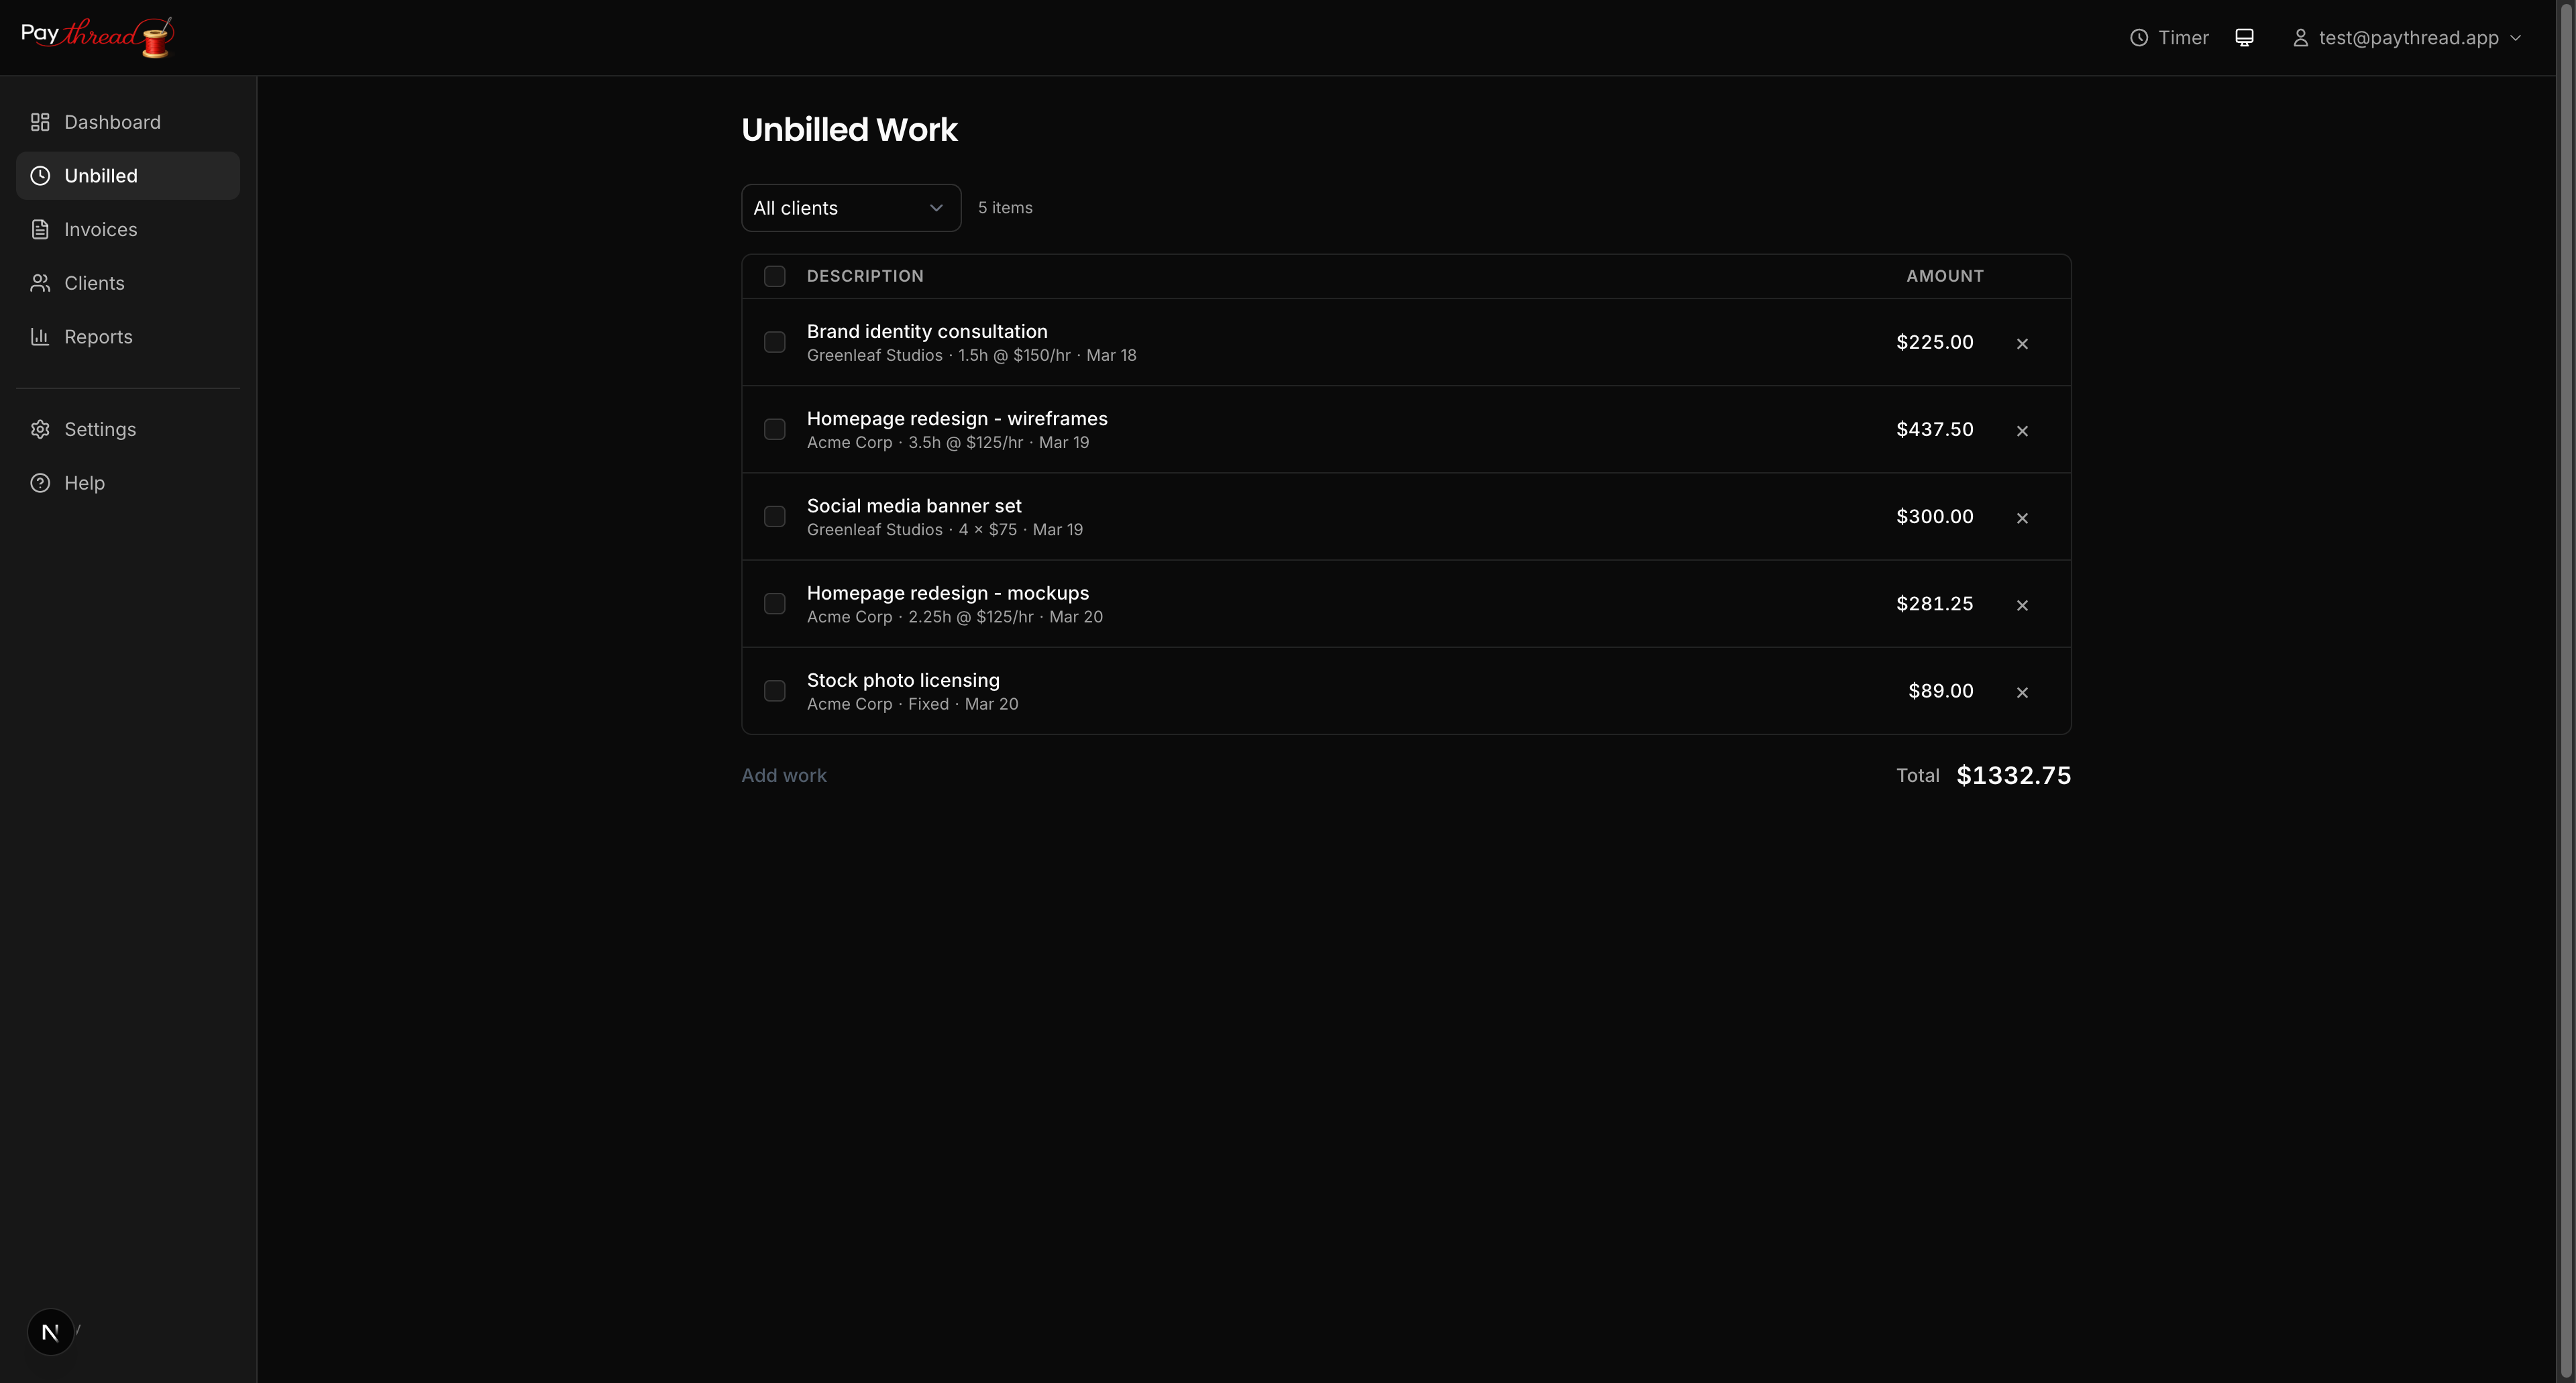
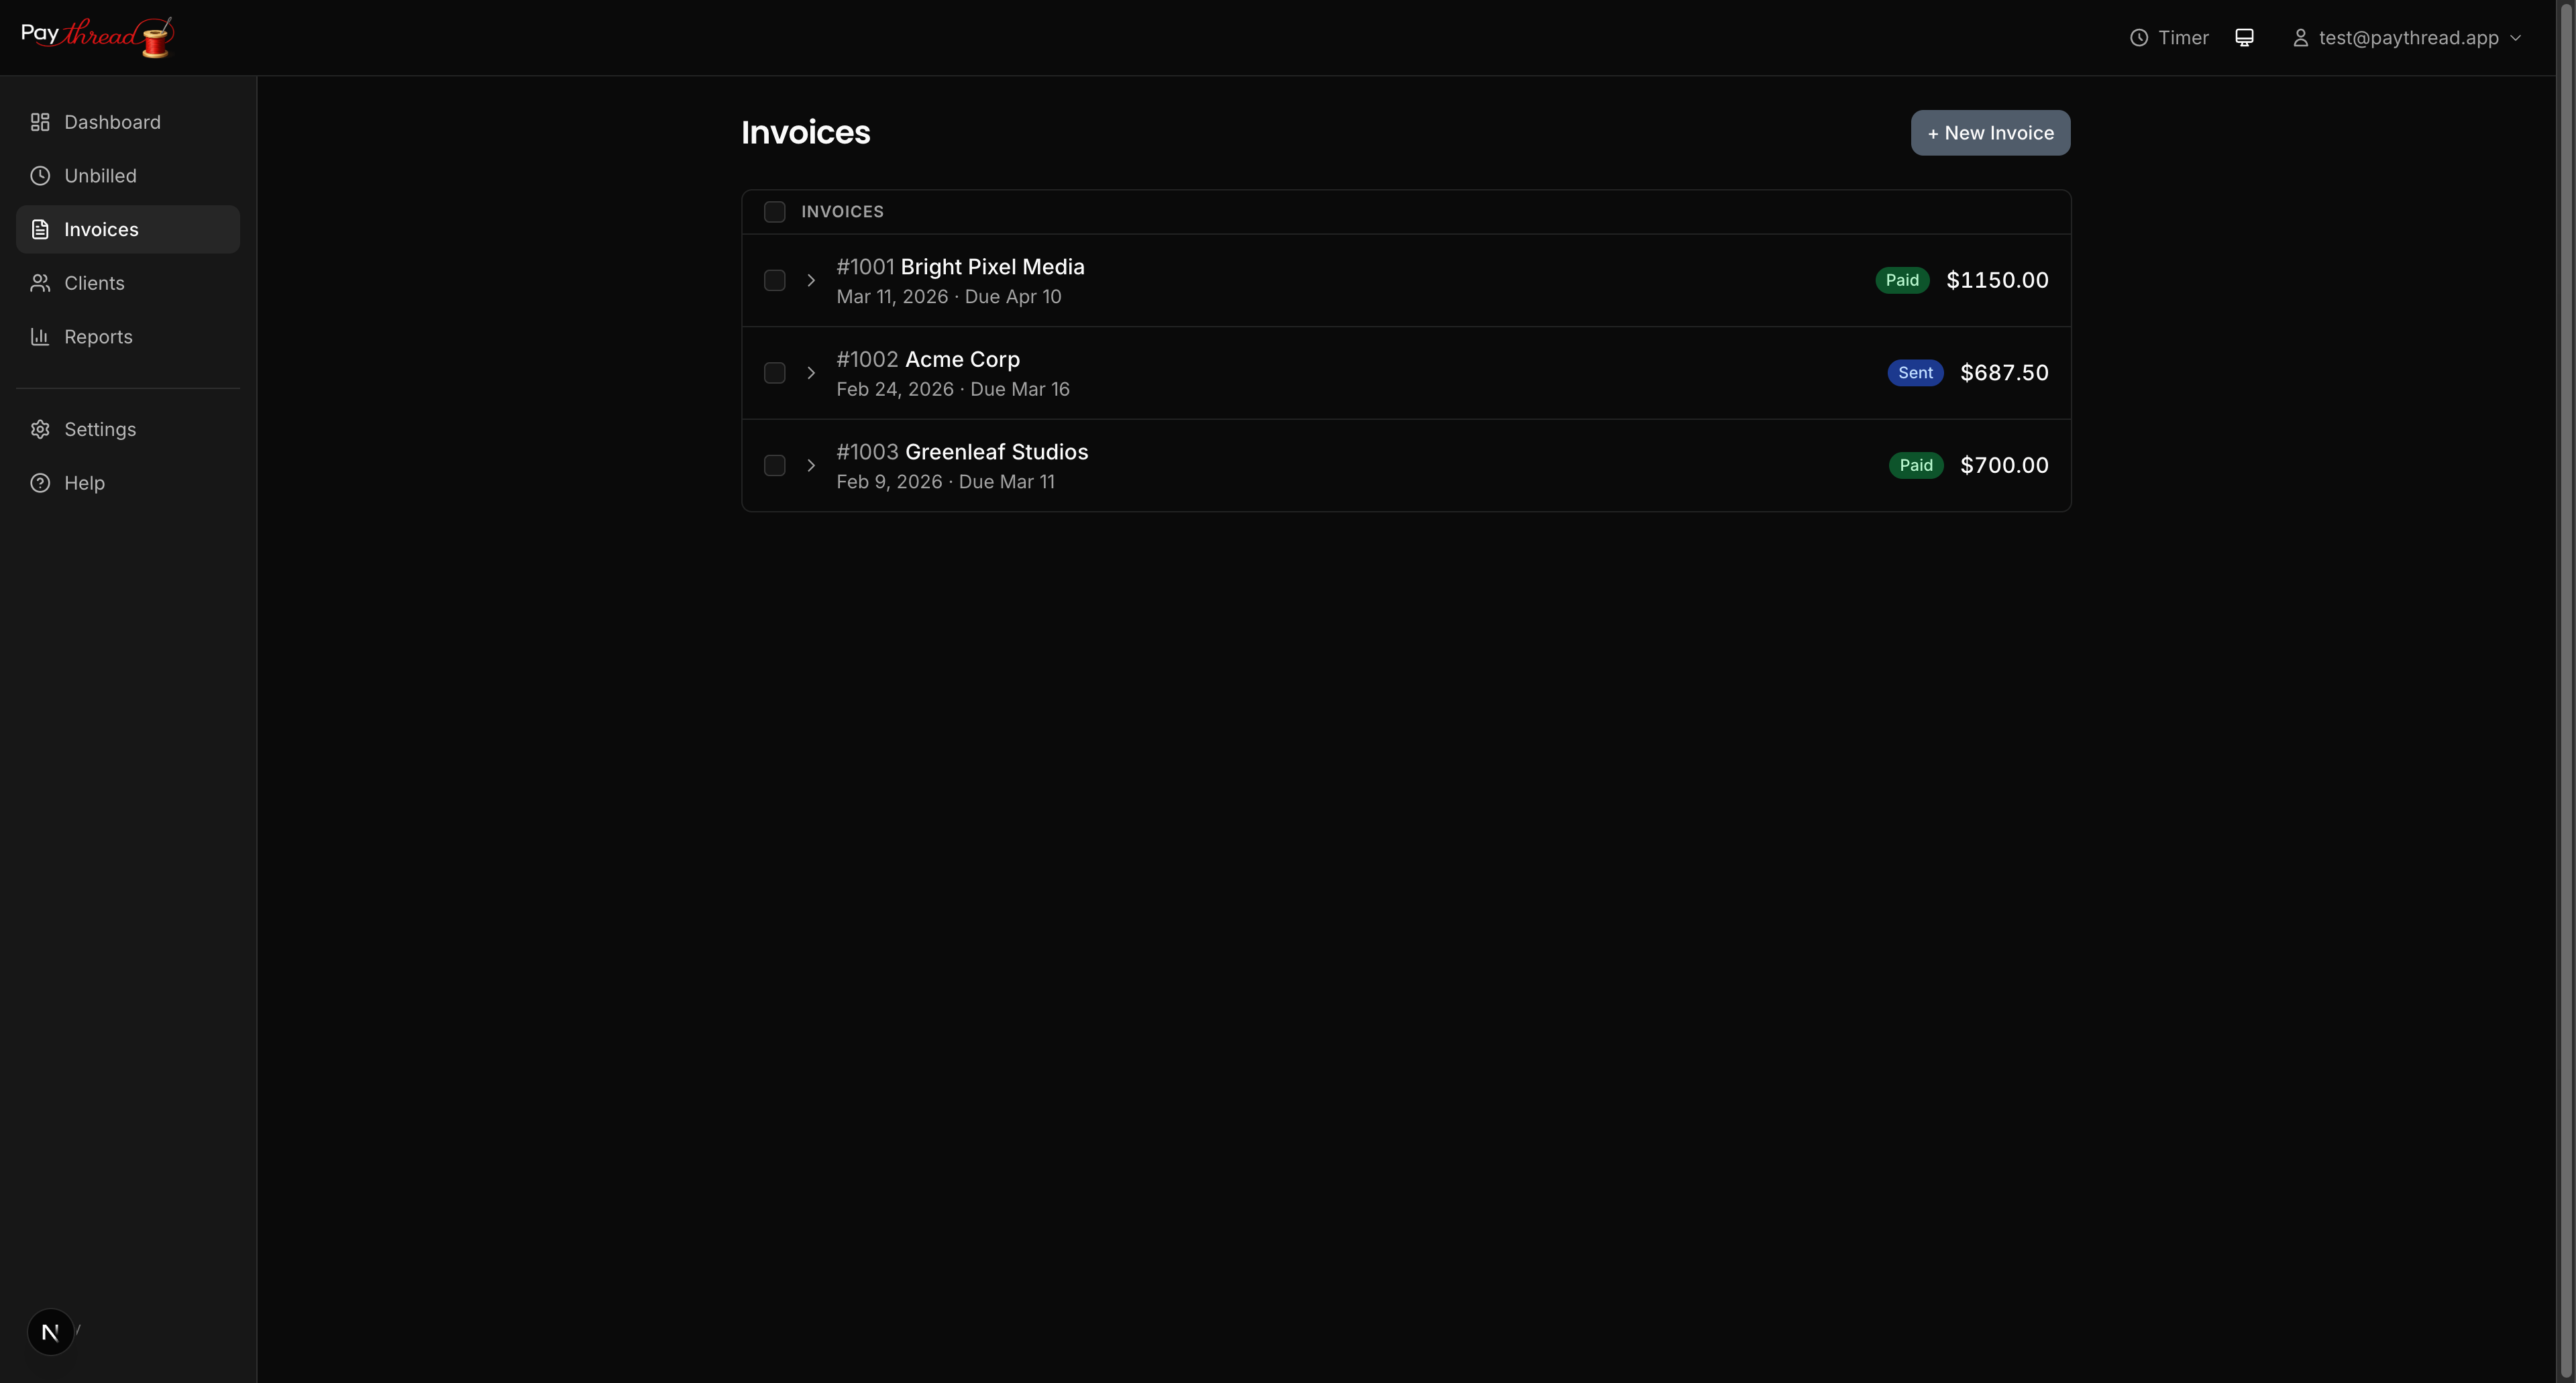
Select the work items you want to invoice by checking the boxes next to them, then click Create Invoice. Paythread bundles your selections into a new invoice and takes you to the invoice builder.
In the invoice builder, you'll see:
- Template selector — choose from six professional designs (Classic, Modern, Elegant, Bold, Fresh, Sunset)
- Client details — auto-filled from your client record
- Line items pulled from your selected work items, with descriptions and amounts
- Invoice total calculated automatically
- Due Date — toggleable; pick a specific date or remove it entirely
- Payment methods — check which payment methods to display on the invoice
- Message field pre-filled with your default invoice message from Settings (editable per invoice)
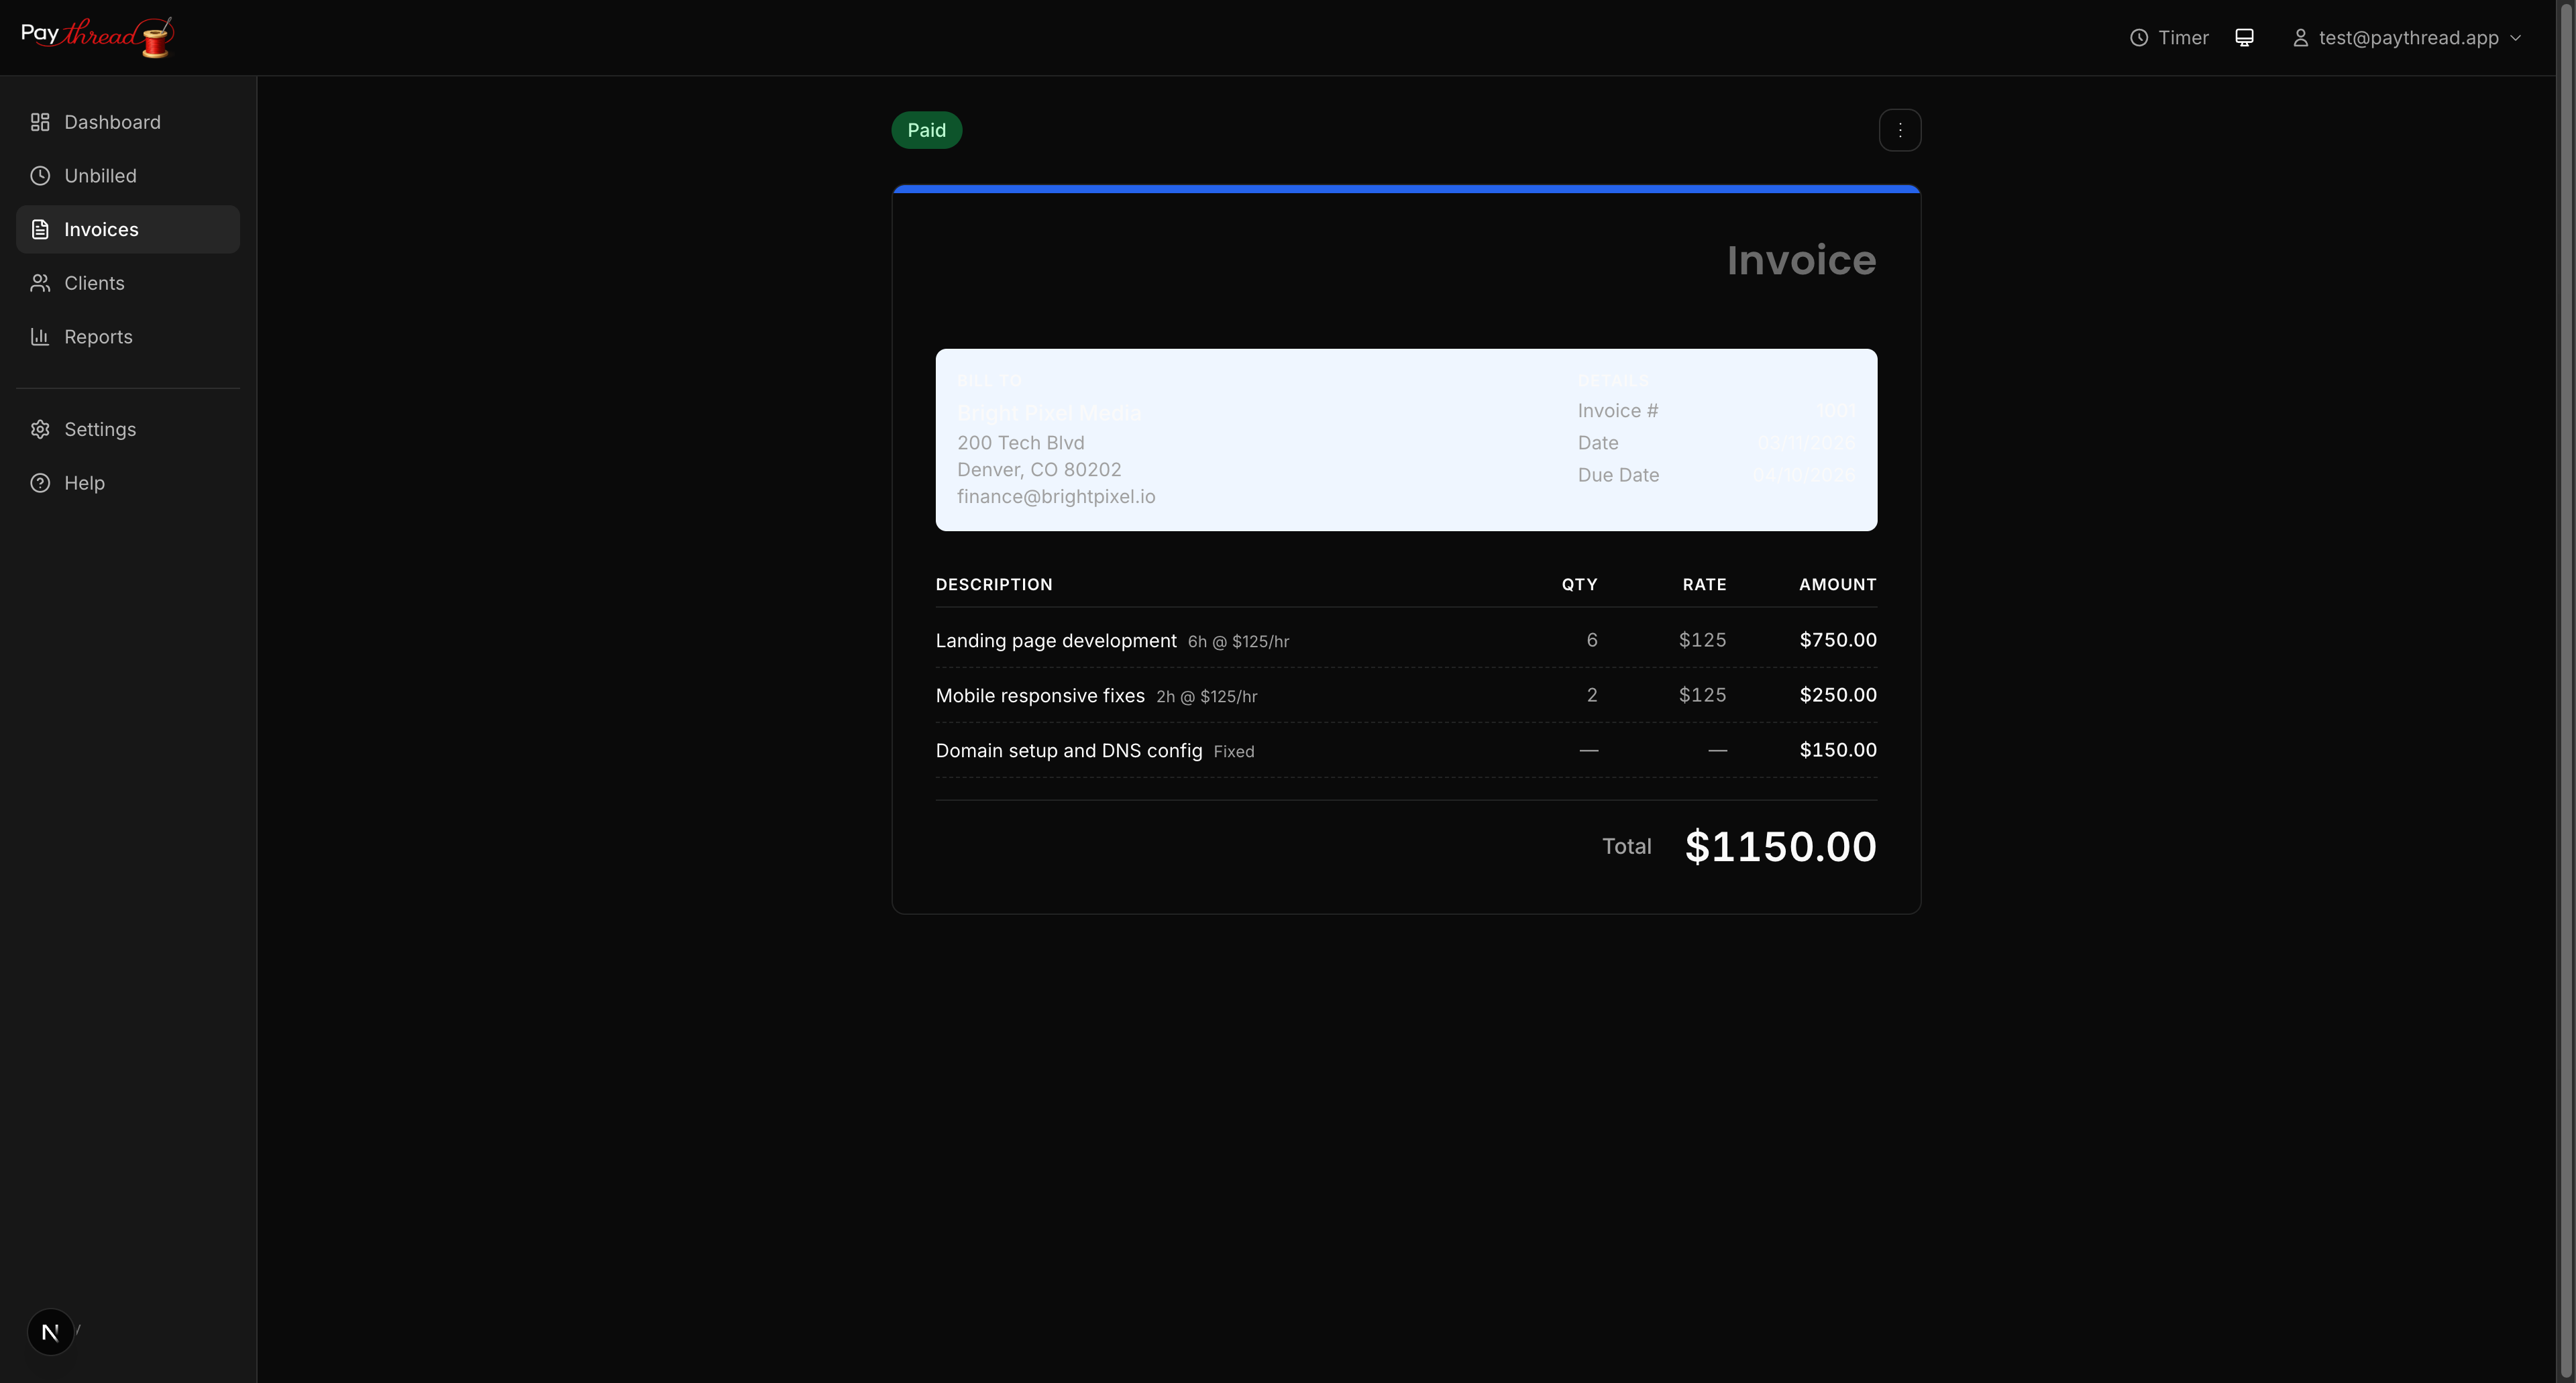
Review everything, then click Create Invoice. This saves the invoice as a draft. From the invoice detail page, you can download the PDF or send it via email.
Step 4: Send It Off
From the invoice detail page, use the actions menu to send the invoice. Your client receives an email with the invoice PDF attached. If you've attached a Credit Card (Stripe) payment method, the email automatically includes a "Pay with Credit Card" button so your client can pay online. Other payment methods (bank transfer, Zelle, PayPal, Venmo) appear as details on the invoice and PDF.
Emails are sent from your business name. Set a Reply-To Email in Settings so client replies come directly to you. On the Pro plan, emails are fully white-labeled — no Paythread branding.
What Happens to Invoiced Items?
Once work items are attached to an invoice, they leave the Unbilled queue. You won't accidentally invoice them twice. If you delete a draft invoice, the items return to the Unbilled queue so you can re-invoice them.
What's Next?
Want to accept online payments? Set up Stripe in just a few minutes — see Setting Up Online Payments with Stripe. To learn more about the different work item types and when to use each, read 3 Ways to Track Billable Work.