

Why Connect Stripe?
Getting paid faster is the whole point. When you connect Stripe to Paythread, you can attach a Credit Card (Stripe) payment method to your invoices. When you send the invoice via email, a Pay with Credit Card button is automatically included — your client clicks it, enters their card details on Stripe's secure checkout, and you get paid. No more chasing checks or waiting on wire transfers.
How It Works
Paythread uses Stripe Connect to link your Stripe account to your Paythread account. This means:
- Payments go directly to your Stripe account — Paythread never holds your money.
- You get Stripe's full dashboard for tracking payouts, refunds, and transaction history.
- Your clients' payment information is handled securely by Stripe. Card numbers never touch Paythread's servers.
If you don't already have a Stripe account, you'll create one during the connection process. It takes about five minutes.
Connecting Your Stripe Account
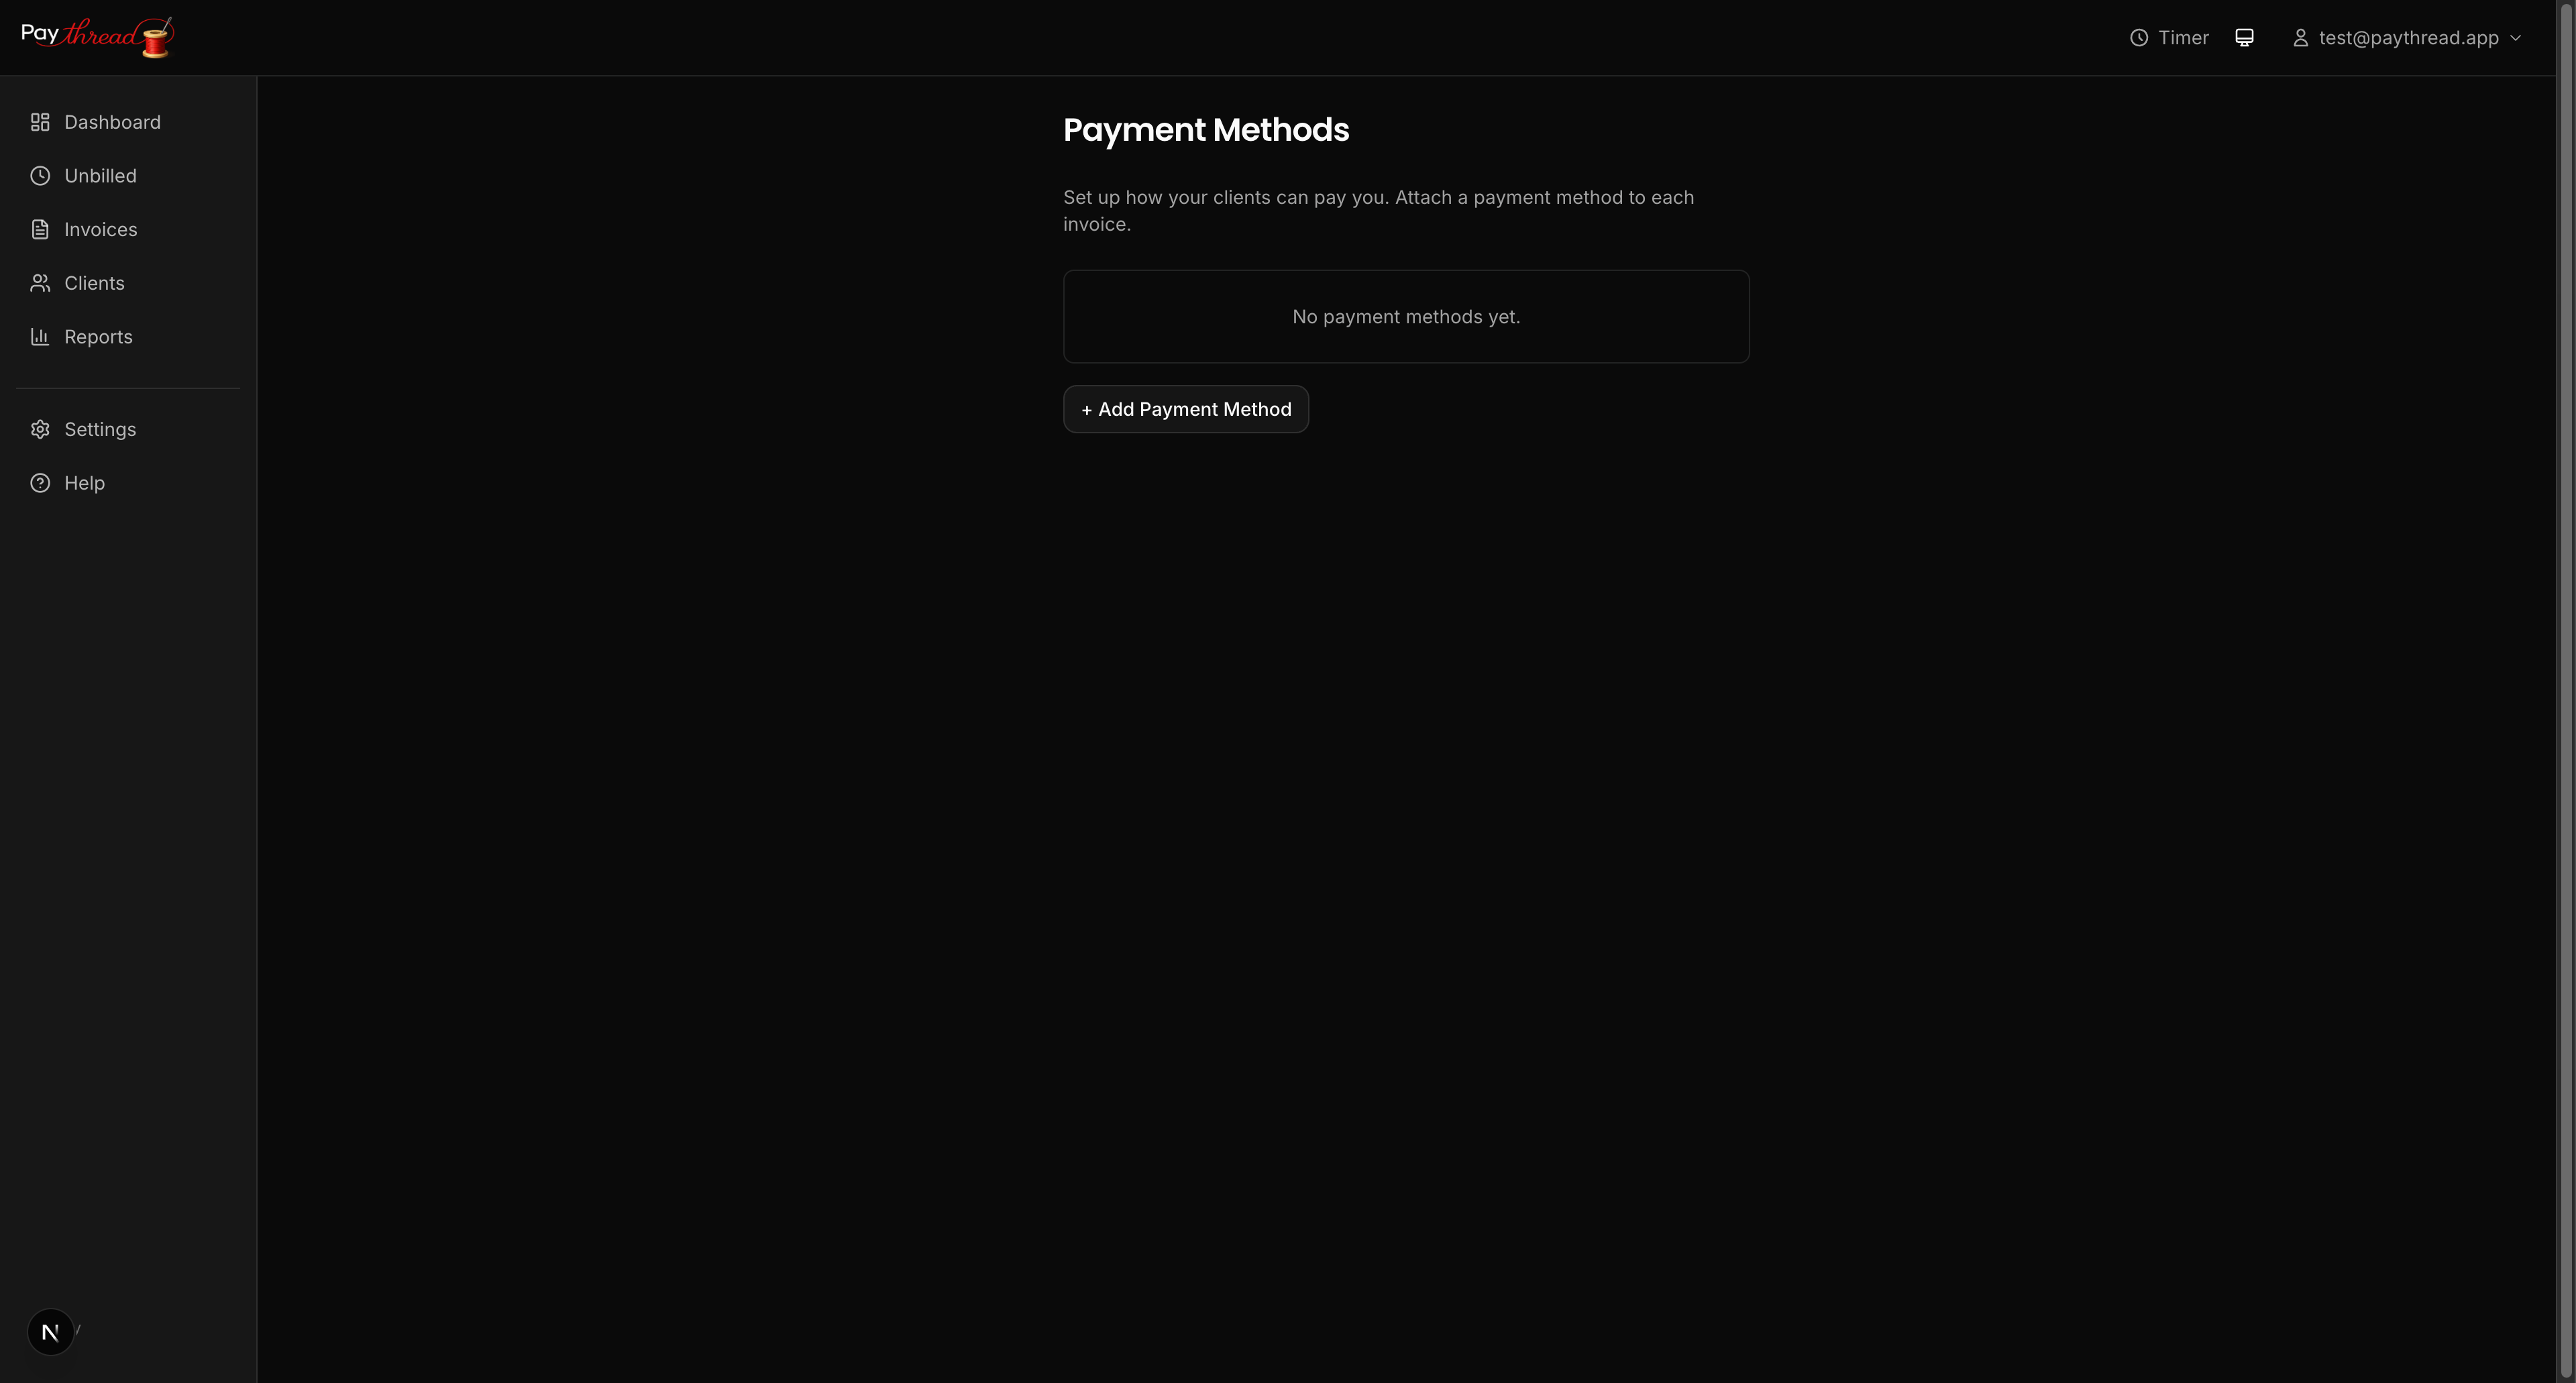
Navigate to Settings from the sidebar and find the Accept Payments section.
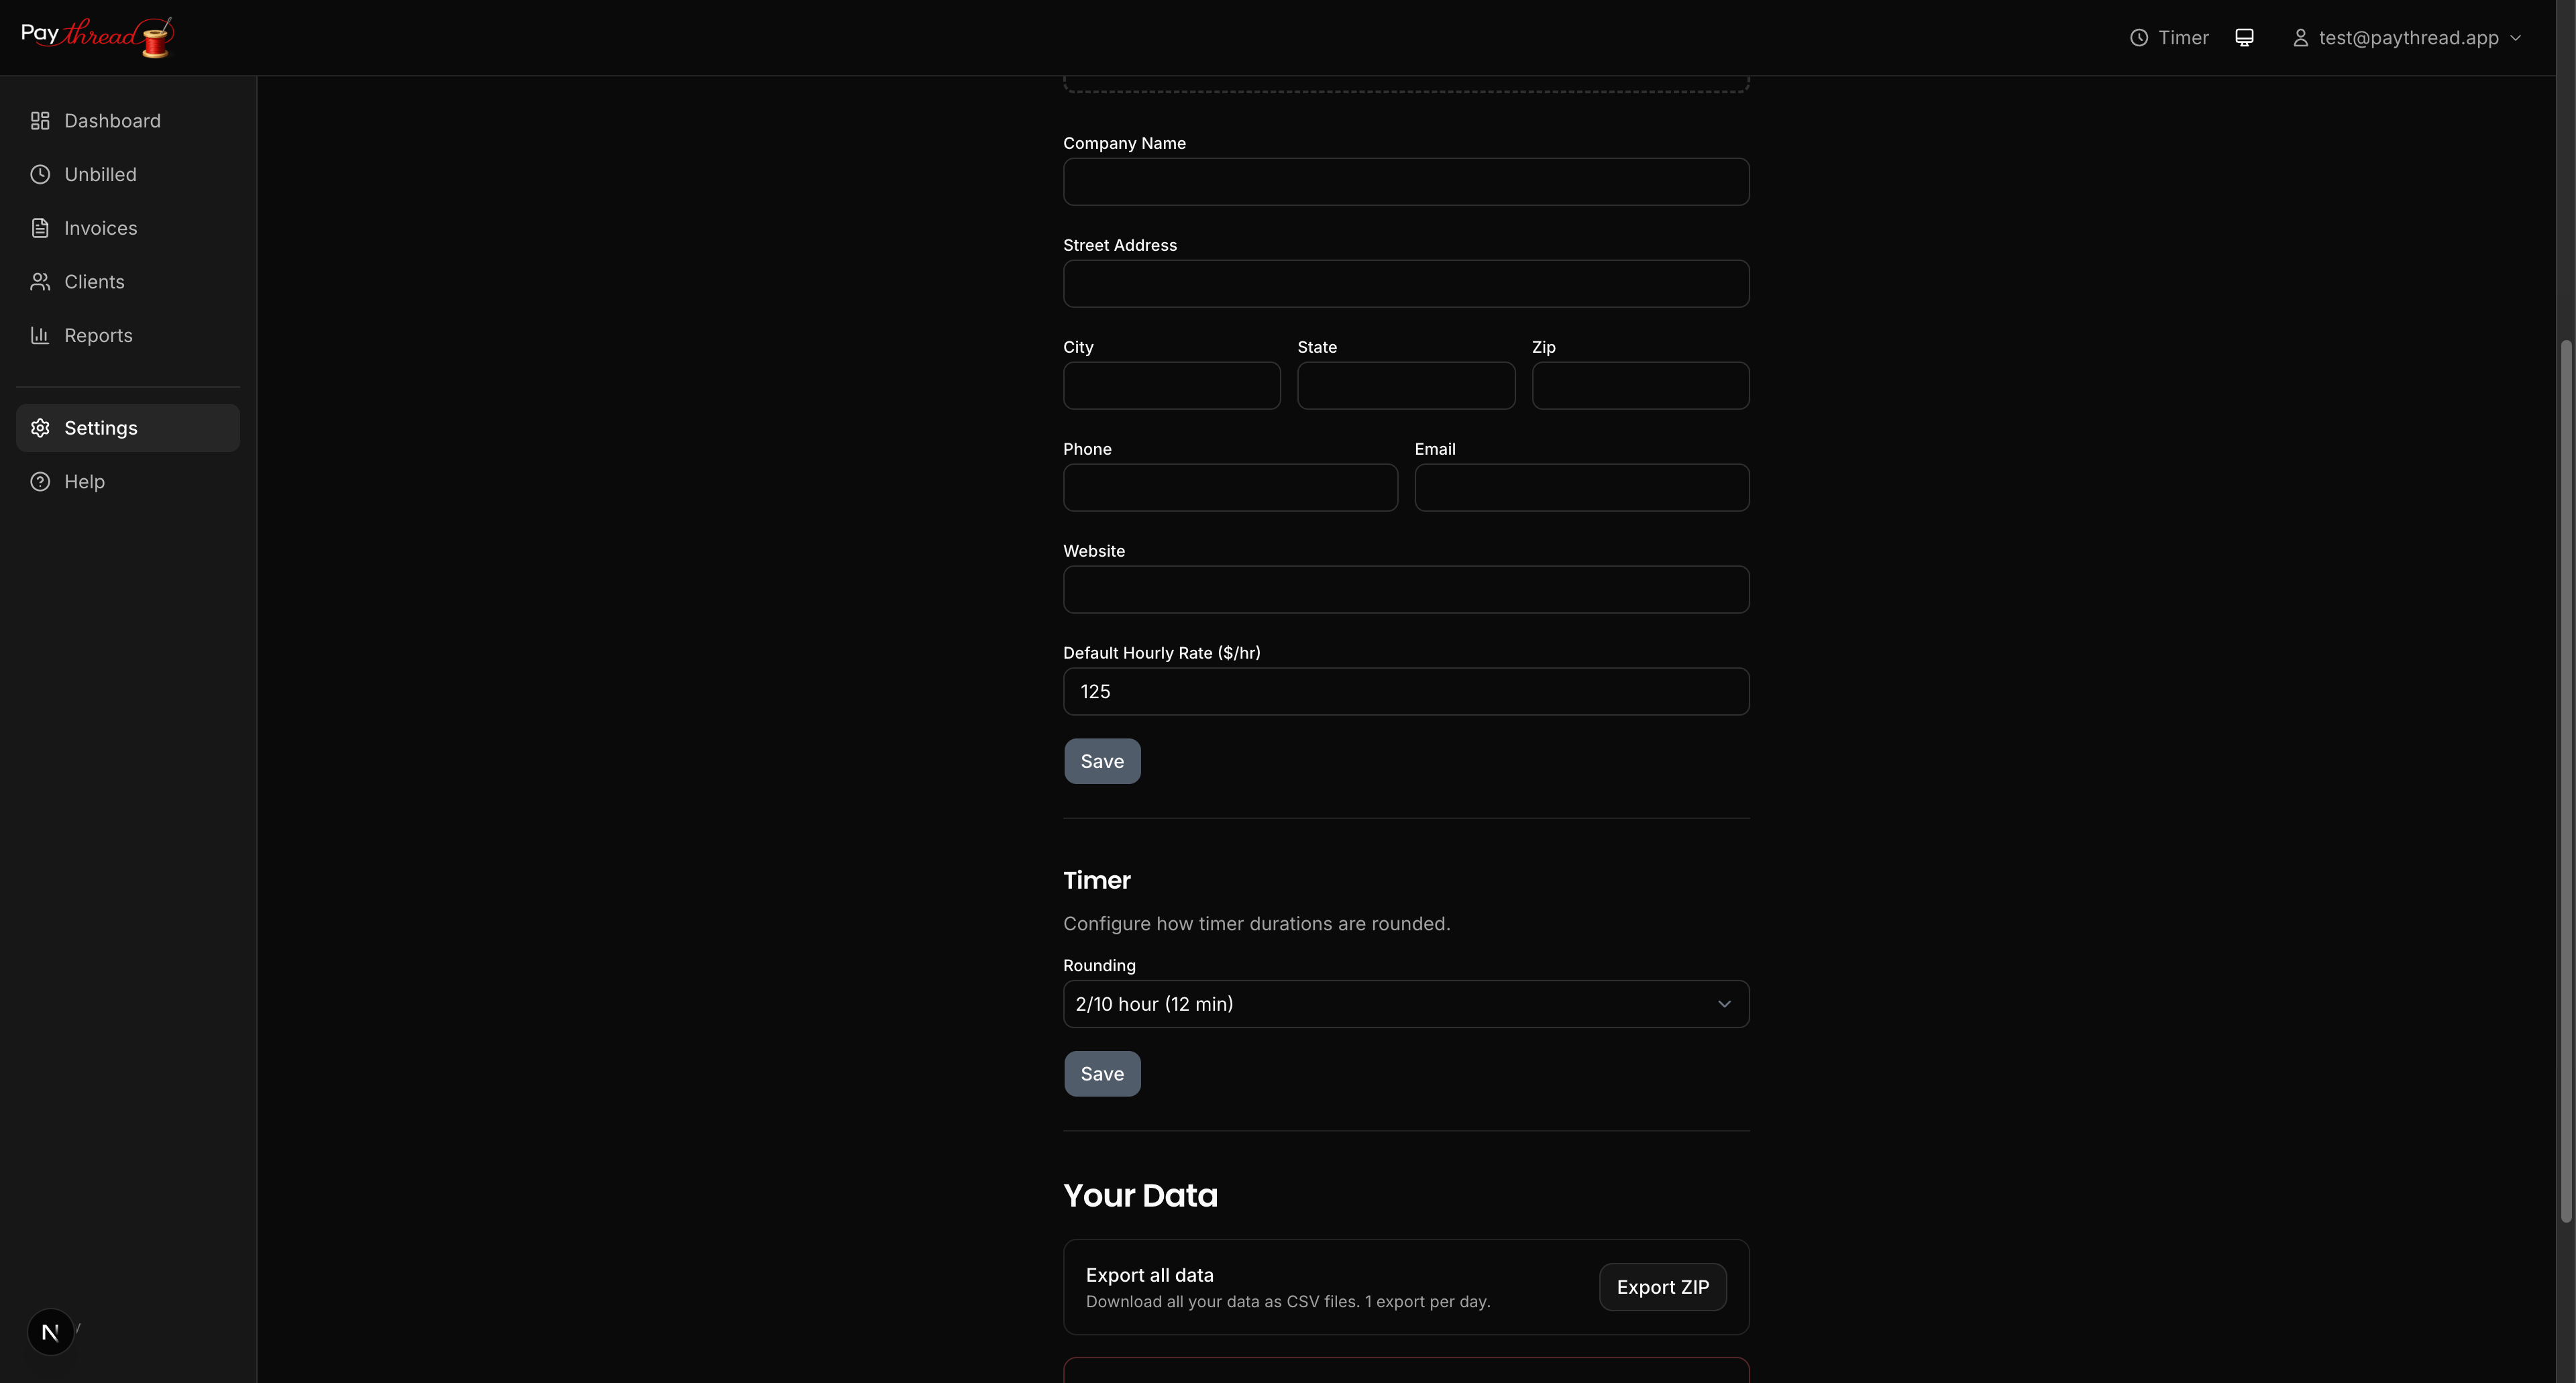
Click Connect Stripe. You'll be redirected to Stripe's onboarding flow, where you'll:
- Sign in or create a Stripe account — If you already have one, just sign in. Otherwise, Stripe walks you through creating one.
- Verify your identity — Stripe requires basic identity verification for fraud prevention. This typically involves your legal name, date of birth, and the last four digits of your SSN (or equivalent in your country).
- Add your bank account — This is where Stripe deposits your payouts. You'll need your routing and account numbers.
- Review and submit — Confirm your details and you're done.
Once complete, you'll be redirected back to Paythread and your Settings page will show your Stripe account as connected.
What Your Clients See
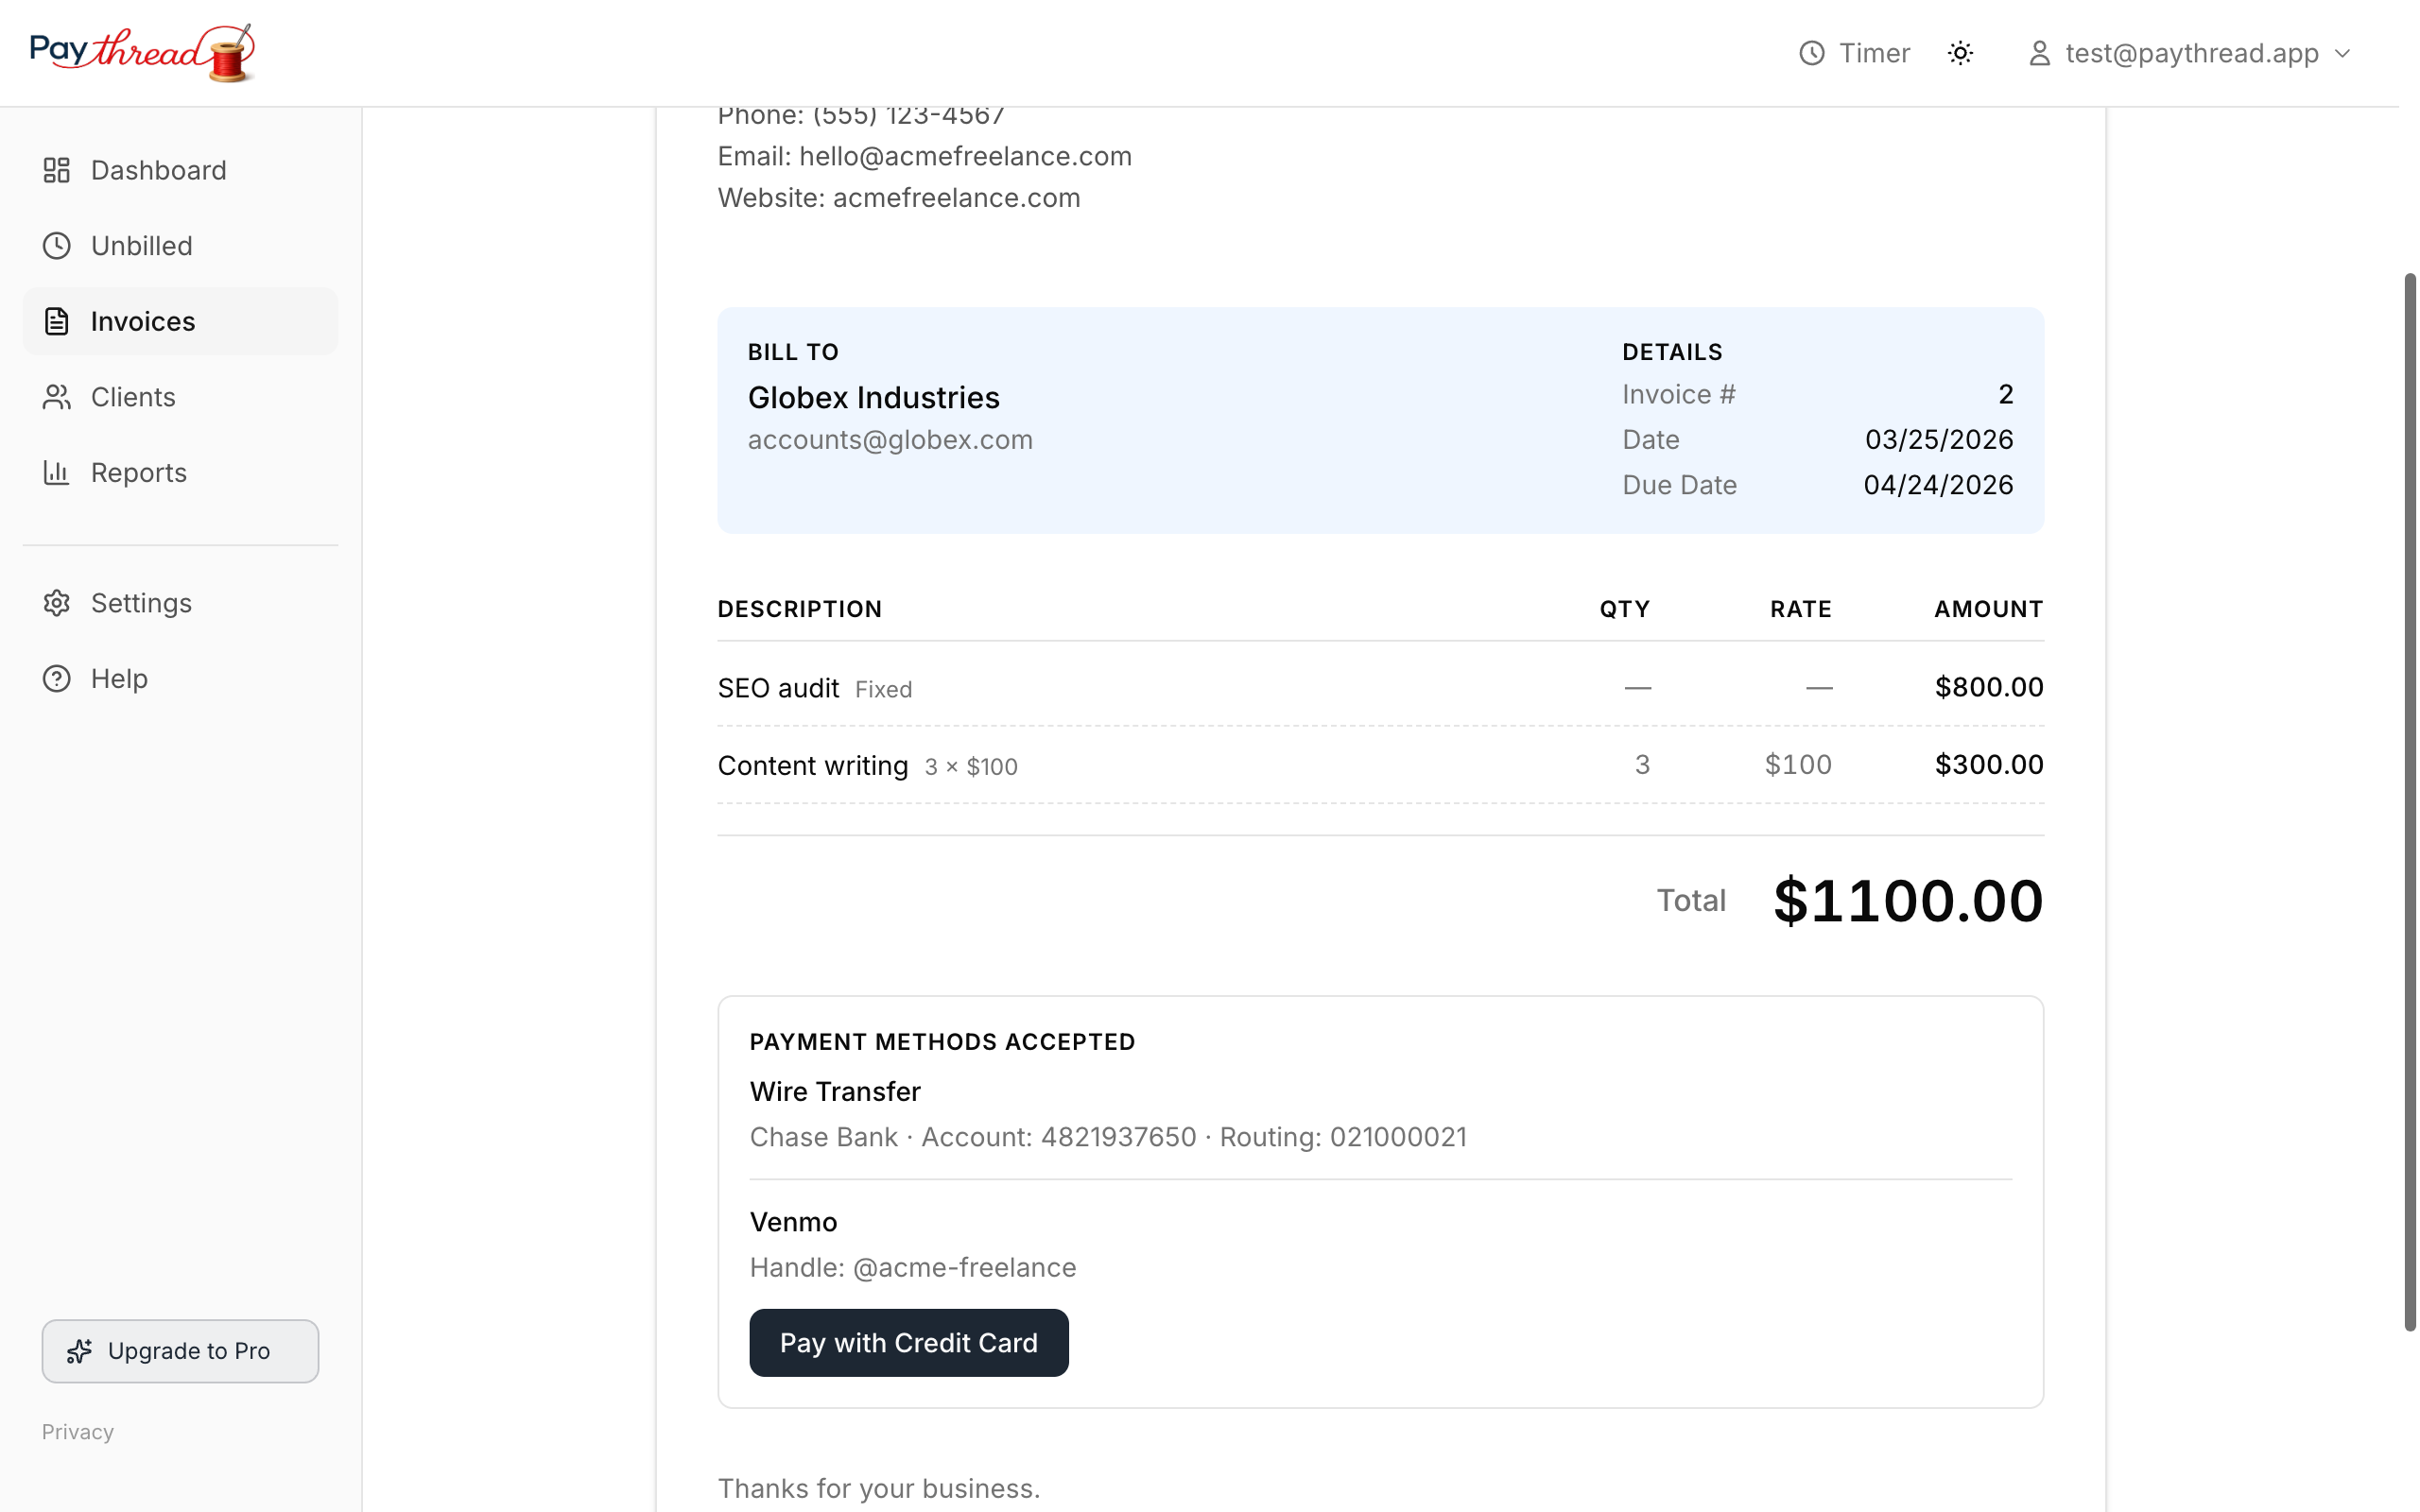
When you attach the Credit Card (Stripe) payment method to an invoice and send it via email, your client receives an email with the invoice PDF attached and a Pay with Credit Card button. Clicking it opens a secure Stripe checkout page where they enter their card details and pay.
After payment, the invoice status in Paythread updates to Paid automatically — no manual bookkeeping required.
How Money Flows
Here's the path from client payment to your bank account:
- Client pays by clicking the "Pay with Credit Card" button in the invoice email.
- Stripe processes the payment and applies their standard processing fee (typically 2.9% + 30 cents per transaction).
- Funds arrive in your Stripe account balance, usually within seconds.
- Stripe pays out to your bank account on your configured payout schedule (daily or weekly, depending on your Stripe settings).
Paythread does not add any additional fees on top of Stripe's processing costs.
Disconnecting Stripe
If you disconnect your Stripe account from the Stripe dashboard, Paythread detects the change automatically. Your Settings page will show Stripe as disconnected, and future invoices won't include the online payment option. Invoices that have already been paid are not affected. You can reconnect anytime by clicking Connect Stripe again.
Can I Still Send Invoices Without Stripe?
Absolutely. Stripe is entirely optional. Without it, your invoices are still fully functional — clients receive the invoice PDF via email with your other payment instructions (bank transfer, Zelle, PayPal, Venmo, etc.), and you manually mark invoices as paid when you receive payment.

What's Next?
Now that payments are set up, make sure you're capturing all your billable work efficiently. Read 3 Ways to Track Billable Work to learn about timers, fixed rate items, and multiplier entries. Or if you haven't sent an invoice yet, start with Your First Invoice in 5 Minutes.