

Welcome to Paythread
Paythread is built for freelancers who want to spend less time on invoicing and more time on the work that matters. This guide walks you through the essential setup so you can start tracking time and sending invoices right away.
Create Your Account
Head to paythread.io and sign up with email/password or your Google account. If you prefer to skip passwords entirely, choose the magic link option — Paythread will email you a one-time sign-in link instead. Once authenticated, you'll land on your dashboard, which will look pretty empty for now. That's about to change.
Set Up Your Business Profile
Your business profile is what appears on every invoice you send, so it's worth getting right from the start. Navigate to Settings from the sidebar to fill in your details.
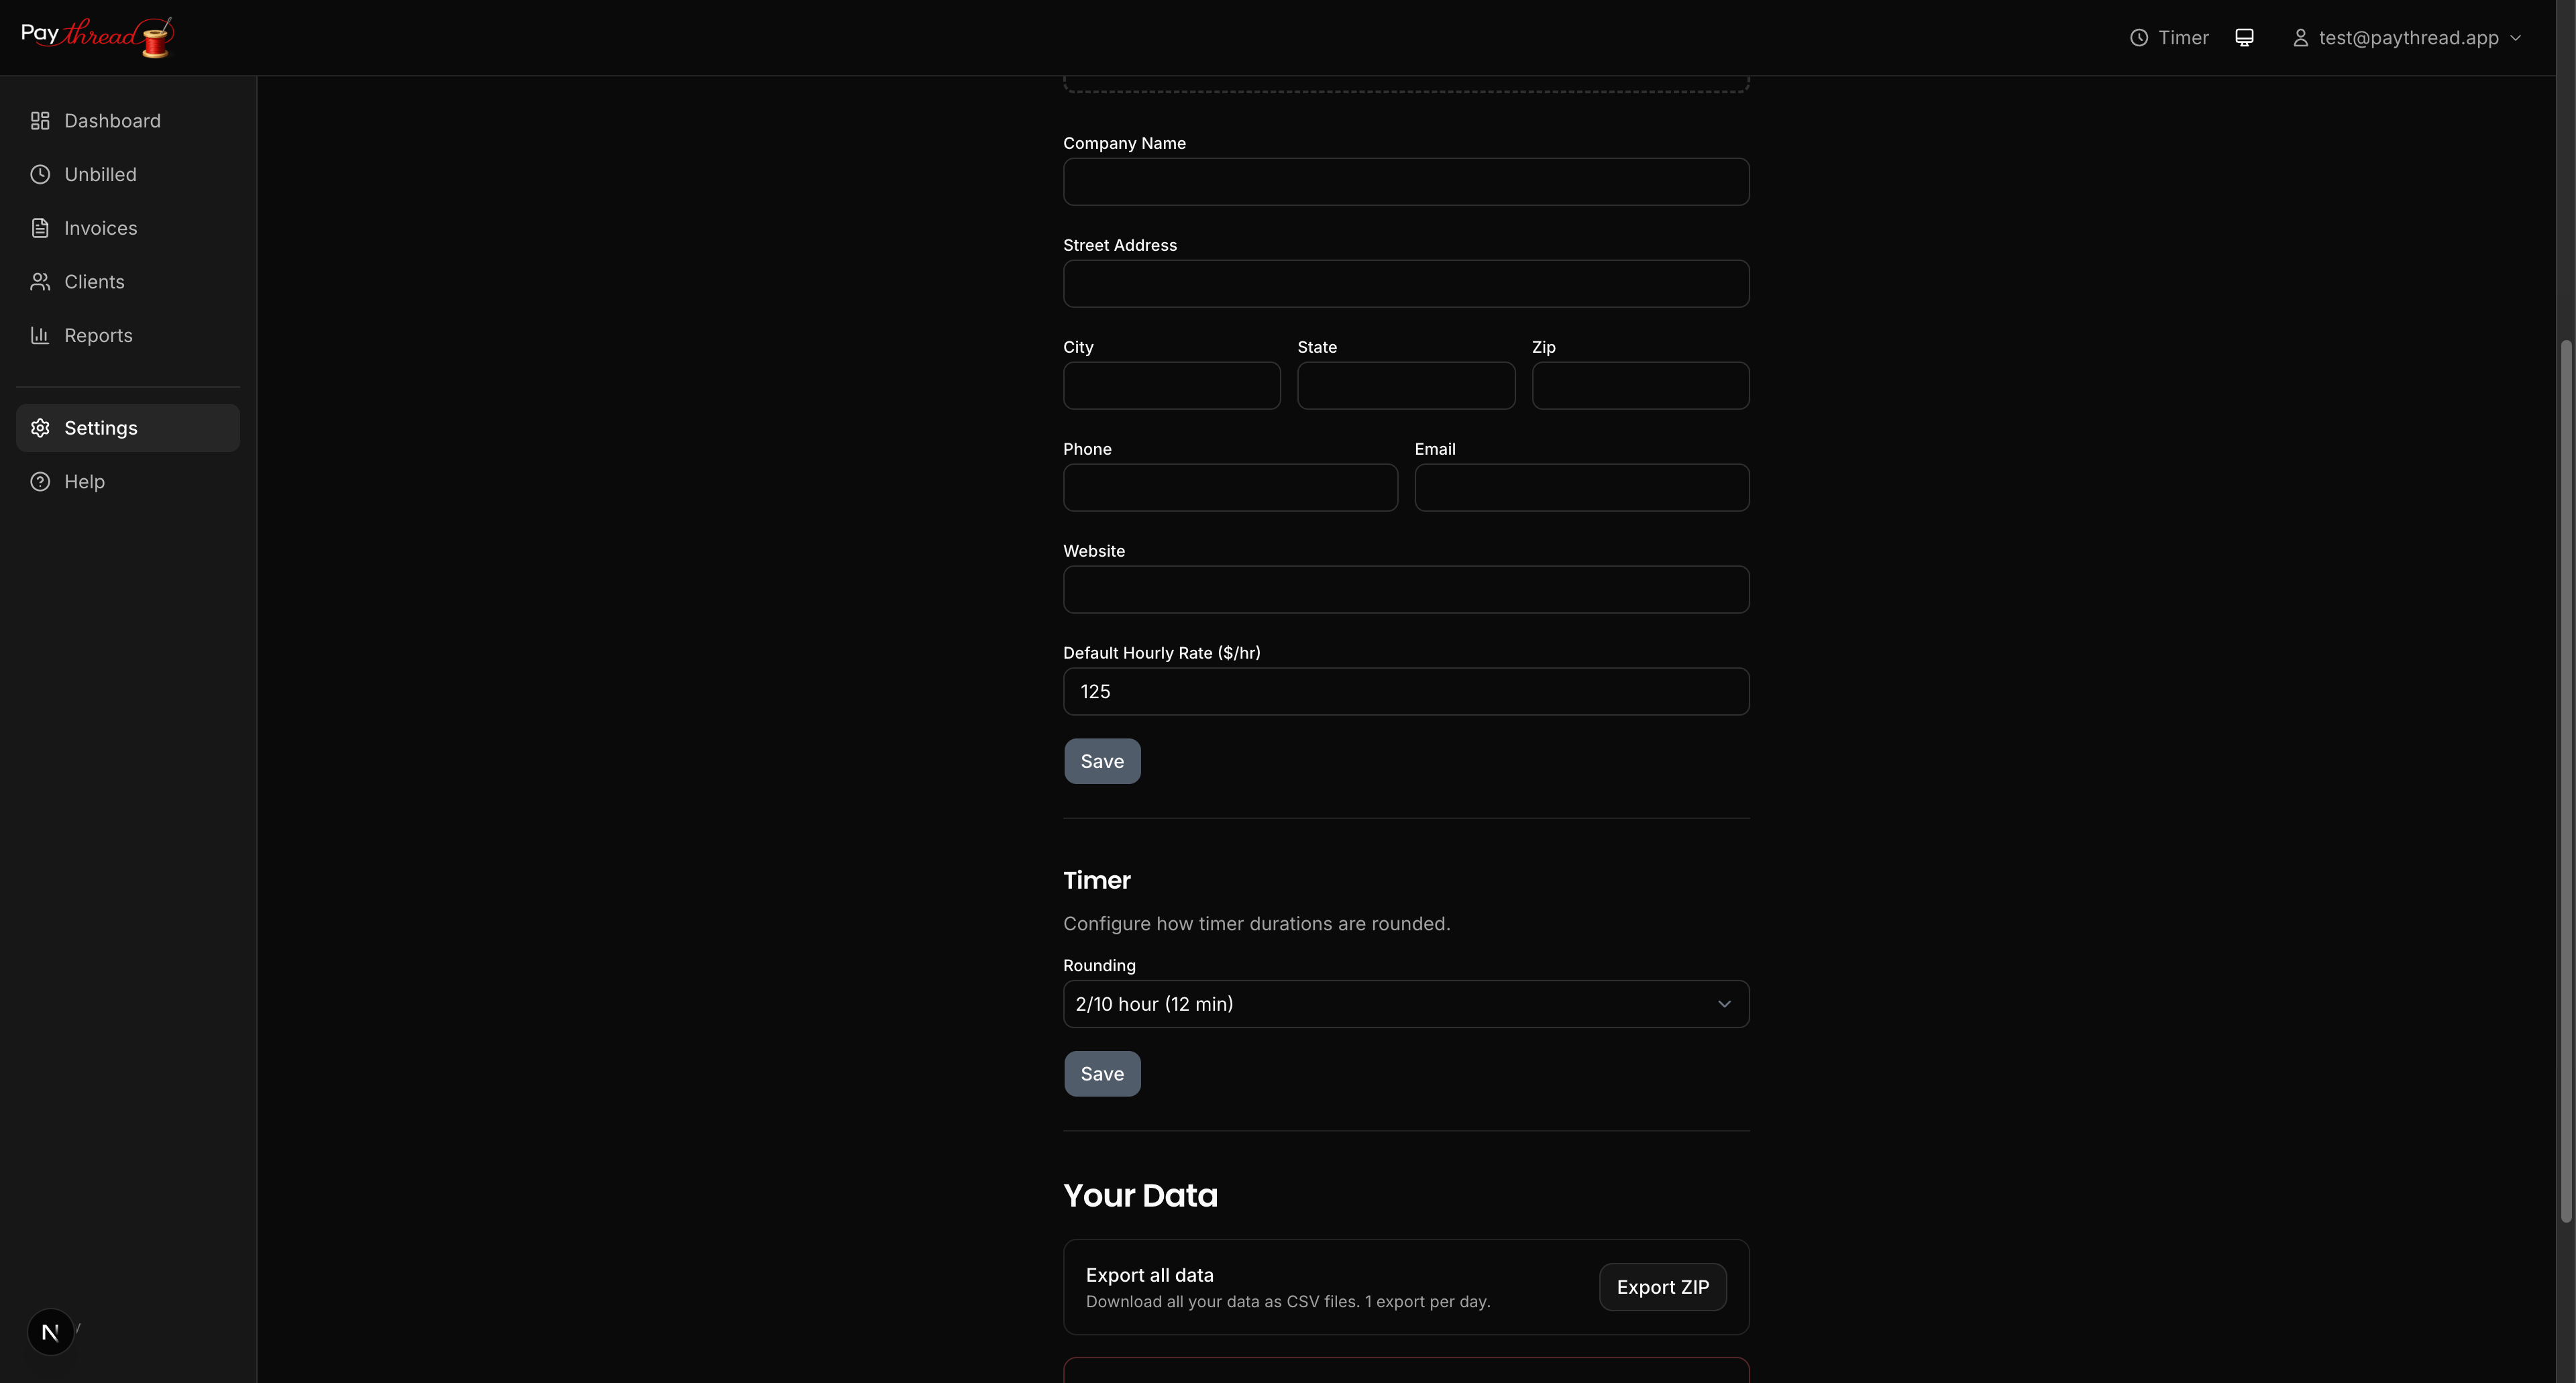
Here's what to fill in:
- Company name — This appears at the top of your invoices. Use your legal business name or your full name if you operate as a sole proprietor.
- Address — Your business address is displayed on invoices for your clients' records.
- Logo — Upload a PNG or JPG of your logo (400x400px max, 2MB). It will appear on all invoices and PDFs.
- Contact info — Phone, email, and website are optional but add professionalism to your invoices.
- Default hourly rate — Set your standard rate here. This pre-fills the timer's rate field whenever you start tracking. You can always override it per client or per work item.
Add Your First Client
Clients are the foundation of everything in Paythread. Every work item and invoice is tied to a client, so you'll want to add at least one before doing anything else.
Go to Clients in the sidebar and click New Client. You'll need to provide:
- Client name — The company or person you're billing.
- Email address — This is where invoices will be sent.
- Address (optional) — Client address appears on invoices for their records.
- Default hourly rate (optional) — If this client has a different rate than your global default, set it here. When you select this client in the timer, their rate will auto-fill. If left empty, your global default rate applies.
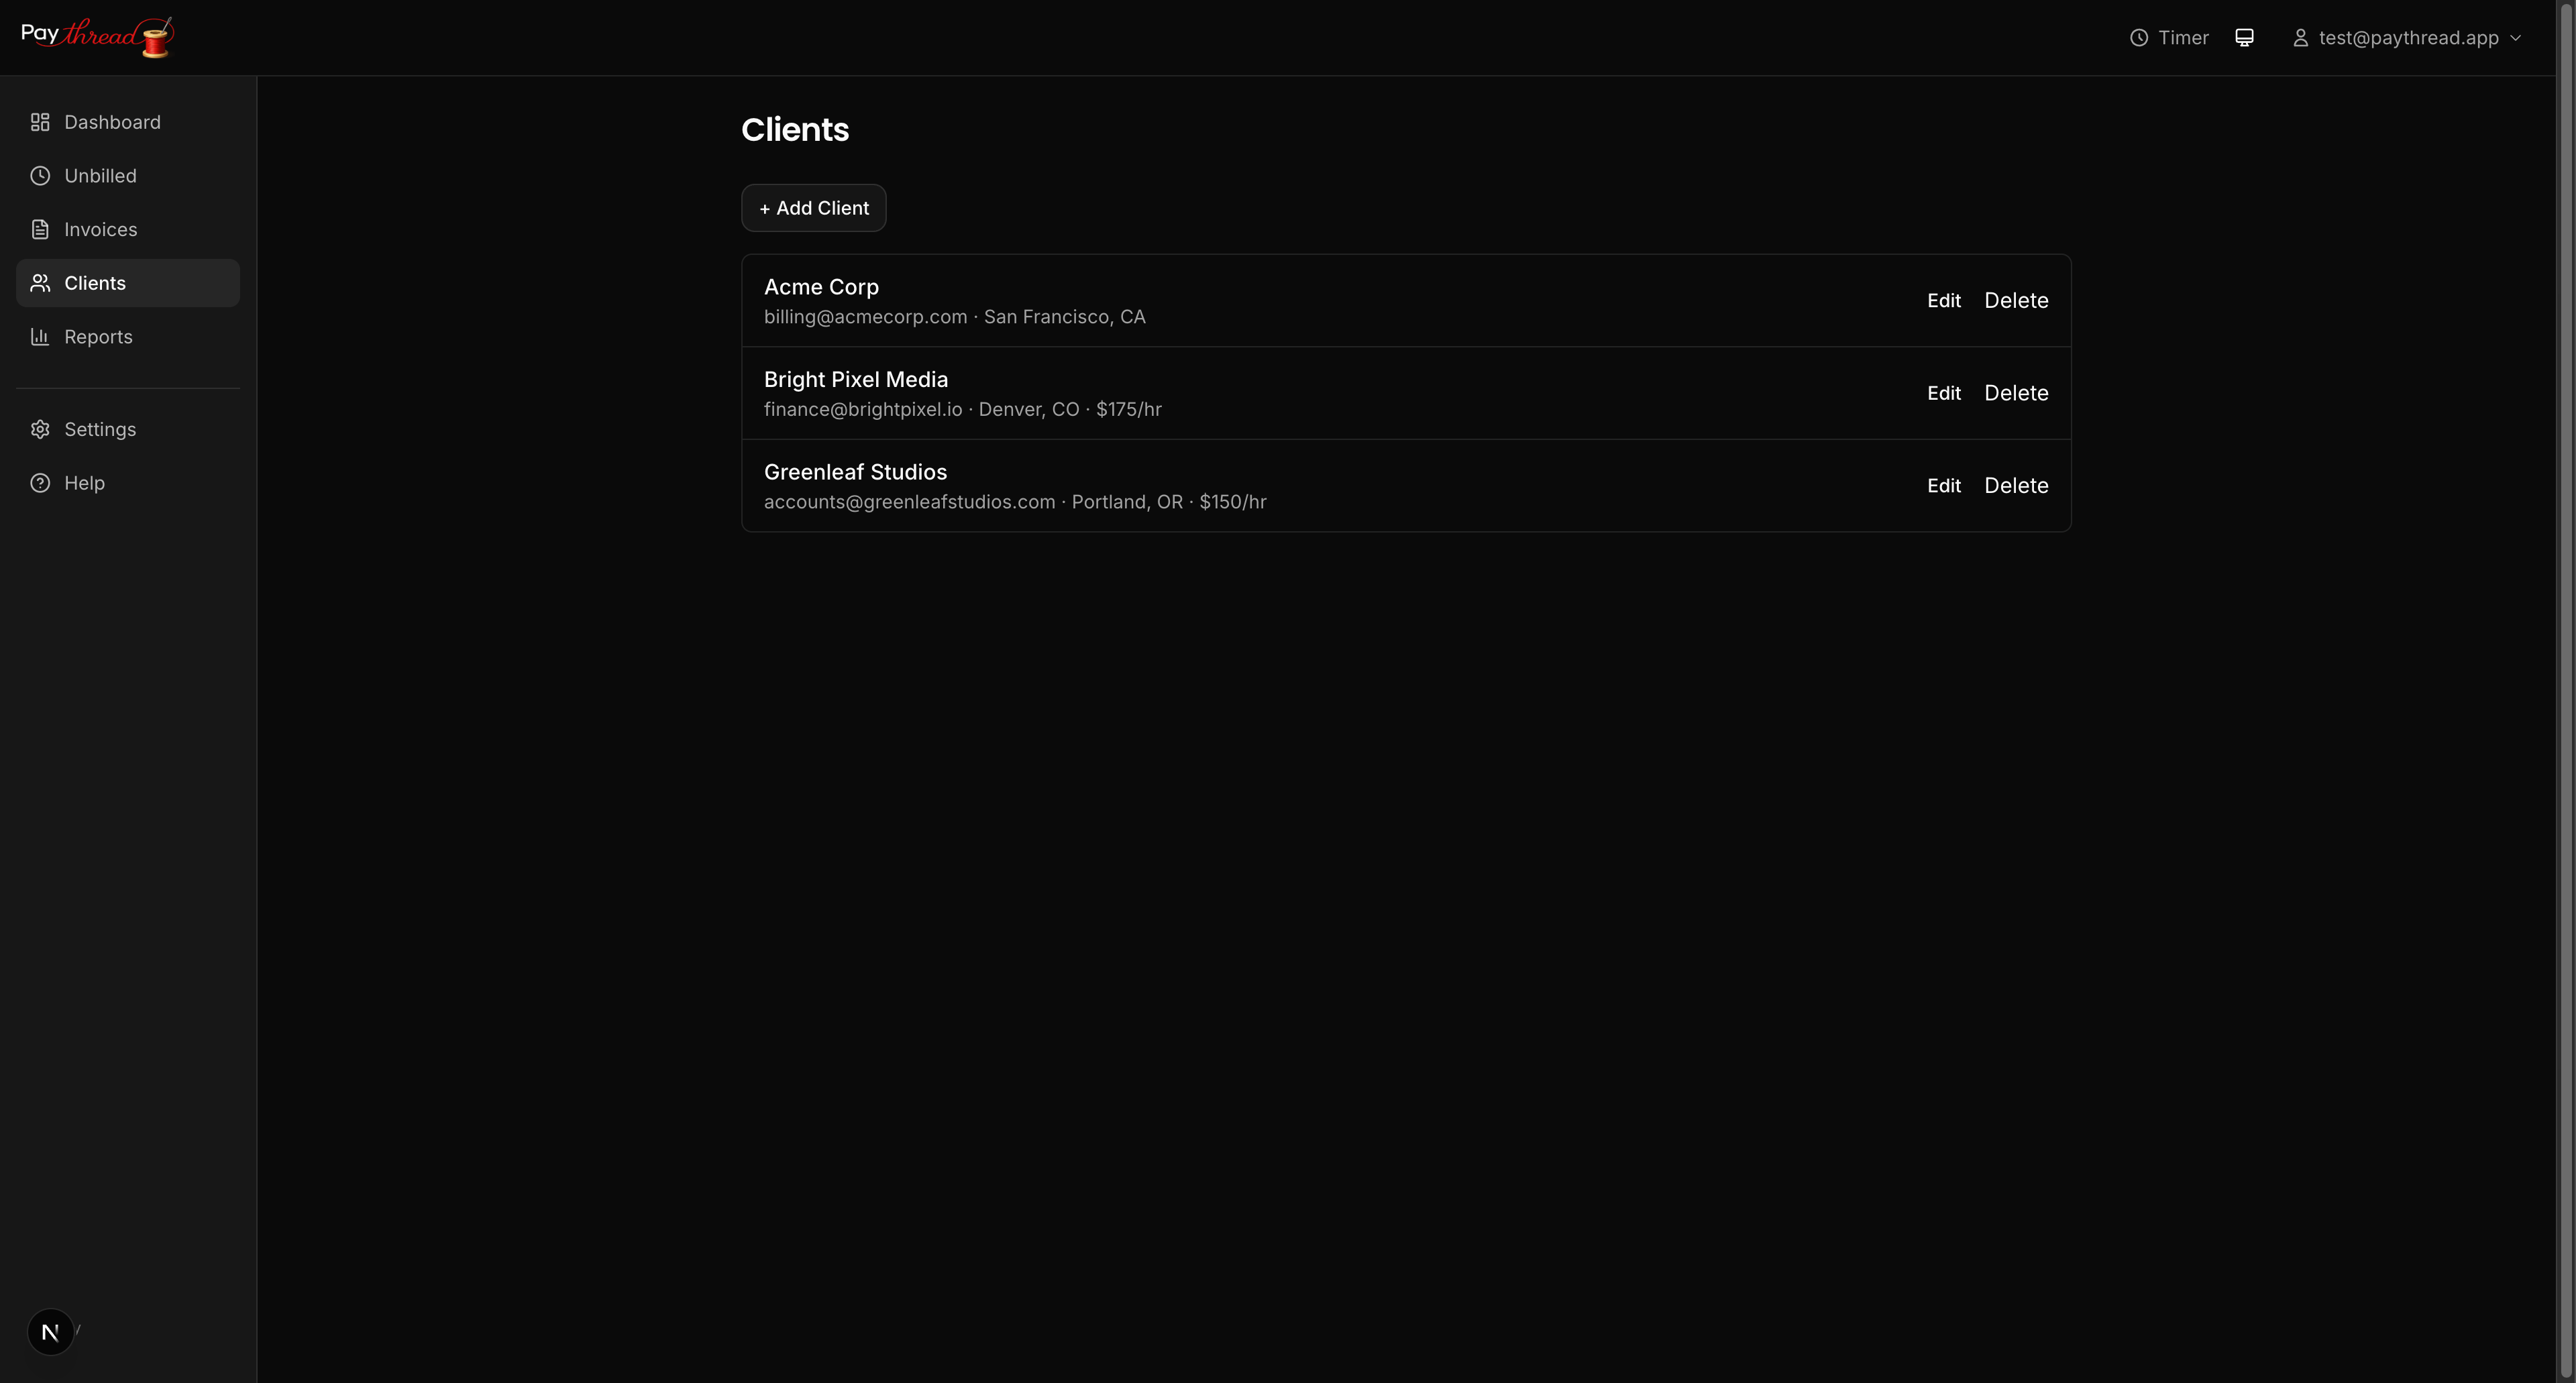
You can add as many clients as you need. Each client gets their own view of unbilled work and invoice history, making it easy to keep everything organized.
A Quick Tour of the Dashboard
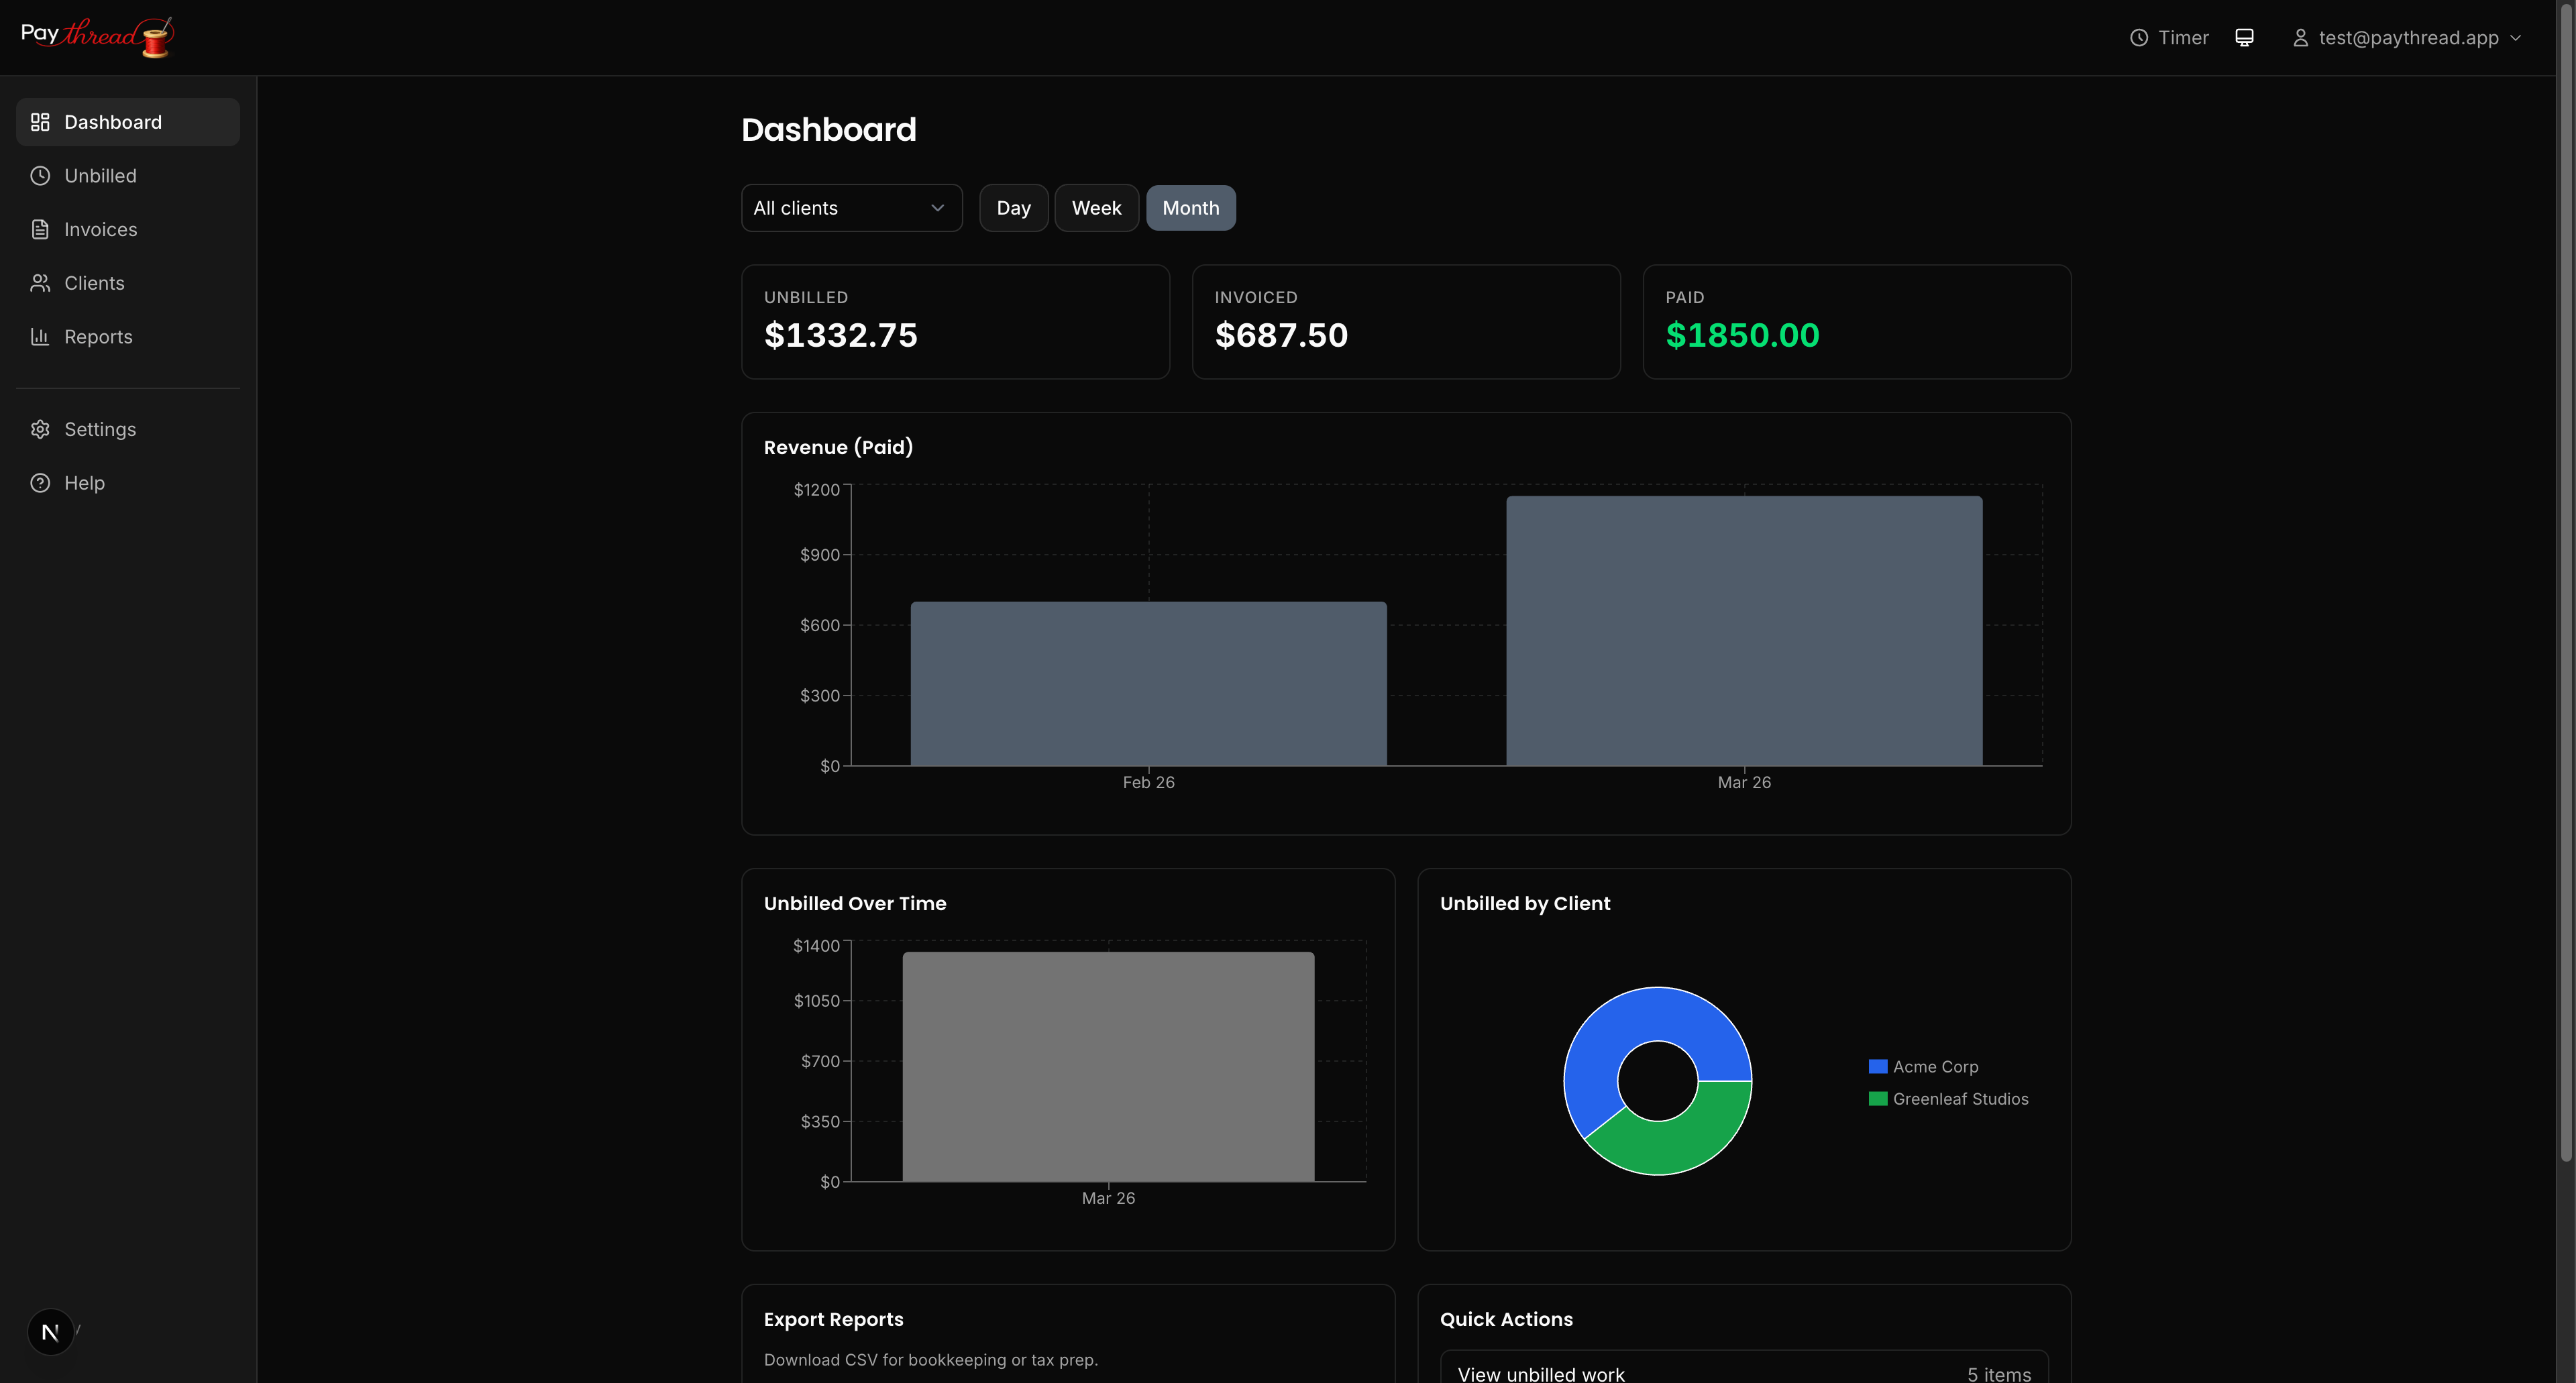
Once you have a client set up, here's how the main areas of Paythread work together:
- Timer — Start tracking time with one click. When you stop, the session becomes a work item tied to a client.
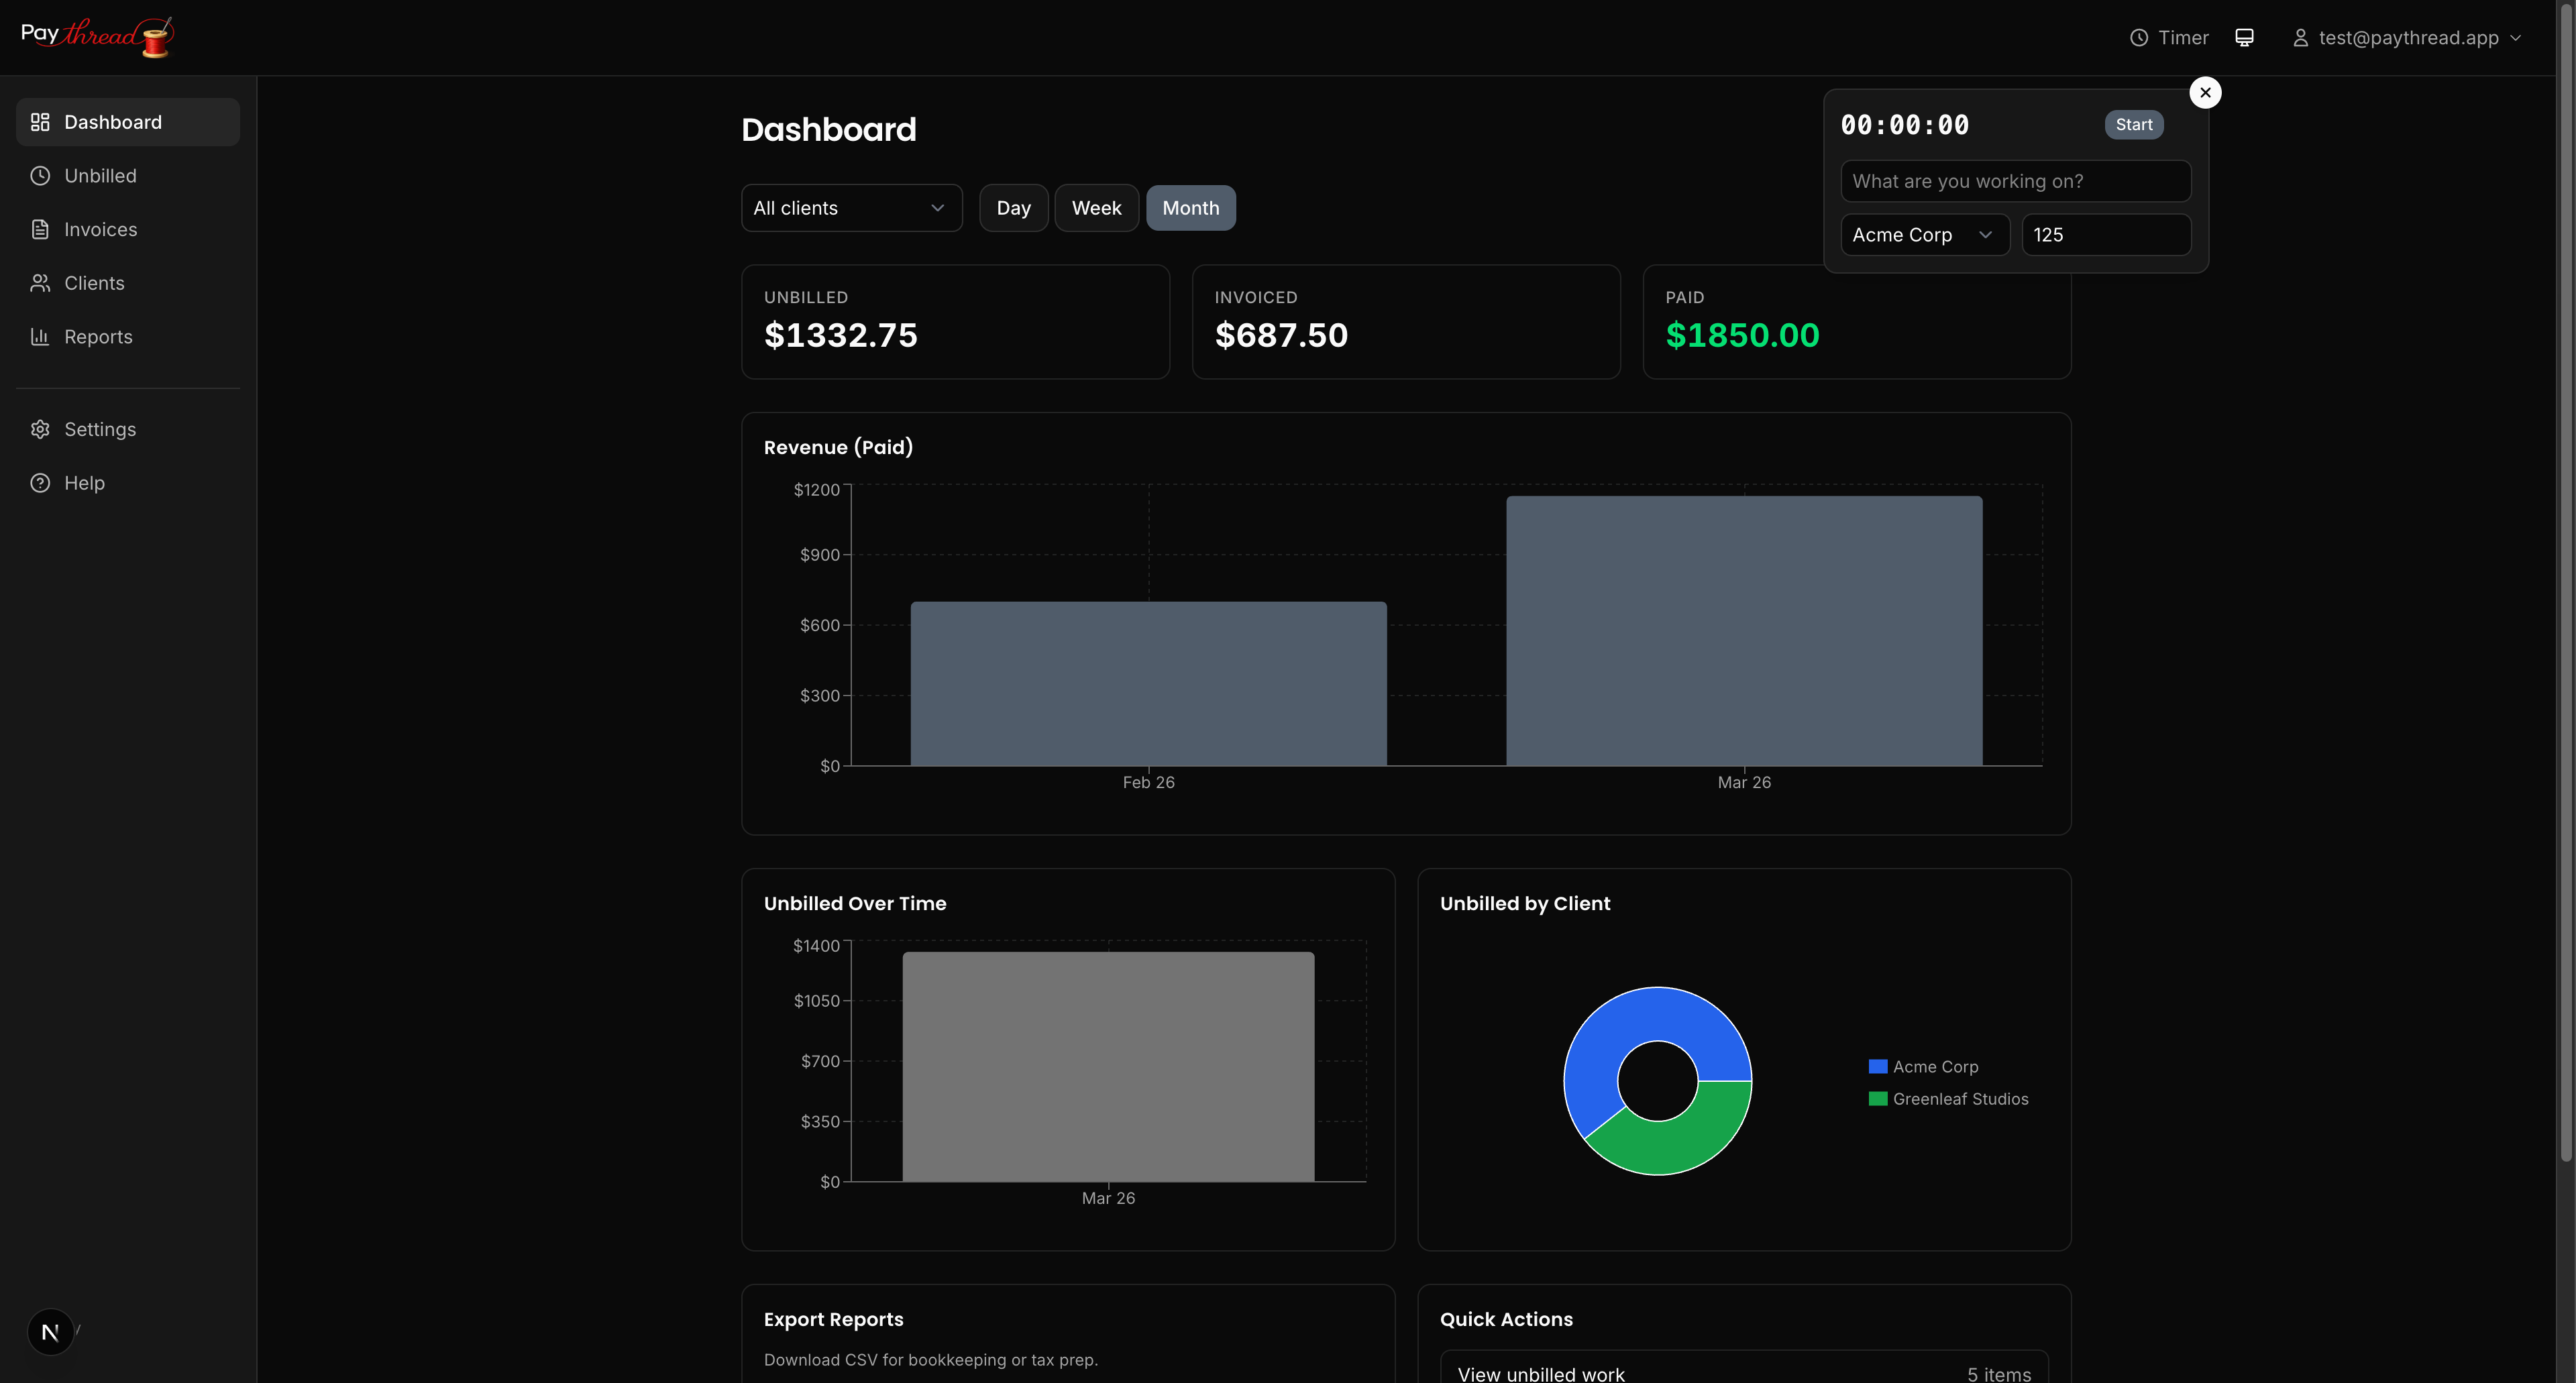
- Unbilled Queue — All your completed work items land here, waiting to be invoiced.
- Invoices — Select items from the unbilled queue to build and send professional invoices.
The flow is simple: do work, track it, invoice it. Everything moves through the system in a natural pipeline so nothing slips through the cracks.
Customize Your Preferences
Before you start tracking work, take a moment to review a couple of useful settings:
- Timer rounding — Choose how timer durations are rounded when you finish tracking. Options range from exact (hundredths of an hour) to 6-minute, 15-minute, 30-minute, or 1-hour increments. Rounding is always up.
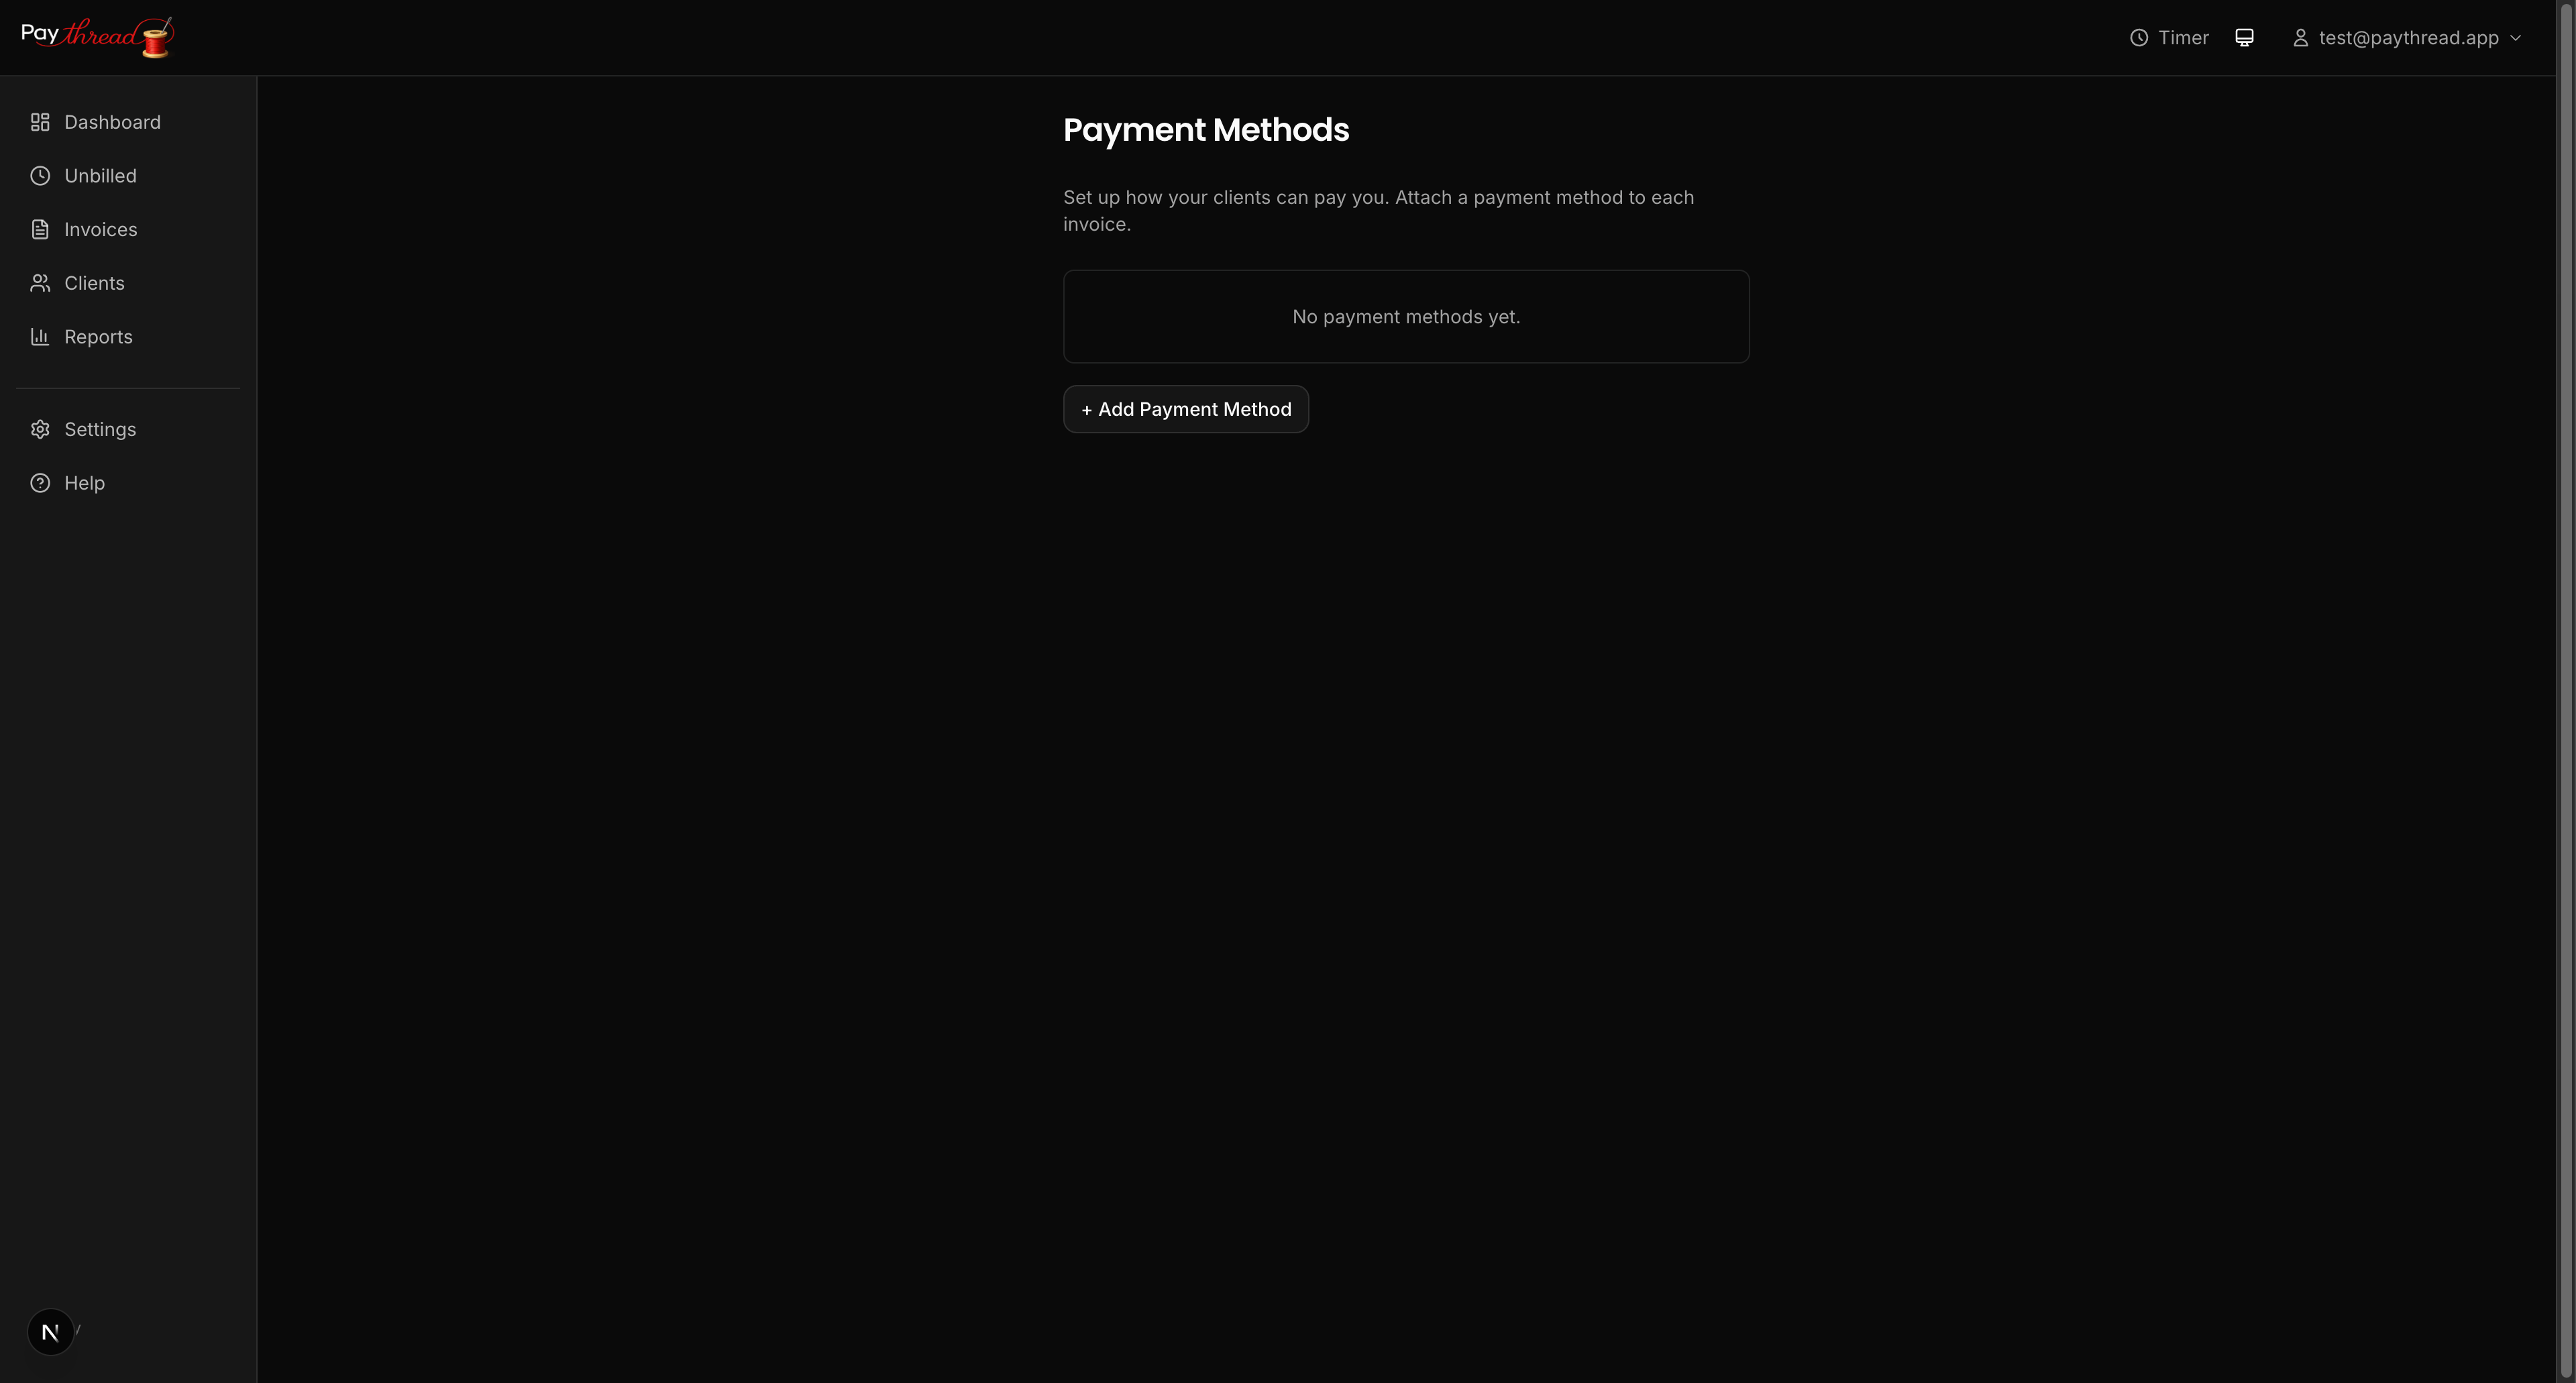
- Payment methods — Set up how clients can pay you — Stripe for online payments, bank transfer, PayPal, Venmo, or custom instructions.
These small choices up front save you from fiddly edits later.
Manage Your Account
You can update your login credentials at any time from the Account page in the sidebar. From there you can change your email address or update your password. If you ever forget your password, use the Forgot password link on the sign-in page to receive a reset email.
What's Next?
Now that your account is set up, you're ready to create your first invoice. Head over to Your First Invoice in 5 Minutes to walk through the full process end to end. If you want to understand the different ways to log billable work first, check out 3 Ways to Track Billable Work.