

Your Invoicing Staging Area
The Unbilled queue is where all your tracked work lives before it becomes an invoice. Think of it as a holding pen — every timer session you finish, every fixed rate item you add, and every multiplier entry you create lands here automatically. Nothing gets lost, and nothing gets invoiced until you decide it's ready.
How Work Items Get Here
Work items enter the Unbilled queue from three sources:
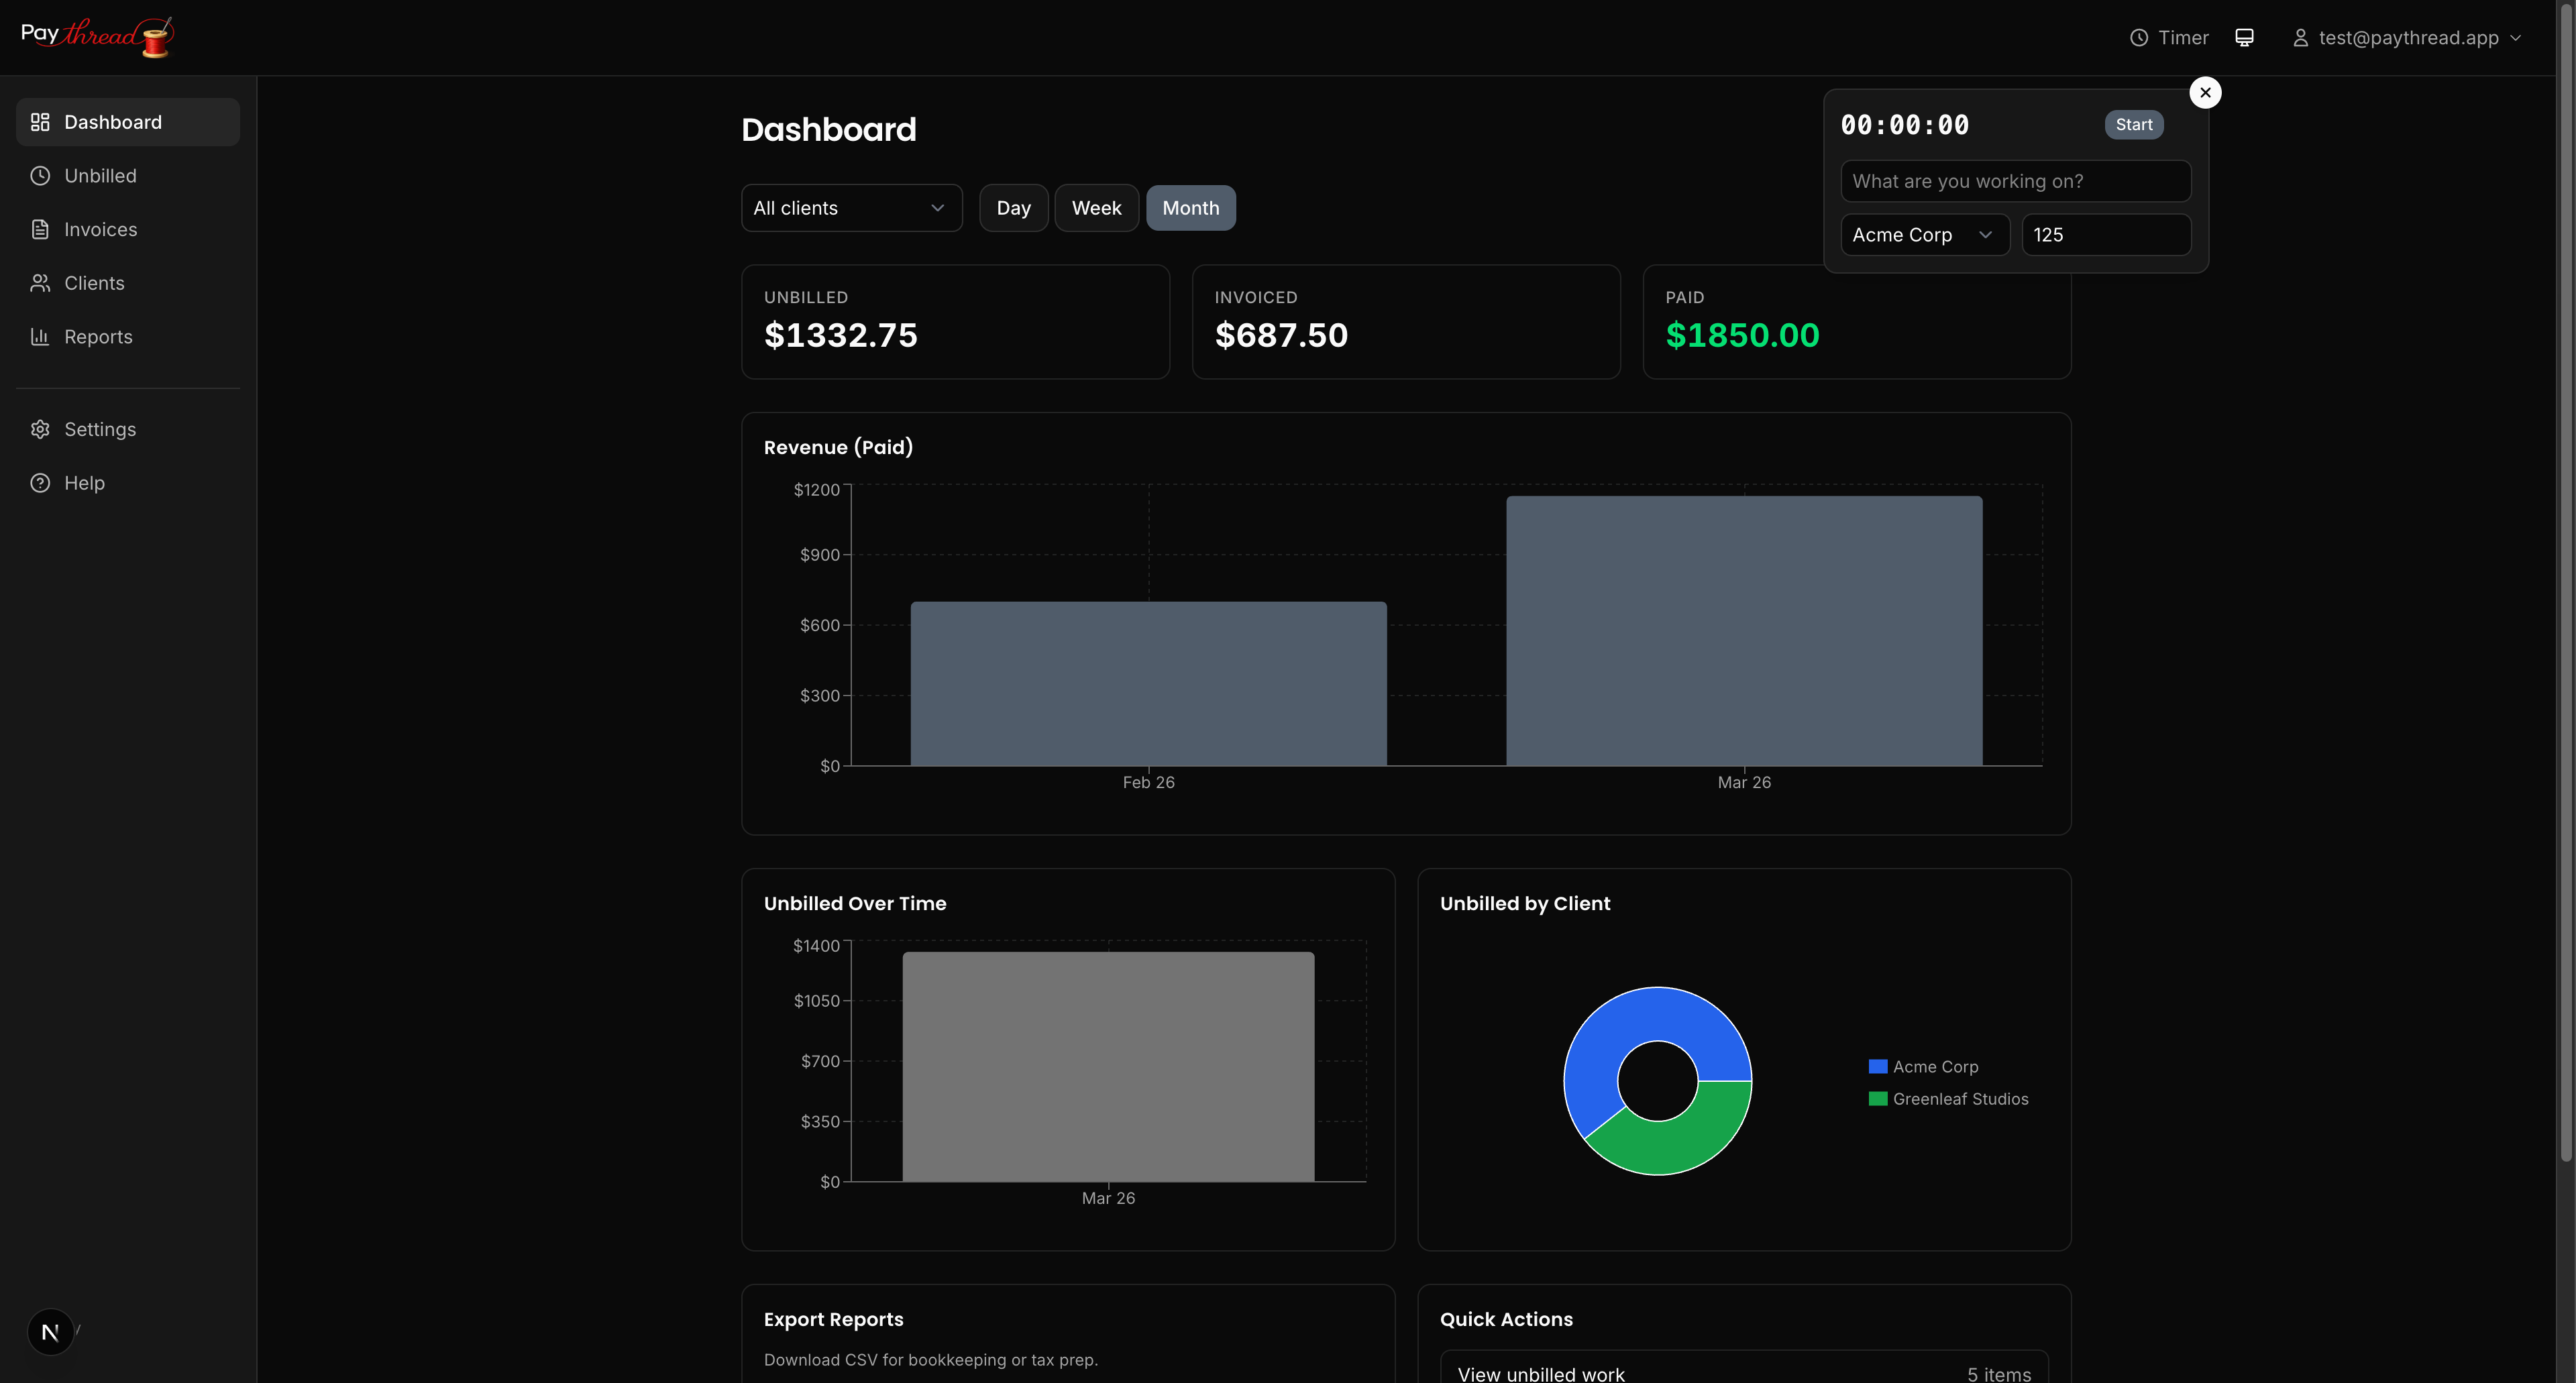
- Timer sessions — When you Pause a timer and click Finish & Save, the completed session appears in the queue with the calculated duration and amount.
- Fixed rate items — Manually added flat-fee entries show up immediately.
- Multiplier items — Quantity-based entries appear with their calculated totals.
Every item is tagged with its client, so you always know who it belongs to. The queue updates in real time — as soon as work is logged, it's visible here.
Filtering and Organizing
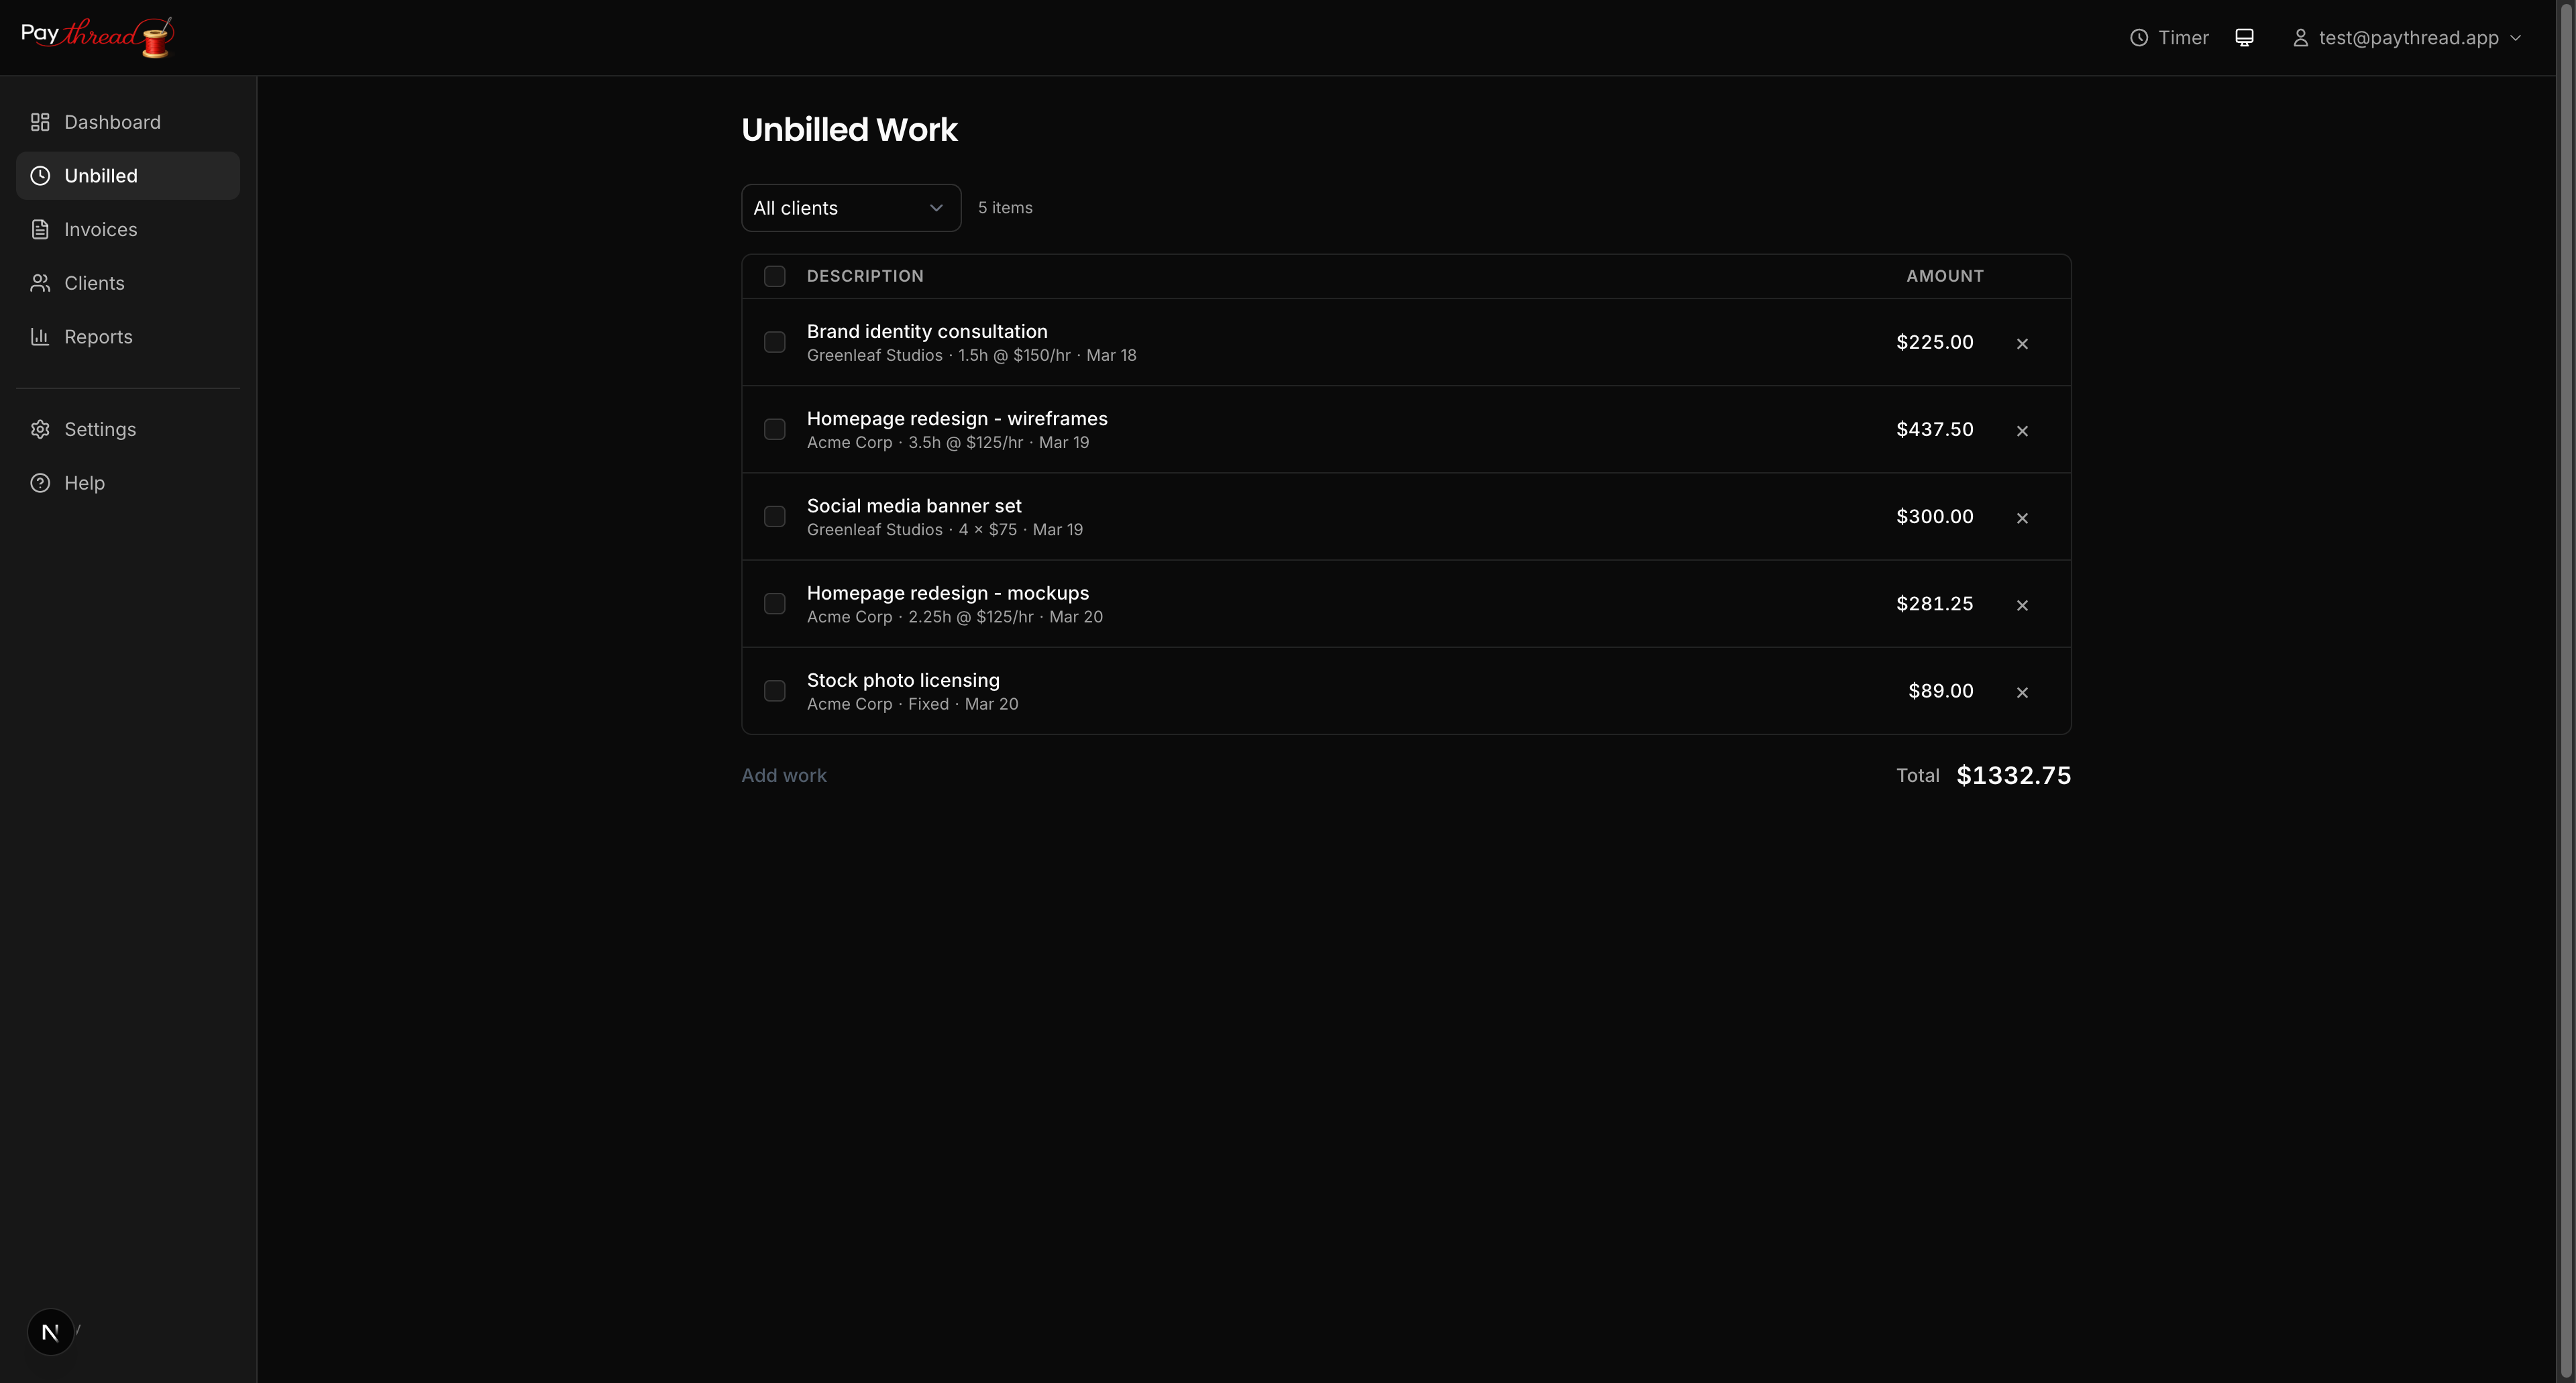
When you're working with multiple clients, the queue can grow quickly. Use the client filter to narrow your view to a single client's items. This is especially useful when you're ready to invoice one client but not another.
Items are displayed chronologically by default, with the most recent work at the top. Each item shows its description, type, date, and amount — everything you need to review at a glance.
Inline Editing
Spotted a typo in a description? Need to adjust an amount or change the date? Click on any work item in the Unbilled queue to expand an inline edit form where you can update the description, rate, quantity, amount, and date.
Common edits include:
- Clarifying descriptions — Change "client call" to "Discovery call — reviewed project scope and timeline" so your invoice reads professionally.
- Adjusting amounts — Correct a timer entry if you forgot to stop it, or update a fixed rate item if the scope changed.
- Reassigning clients — Logged something under the wrong client? Fix it with a quick edit.
Selecting Items and Creating Invoices
When you're ready to invoice, check the boxes next to the items you want to include. You can select all items for a client or cherry-pick specific ones — maybe you want to invoice for this week's work but hold off on last week's until you get approval.
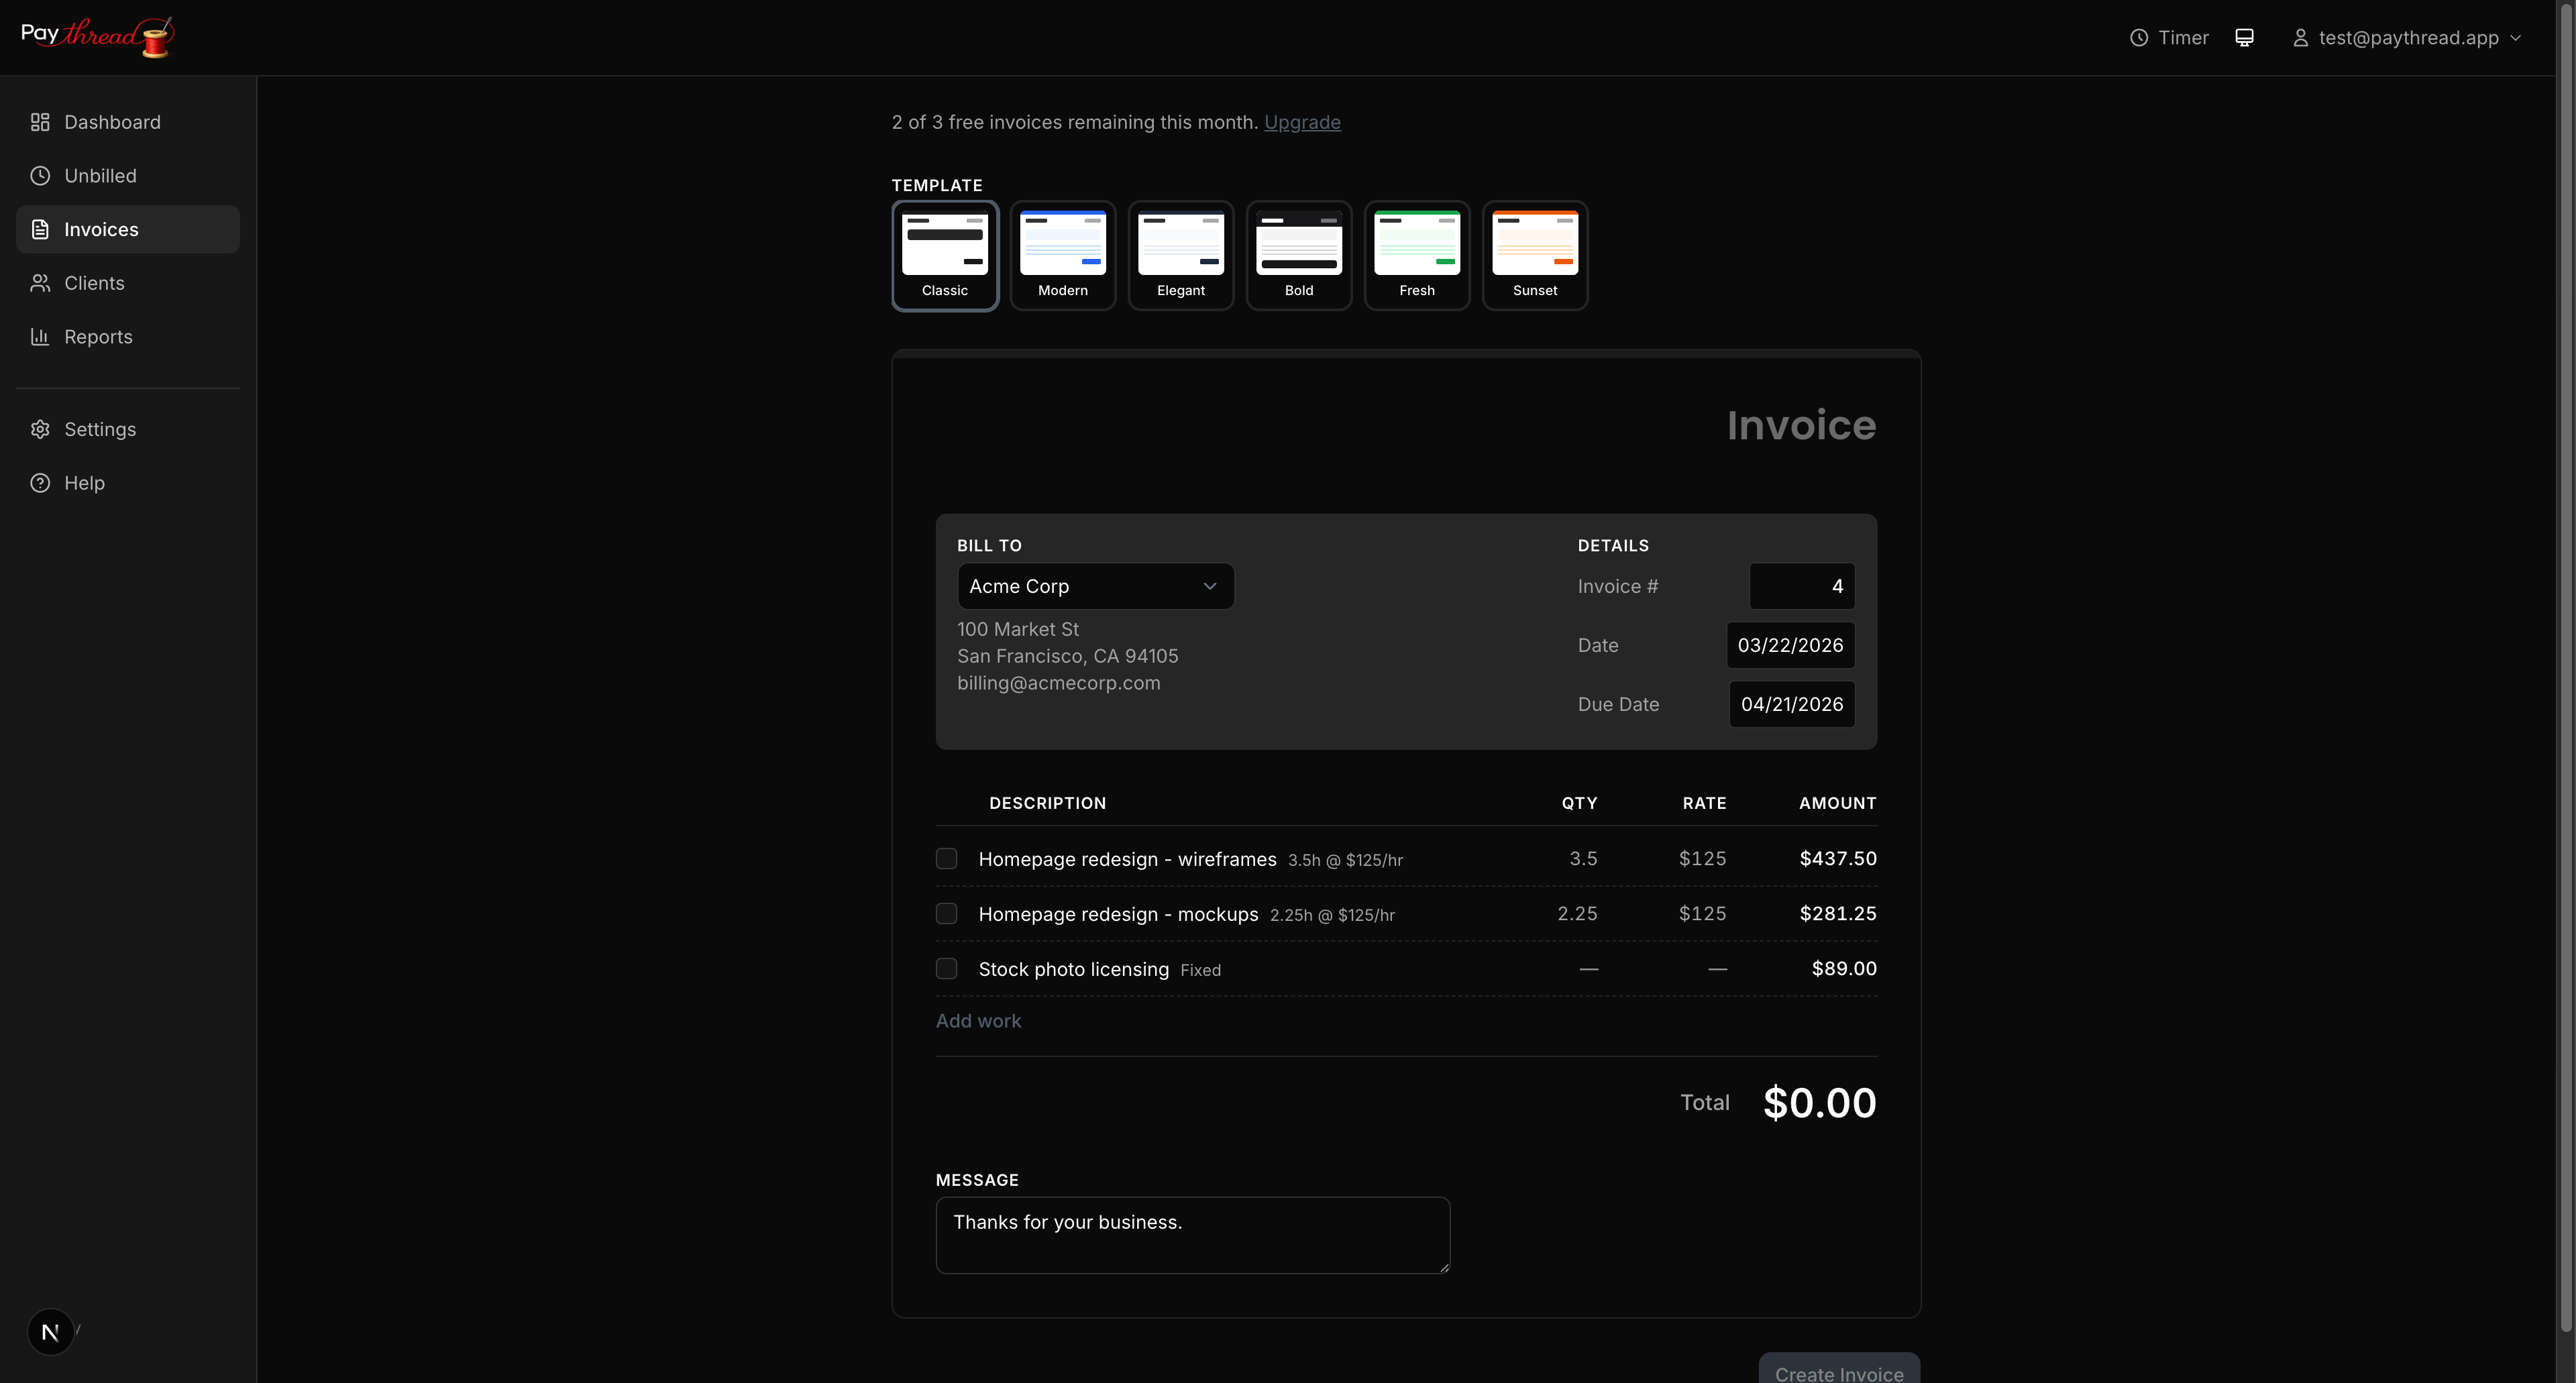
Once your selection is made, click Create Invoice. Paythread pulls the selected items into the invoice builder where you can choose a template, set the invoice's due date, select payment methods, and add a message before creating the draft.
After items are invoiced, they leave the Unbilled queue. This prevents double-billing and keeps the queue clean. If you delete a draft invoice, the associated items return to the queue so you can re-invoice them.
Archiving Items
Sometimes work items don't belong on an invoice — maybe it was a freebie, an internal task, or something you decided not to bill for. Instead of deleting these items and losing the record, you can archive them. Select the items with checkboxes, open the Actions dropdown, and choose archive. Archived items leave the active queue but remain in a collapsed section at the bottom, grouped by month and year for easy browsing. You can restore any archived item back to the active queue if needed.
Best Practices
- Review descriptions regularly. Your client reads every line item on the invoice. Clear, specific descriptions build trust and reduce questions.
- Invoice frequently. Don't let the queue pile up for months. Weekly or biweekly invoicing keeps your cash flow steady and makes it easier for clients to review charges while the work is fresh.
- Use client filters before creating an invoice to make sure you're not accidentally mixing items from different clients.
What's Next?
Ready to turn those queued items into a real invoice? Follow the step-by-step process in Your First Invoice in 5 Minutes. If you want to accept online payments when that invoice arrives, set up Stripe first — see Setting Up Online Payments with Stripe.